In questo articolo
- Sea of Thieves GUIDA a tutte le posizioni delle isole
- La posizione di tutte le isole
- Crescent Isle: B 9
- Mermaid's Hideway: B 13
- Sailor's Bounty: C 4
- Keel Haul Fort: C 6
- Sea Dog's Rest: C 11
- Sandy Shallows: D 5
- Rapier Cay: D 8
- Lagoon of Whispers: D 12
- Discovery Ridge: E 17
- Smuggler's Bay: F 3
- Wanderers Refuge: F 12
- Old Salts Atoll: F 18
- Salty Sands: G 3
- Boulder Cay: G 5
- Lonely Isle: G 8
- Cannon Cove: G 10
- Plunder Valley: G 16
- Lone Cove: H 6
- Rum Runner Isle: H 9
- Twin Groves: H 11
- Lost Gold Fort: H 17
- Shark Bait Cove: H 19
- Picaroon Palms: I 4
- Hidden Spring Keep: I 8
- Reaper's Hideout: I 12
- Fools Lagoon: I 14
- Chicken Isle: I 16
- Lookout Point: I 20
- Scurvy Isley: K 4
- Castaway Isle: K 14
- Snake Island: K 15
- Booty Isle: K 20
- Torre di guardia del kraken: L 6
- Paradise Spring: L 17
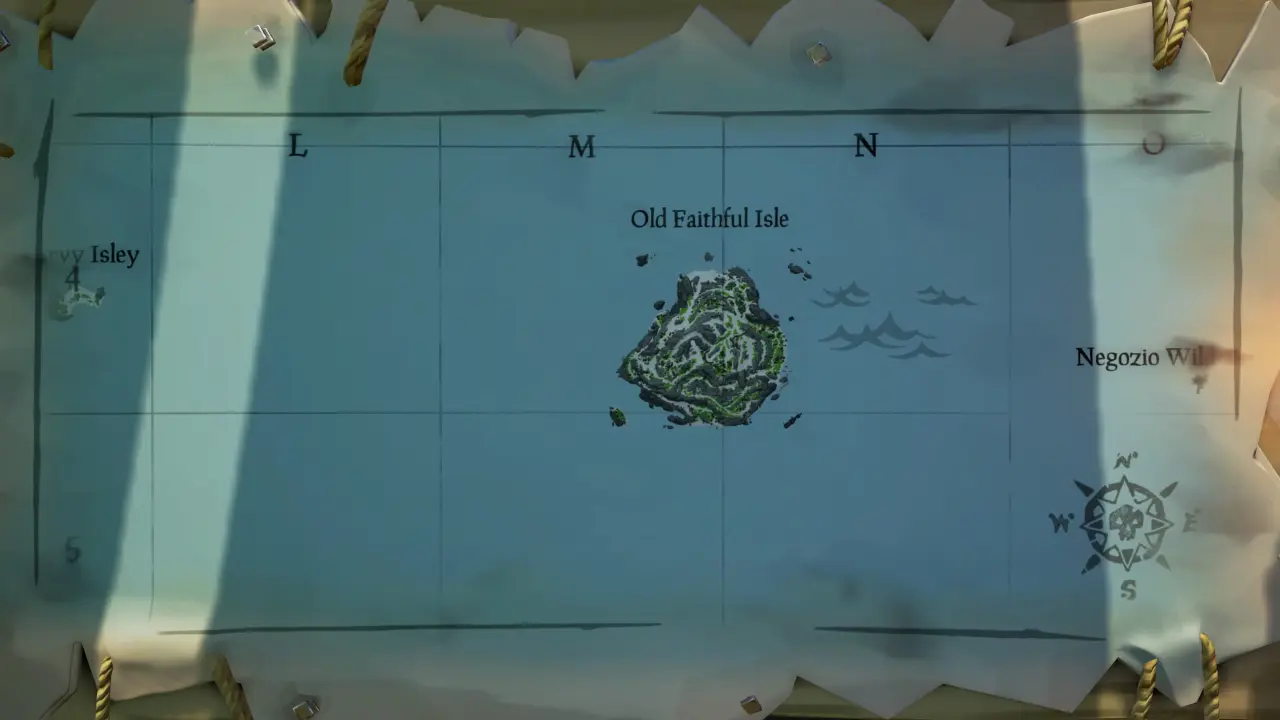
- Old Faithful Isle: M 4
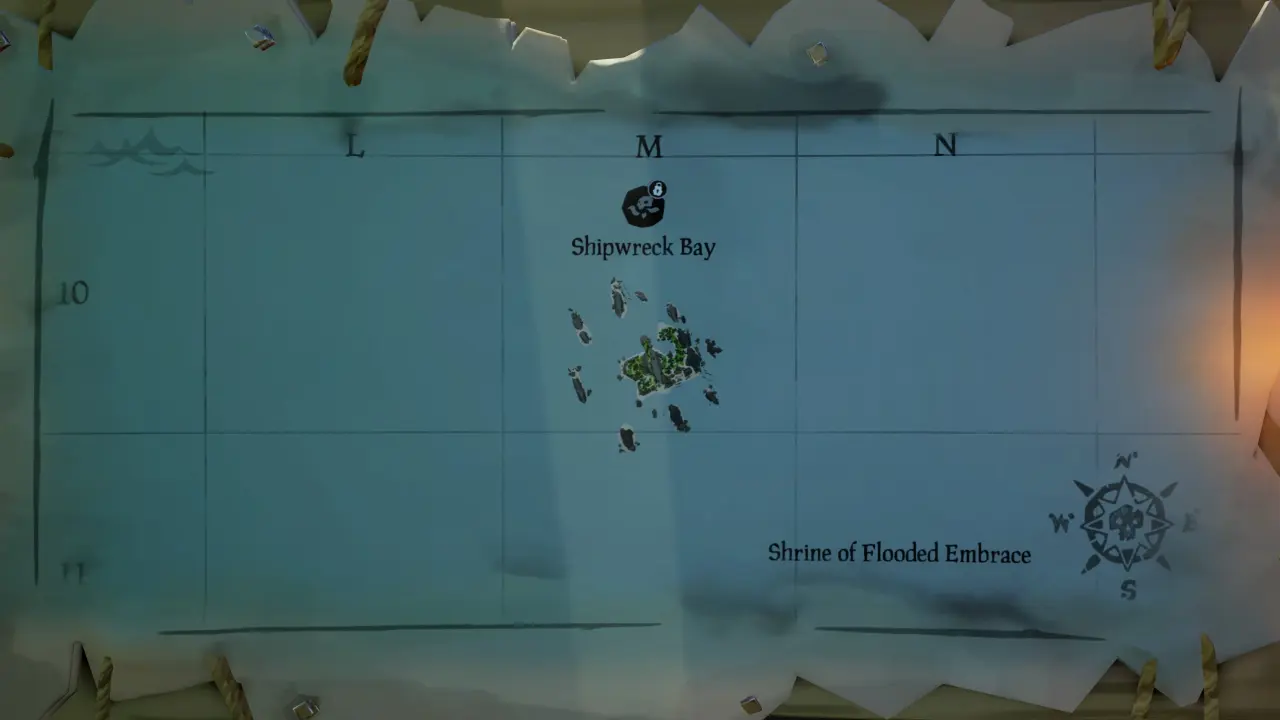
- Shipwreck Bay: M 10
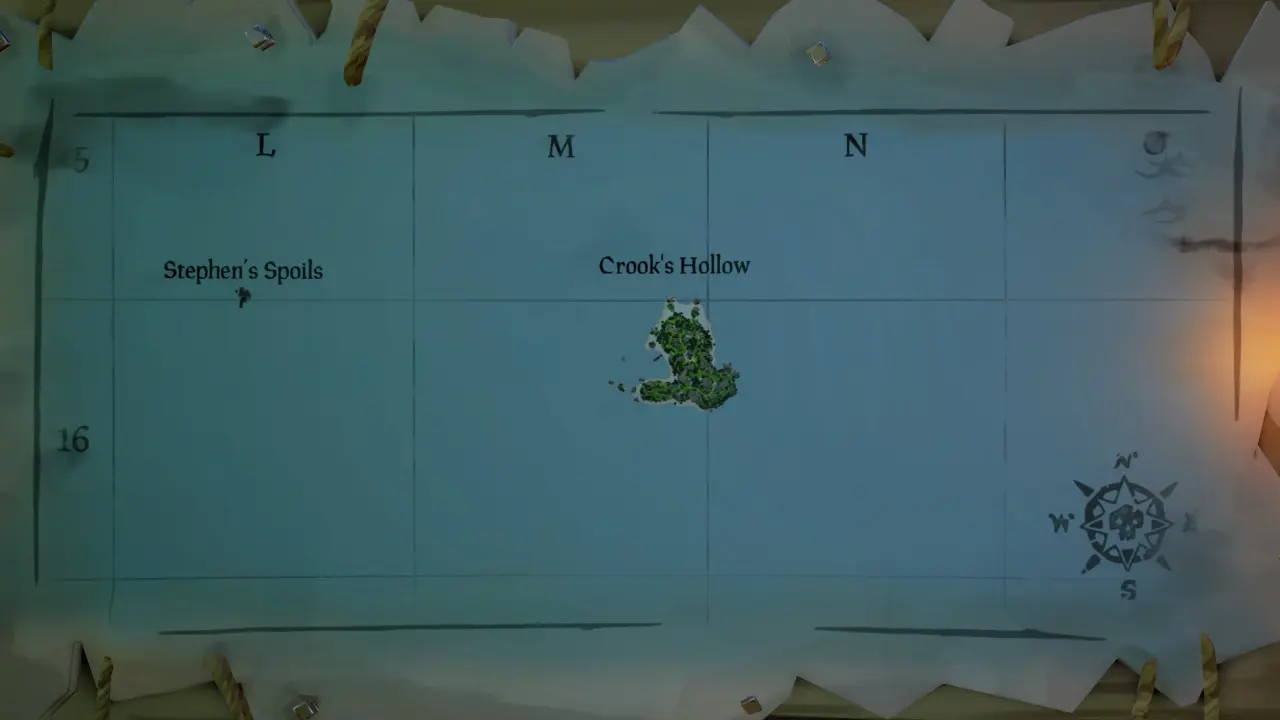
- Crook's Hollow: M 16
- Cutlass Cay: M 18
- Thieves' Haven: M 20
- Blind Man's Lagoon: N 6
- Mutineer Rock: N 19
- Black Sand Atoll: O 3
- Isle of Last Words: O 9
- Crooked Masts: O 11
- Barnacle Cay: O 15
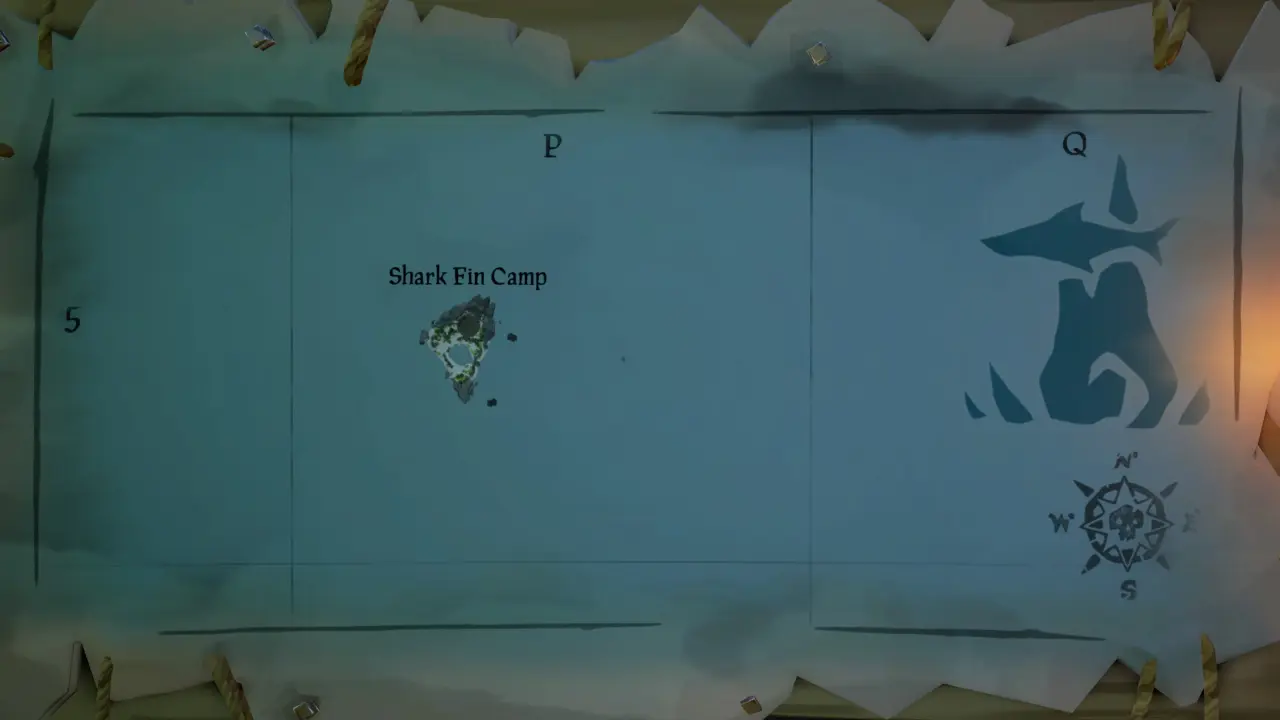
- Shark Fin Camp: P 5
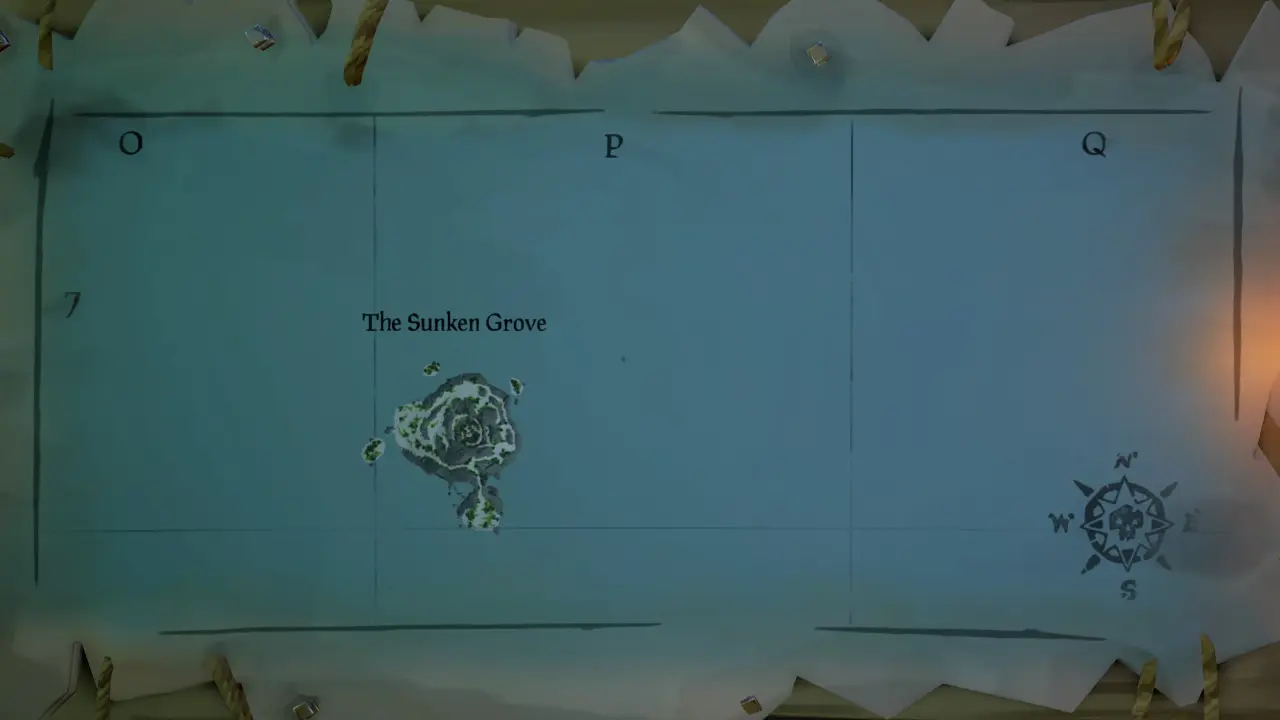
- The Sunken Grove: P 7
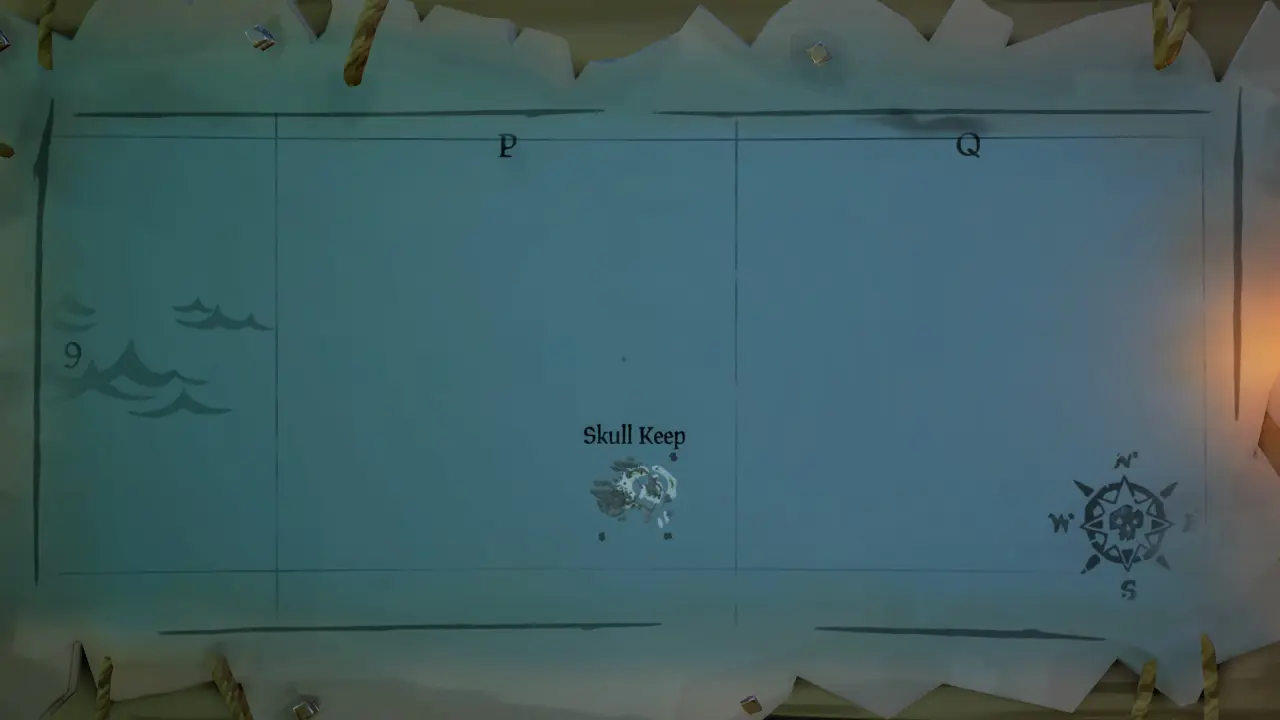
- Skull Keep: P 9
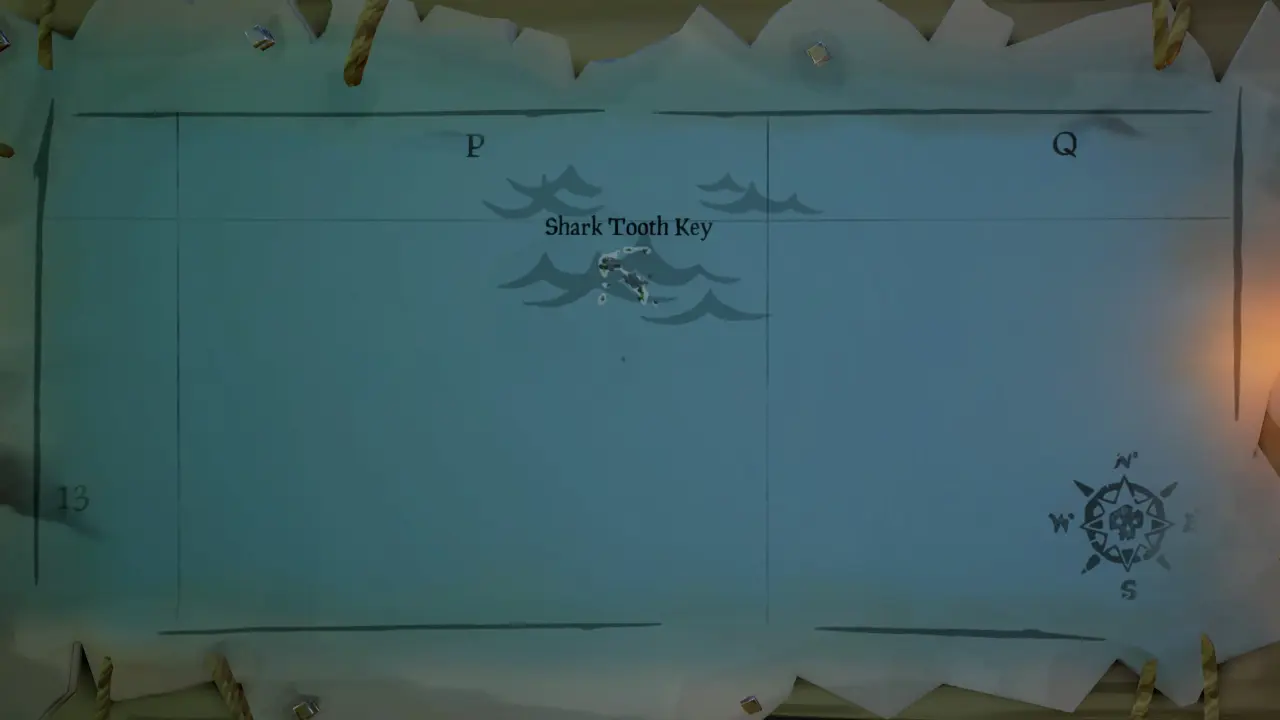
- Shark Tooth Key: P 13
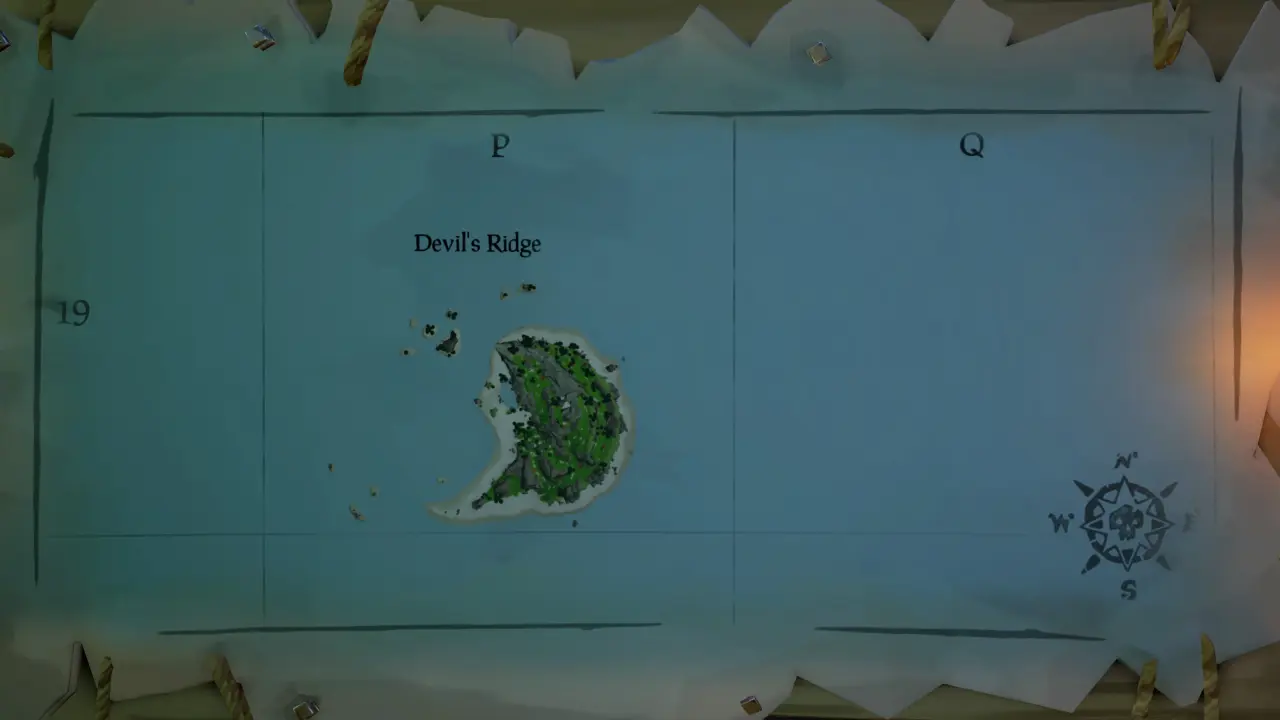
- Devil's Ridge: P 19
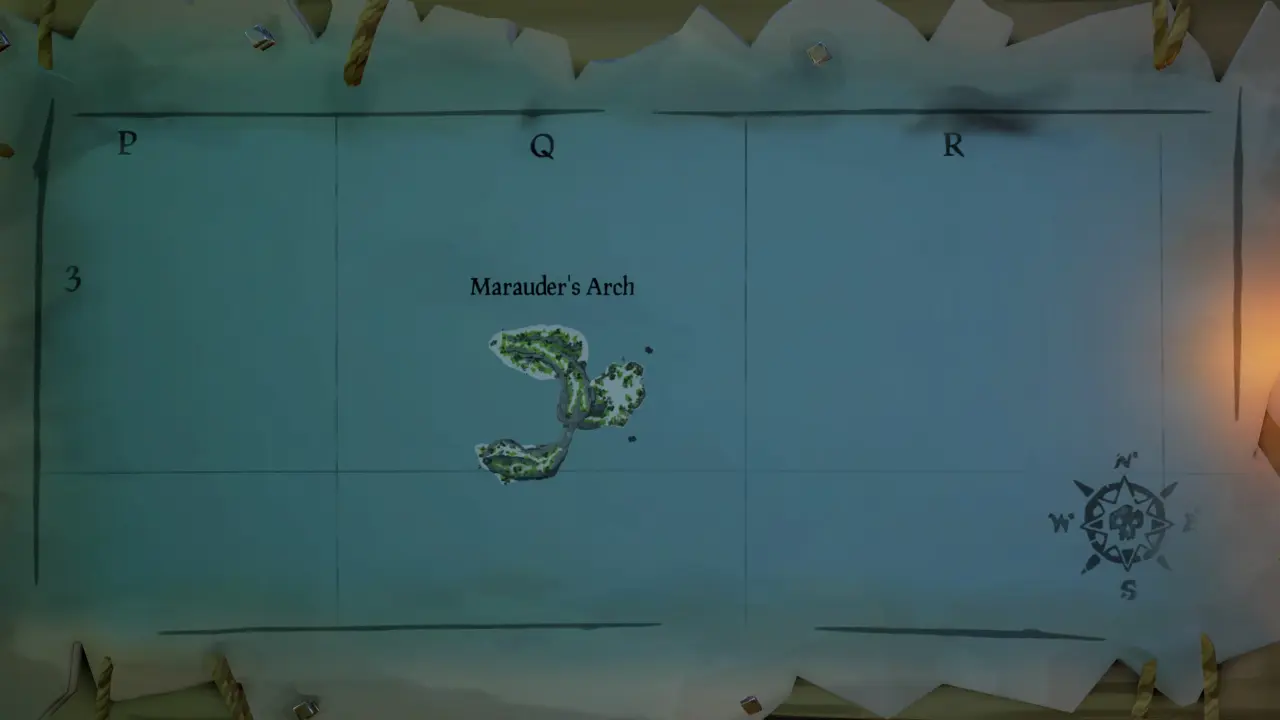
- Marauder's Arch: Q 3
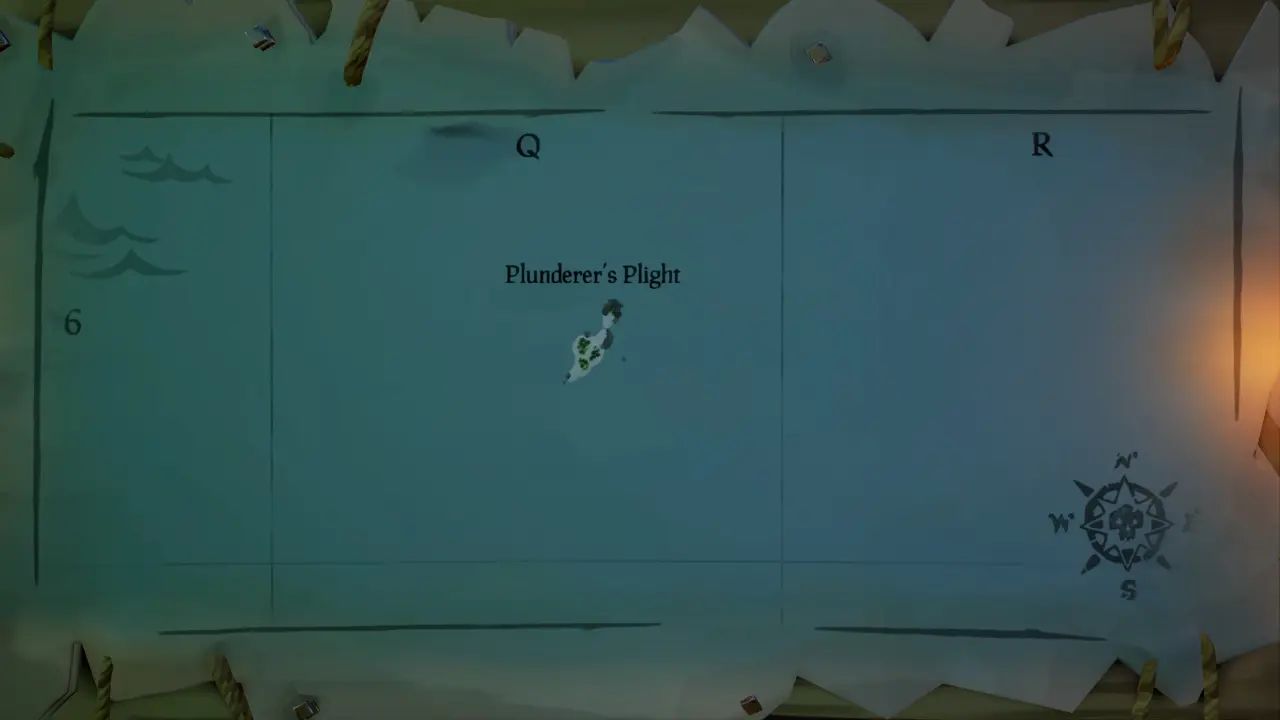
- Plunderer's Plight: Q 6
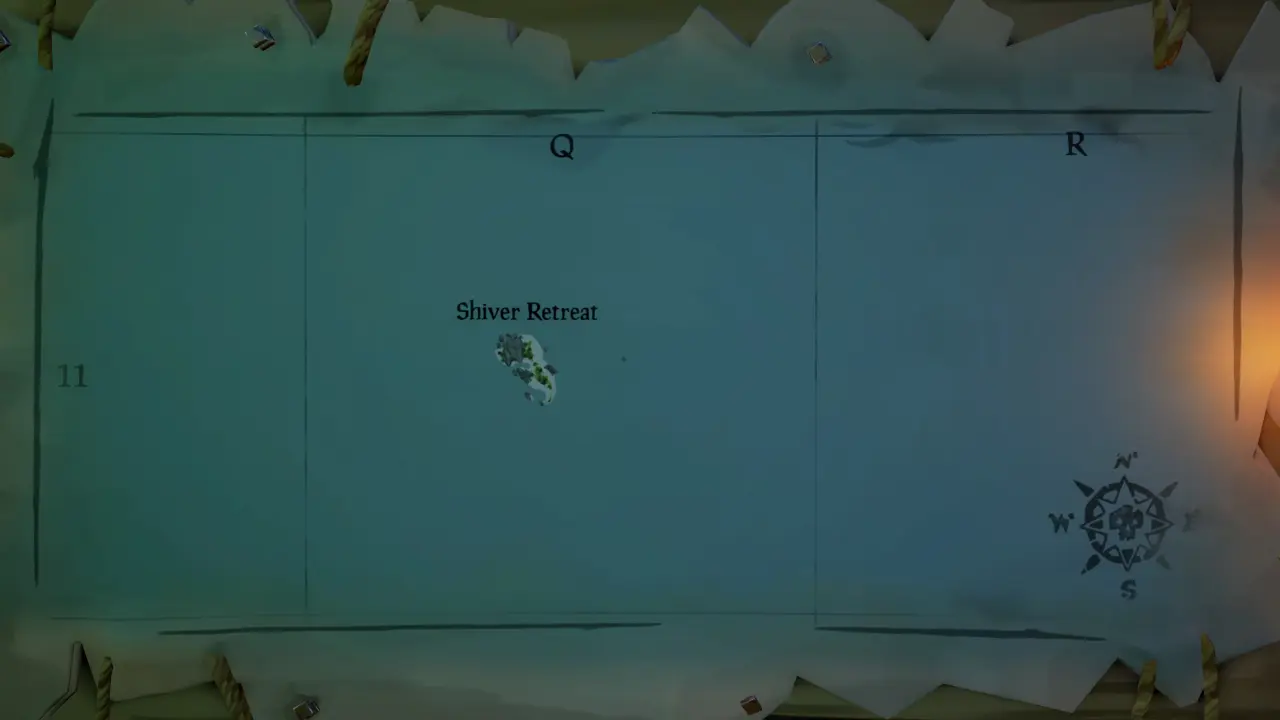
- Shiver Retreat: Q 11
- Black Water Enclave: R 5
- Tri-Rock Isle: R 10
- Kraken's Fall: R 12
- Liar's Backbone: S 11
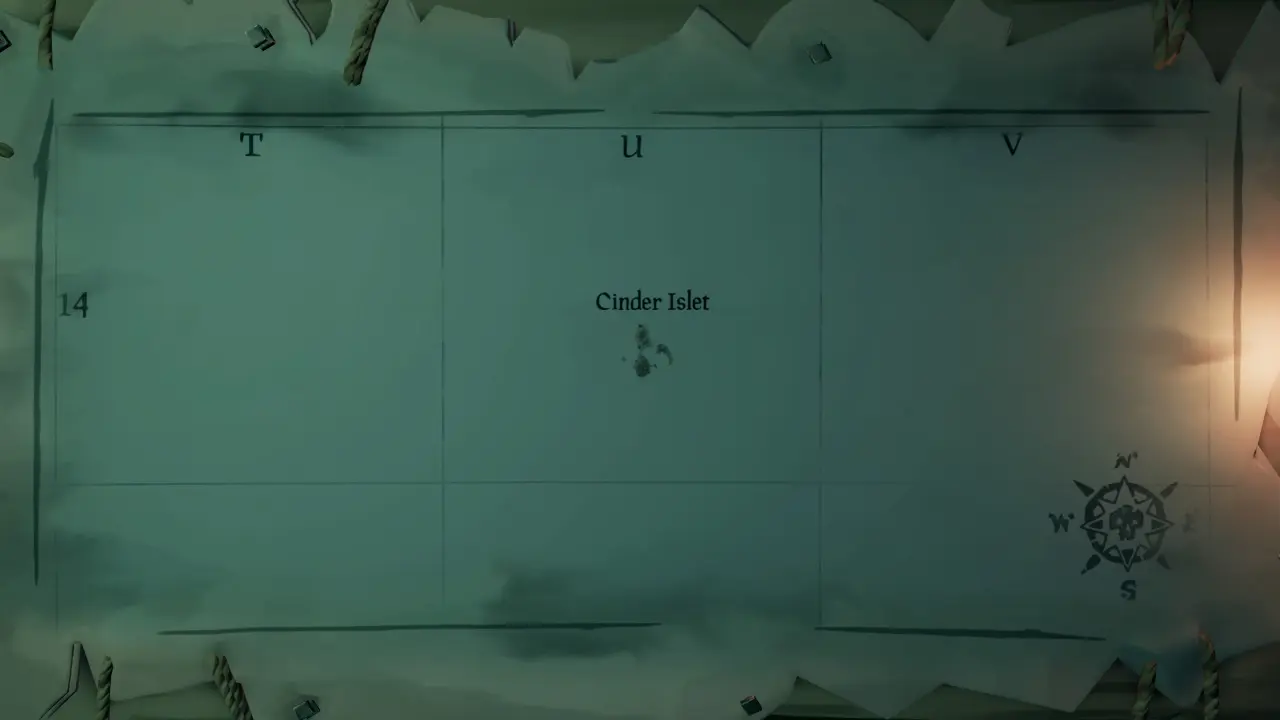
- Cinder Islet: U 14
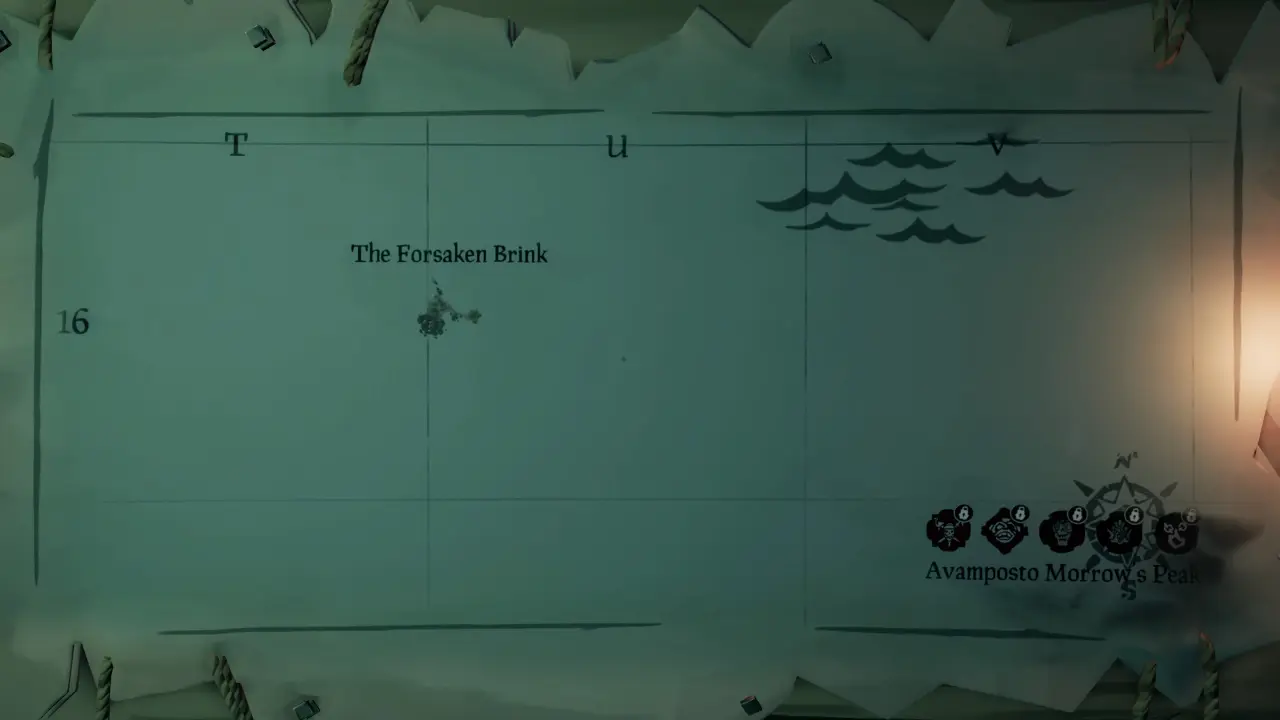
- The Forsaken Brink: U 16
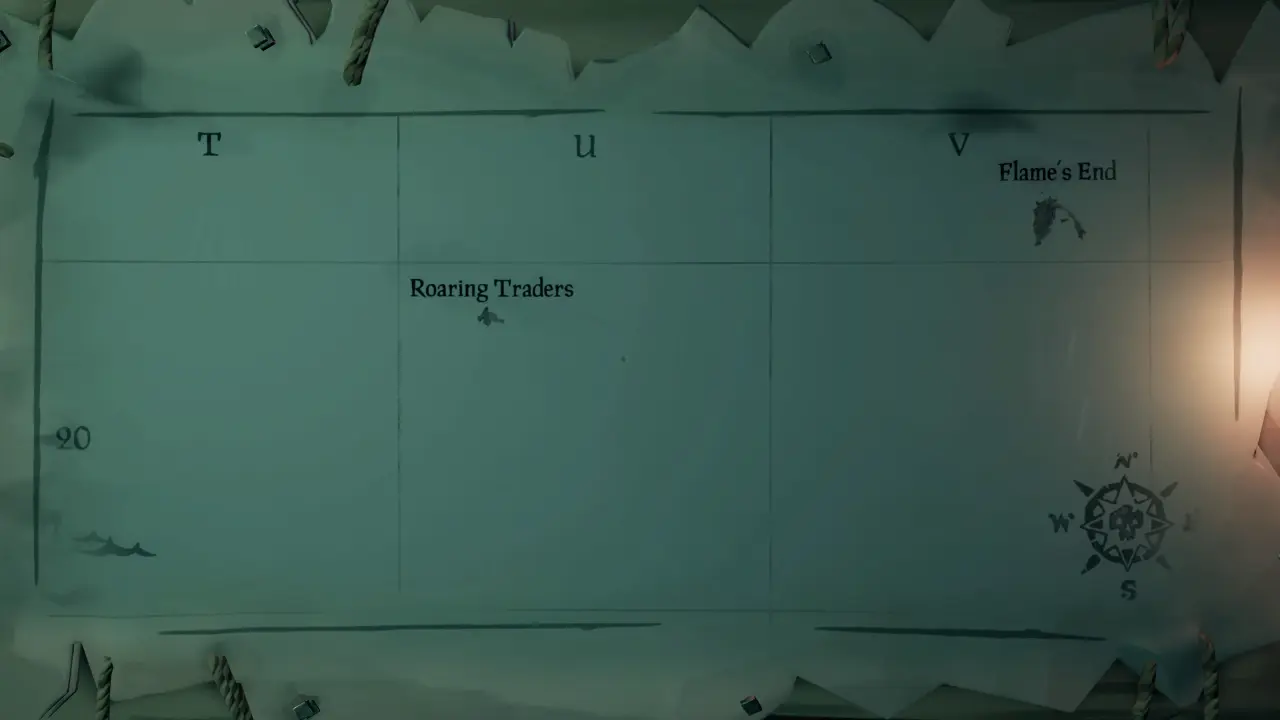
- Roaring Trades: U 20
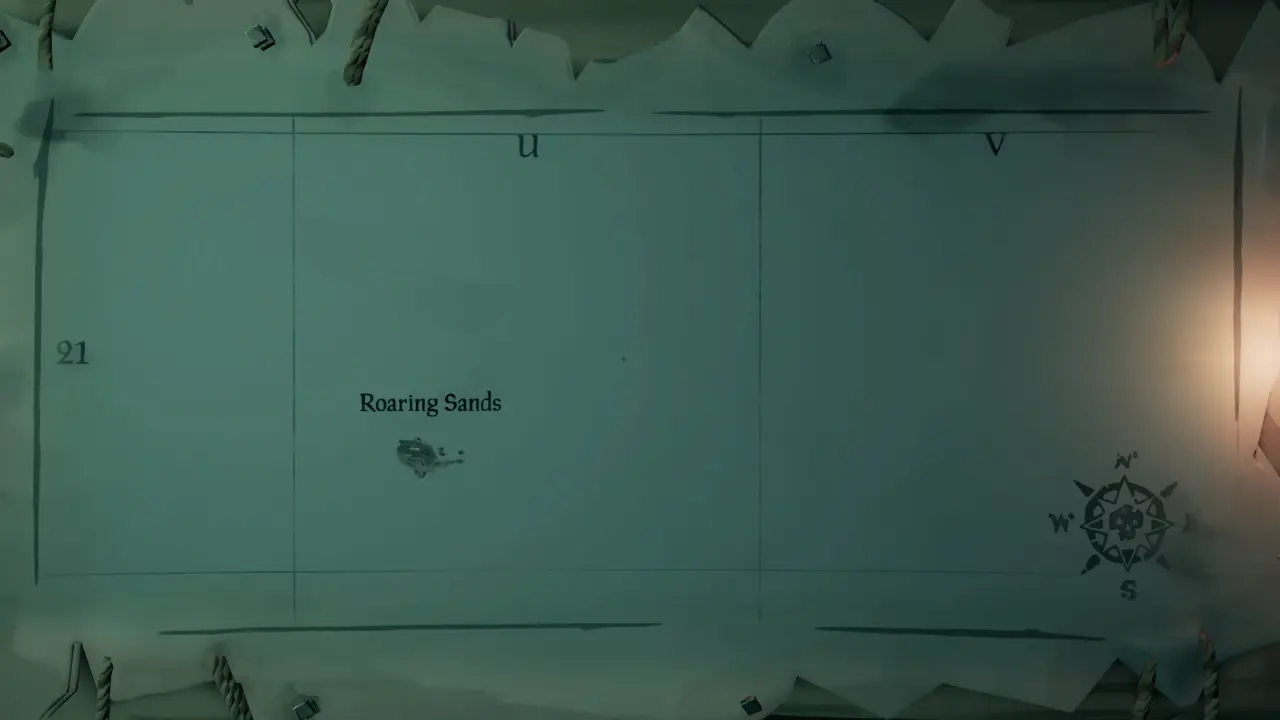
- Roaring Sands: U 21
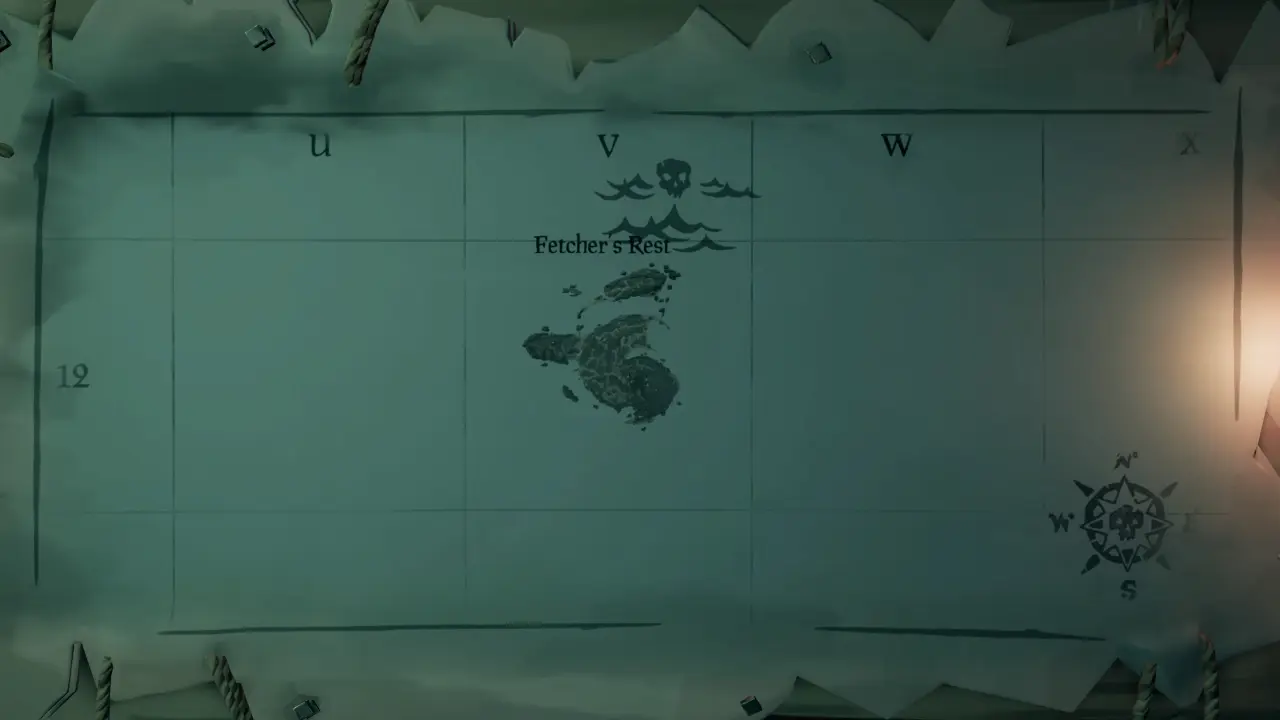
- Fetcher's Rest: V 12
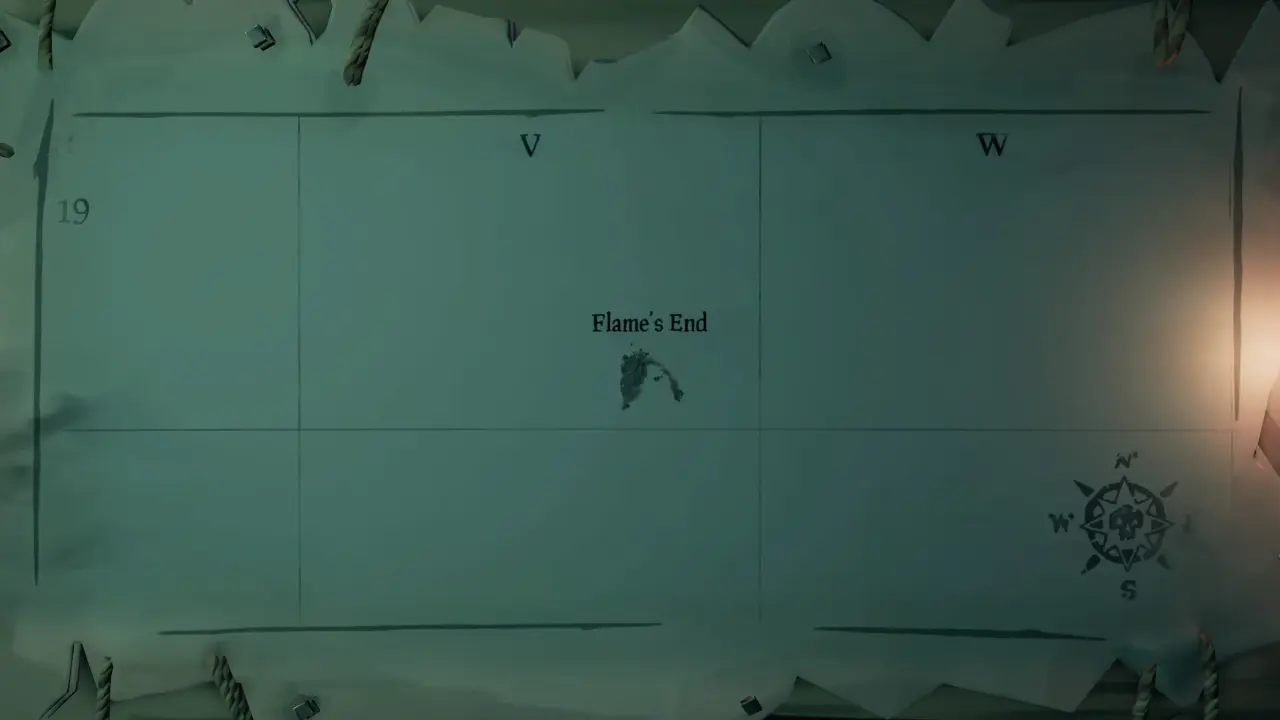
- Flame's End: V 19
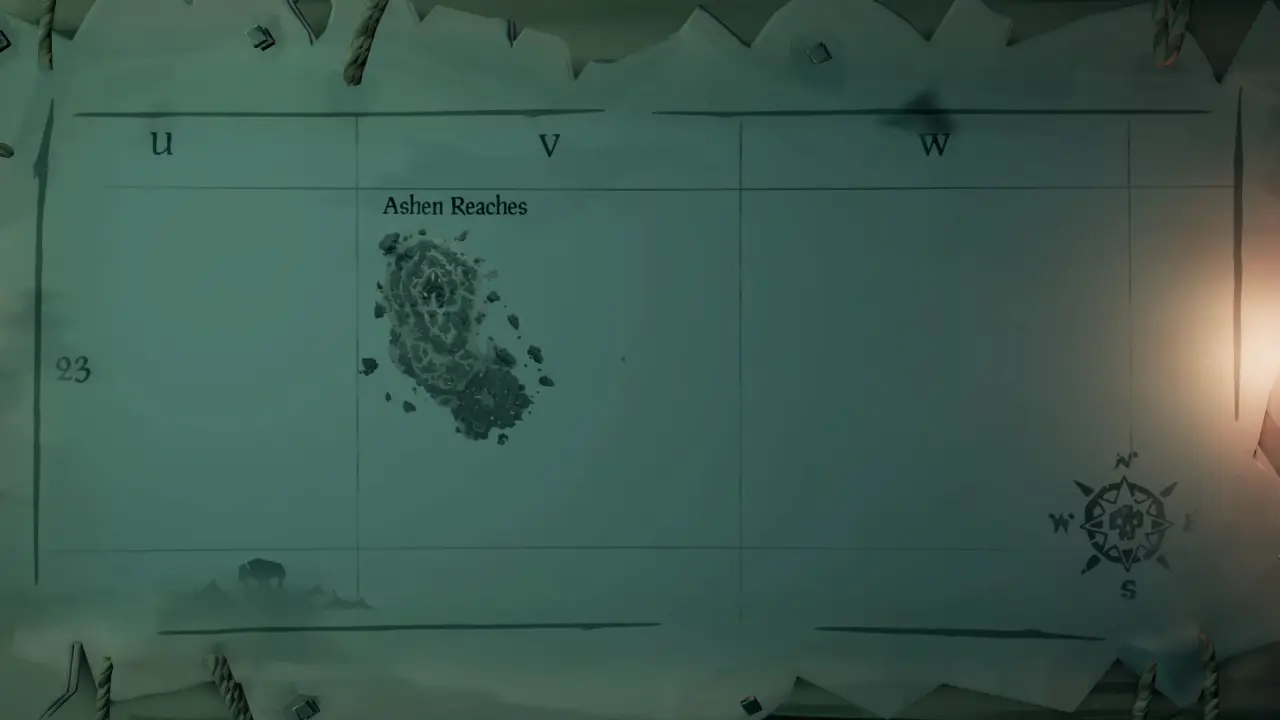
- Ashen Reaches: V 23
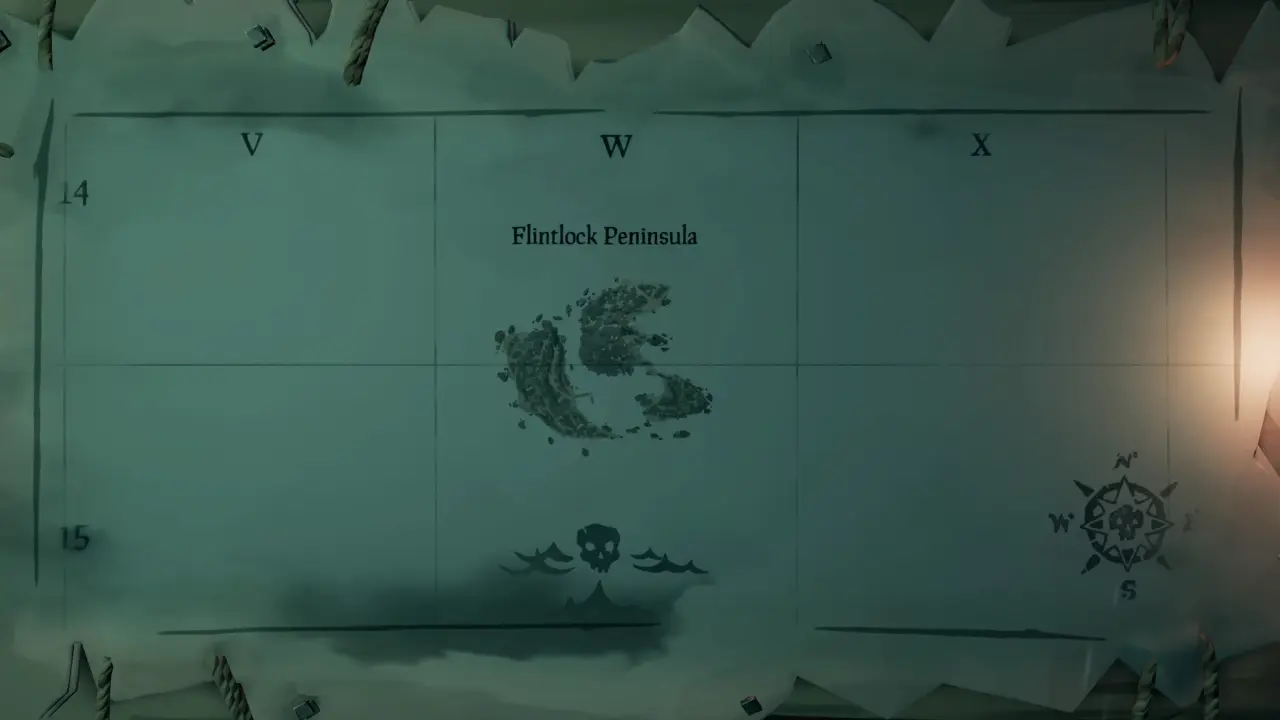
- Flintlock Peninsula: W 14
- The Devil's Thirst: W 21
- Scorched Pass: X 11
- Cursewater Shores: Y 13
- Ruby's Fall: Y 16
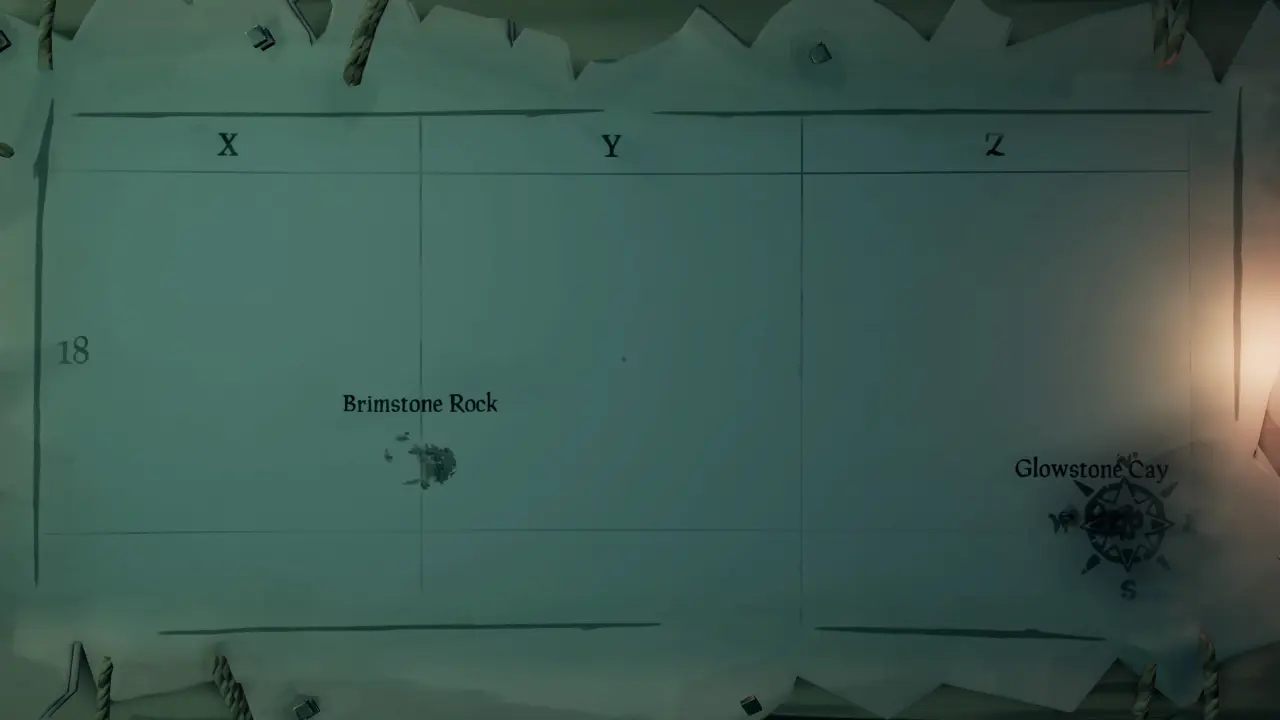
- Brimstone Rock: Y 18
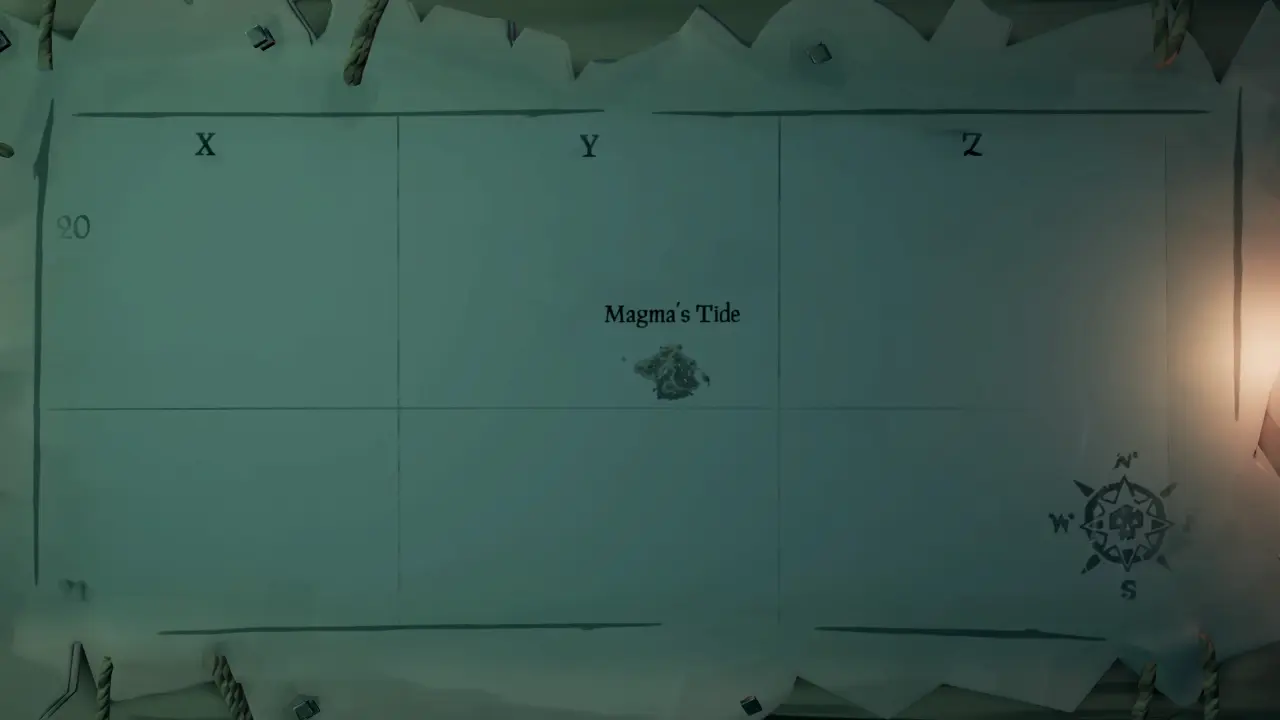
- Magma's Tale: Y 20
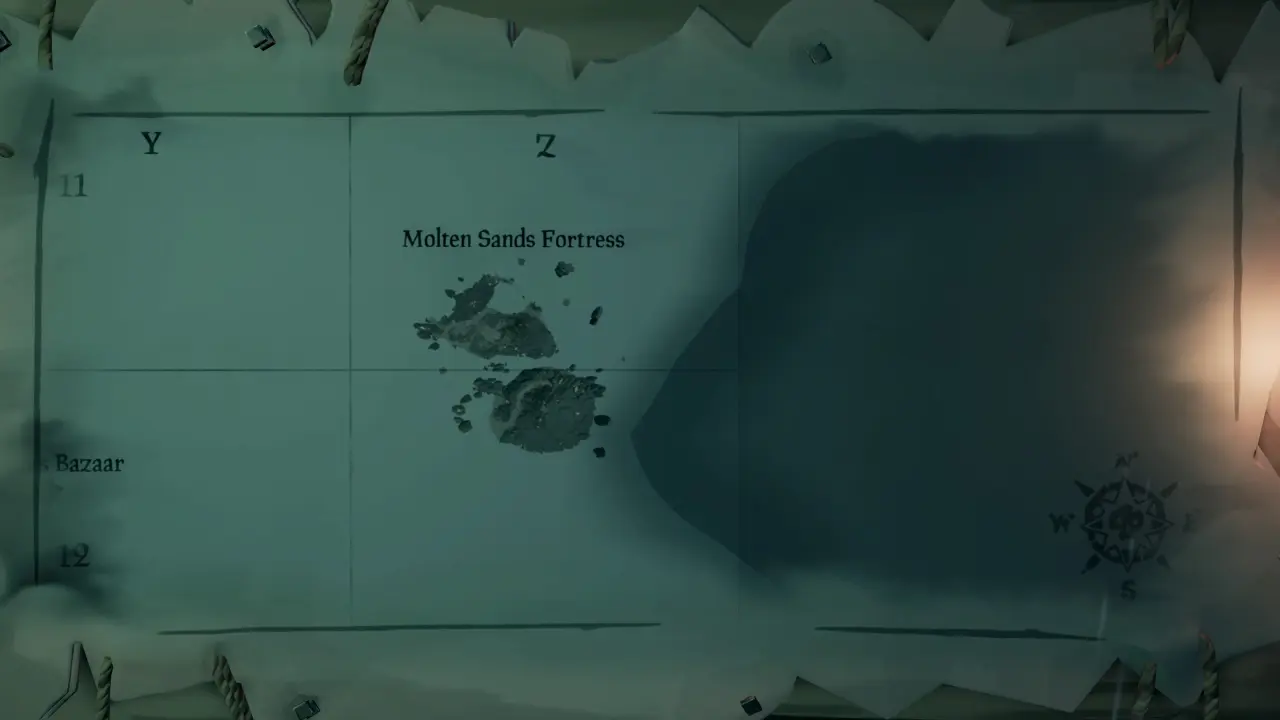
- Molten Sands Fortress: Z 11
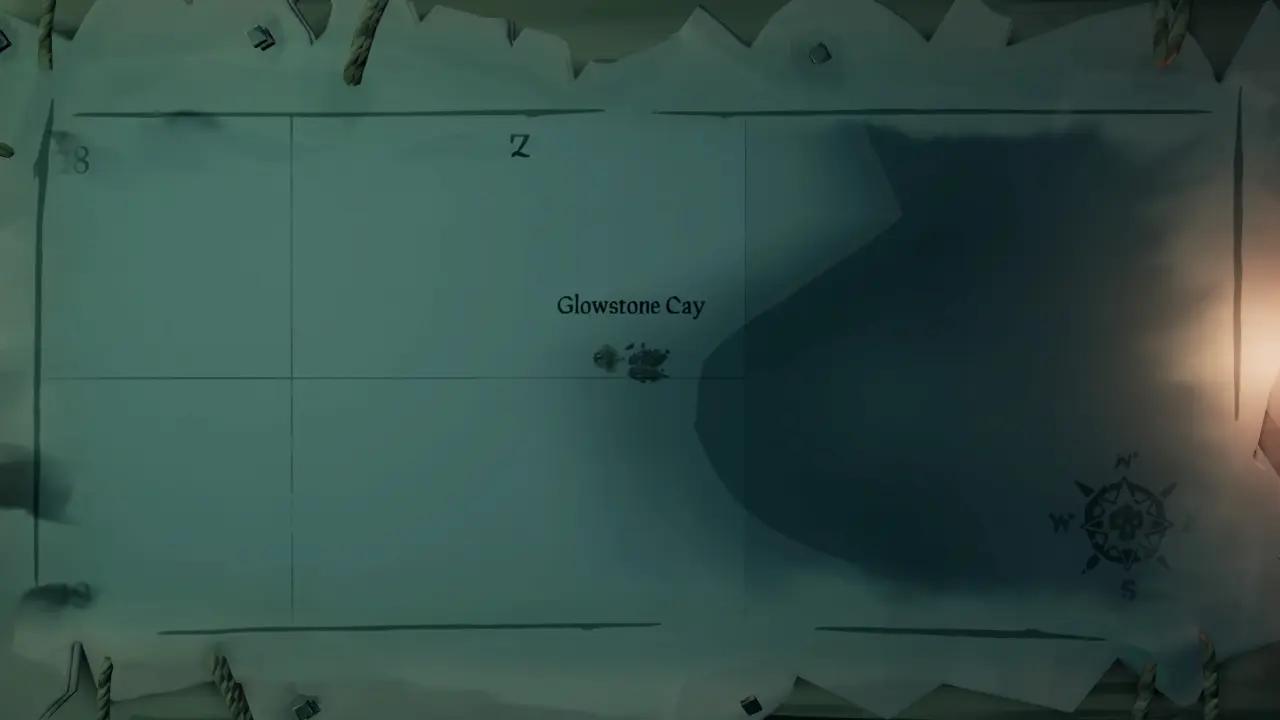
- Glowstone Cay: Z 18
- La posizione di tutte le fortezze
- La posizione di tutti gli avamposti
- La posizione di tutti i negozi
Sea of Thieves è l’avventura piratesca live-service di Rare e Xbox Game Studios, la quale è disponibile sulle console di casa Microsoft dal 2017. Nel corso degli anni il titolo si è evoluto e attraverso le ultime mosse di Microsoft, il titolo è approdato di recente anche su PlayStation 5 portando con sé tutti i contenuti finora pubblicati.
In occasione di questo evento, vogliamo proporvi alcune guide sul titolo al fine di semplificare la vostra esperienza e navigazione nelle acque di questo mastodontico live-service, rendendovi dunque l’esperienza ancora più gradevole. In questa occasione vi forniremo tutte le coordinate di tutte le isole presenti, aiutandovi così a rintracciarle negli sconfinati mari del gioco.
Sea of Thieves GUIDA a tutte le posizioni delle isole
Sea of Thieves è finalmente disponibile anche su PlayStation 5 grazie anche alla decisione di Microsoft di rendere disponibili alcuni dei suoi titoli esclusivi su altre piattaforme, tra cui anche la mastodontica avventura piratesca di Rare. Proprio per via della sua grandezza, individuare le isole sulla mappa per completare le varie missioni e mappe del tesoro risulterà complicato.
E dovendo dunque capire dove recarsi per ogni obiettivo, abbiamo ritenuto necessario dover realizzare una guida che possa indicarvi dove si trovano tutte le isole, avamposti, fortezze e infine negozi, segnalandovi posizione e aspetto di ogni luogo per rendere la vostra navigazione più semplice.
La posizione di tutte le isole
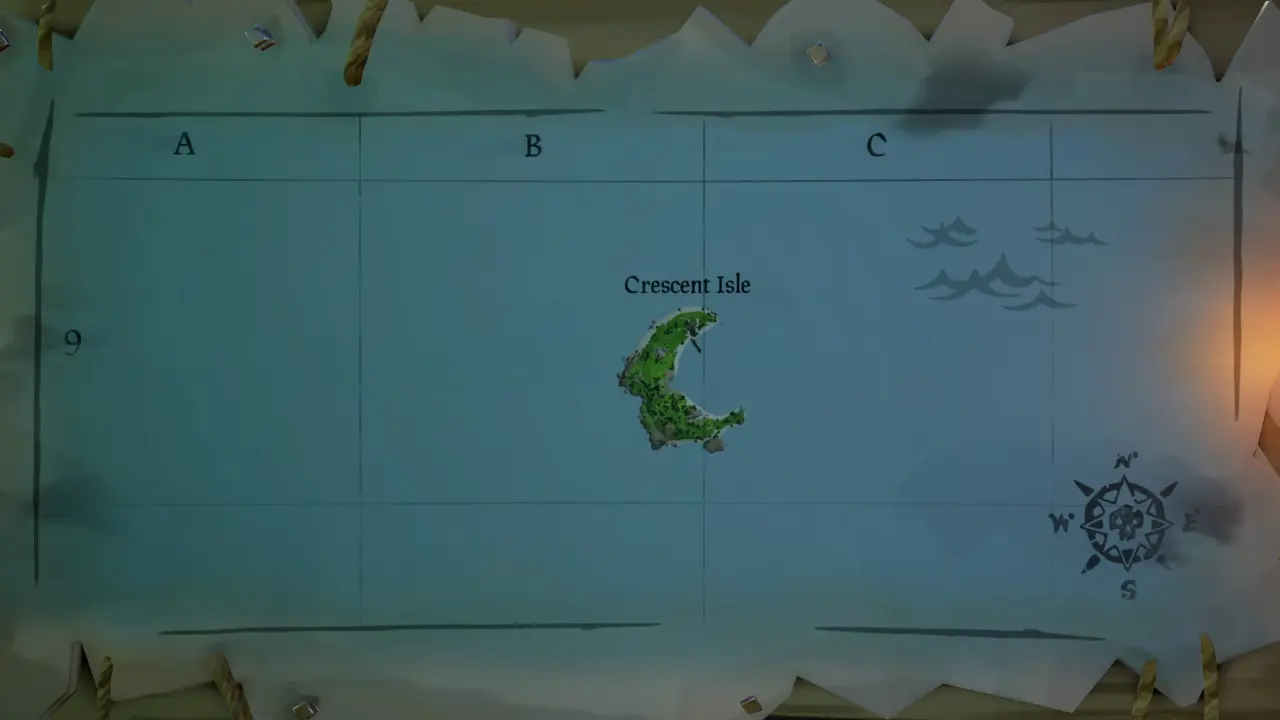
Crescent Isle: B 9
Mermaid’s Hideway: B 13
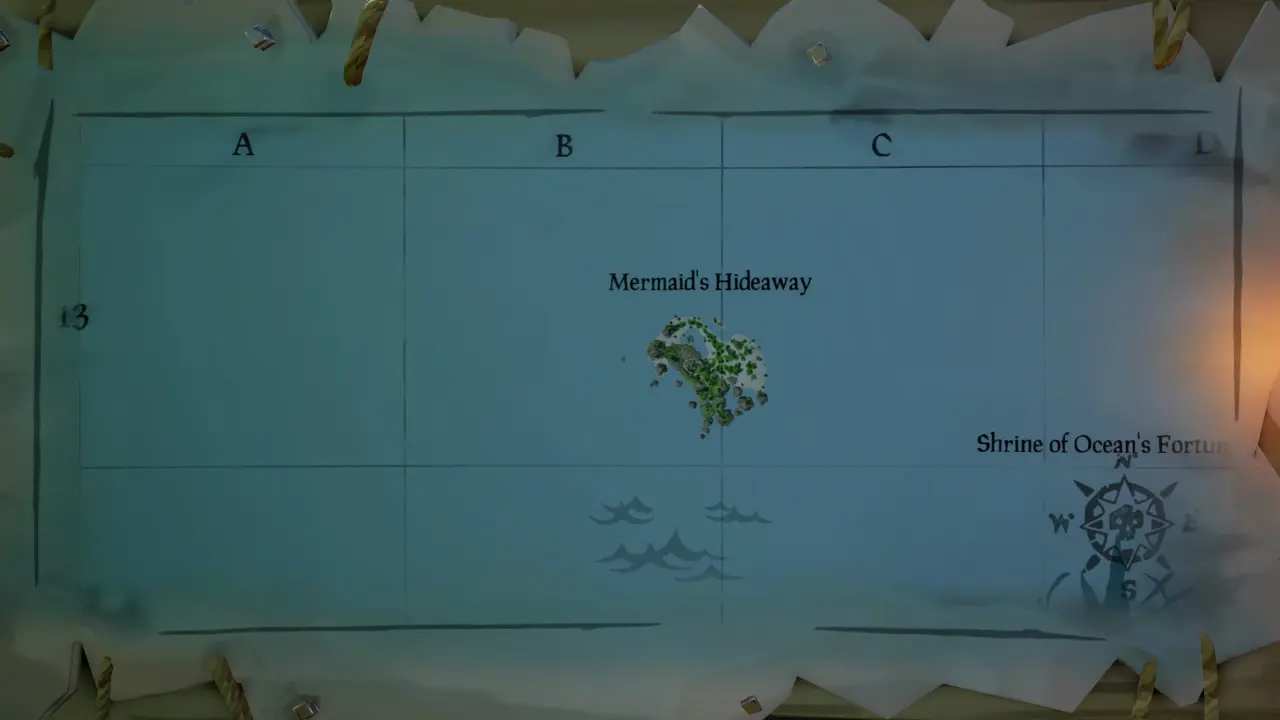
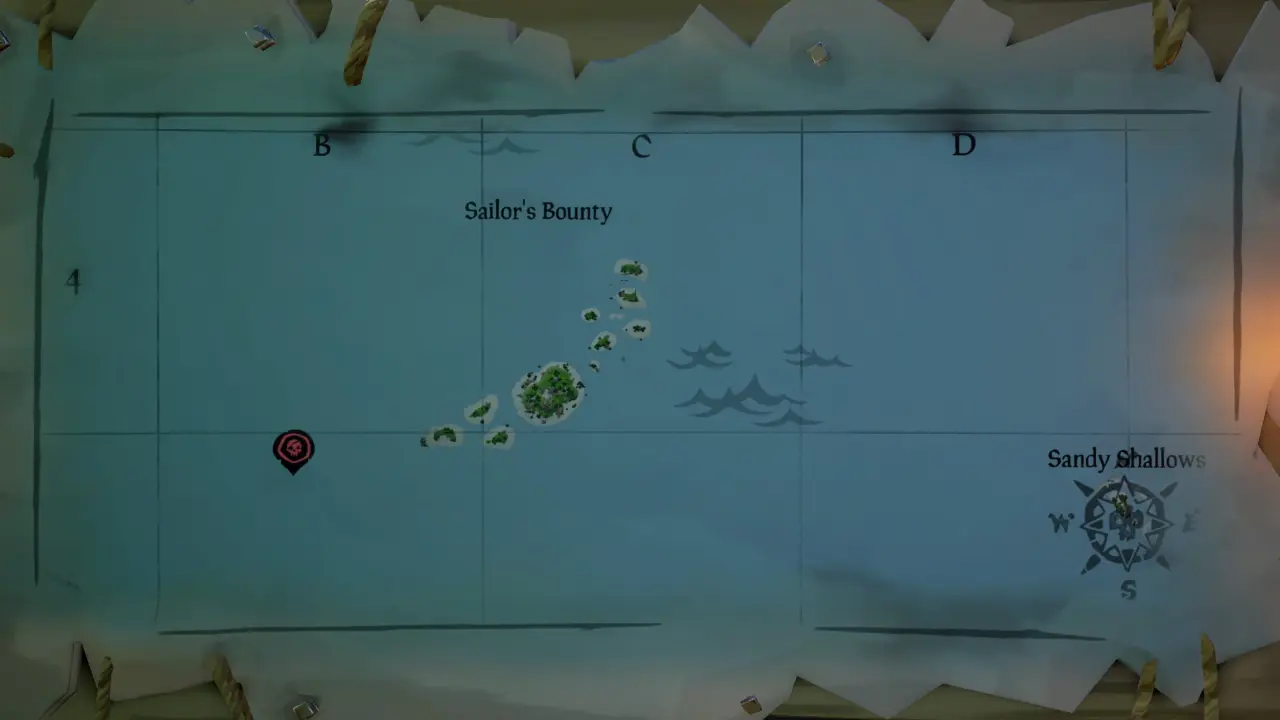
Sailor’s Bounty: C 4
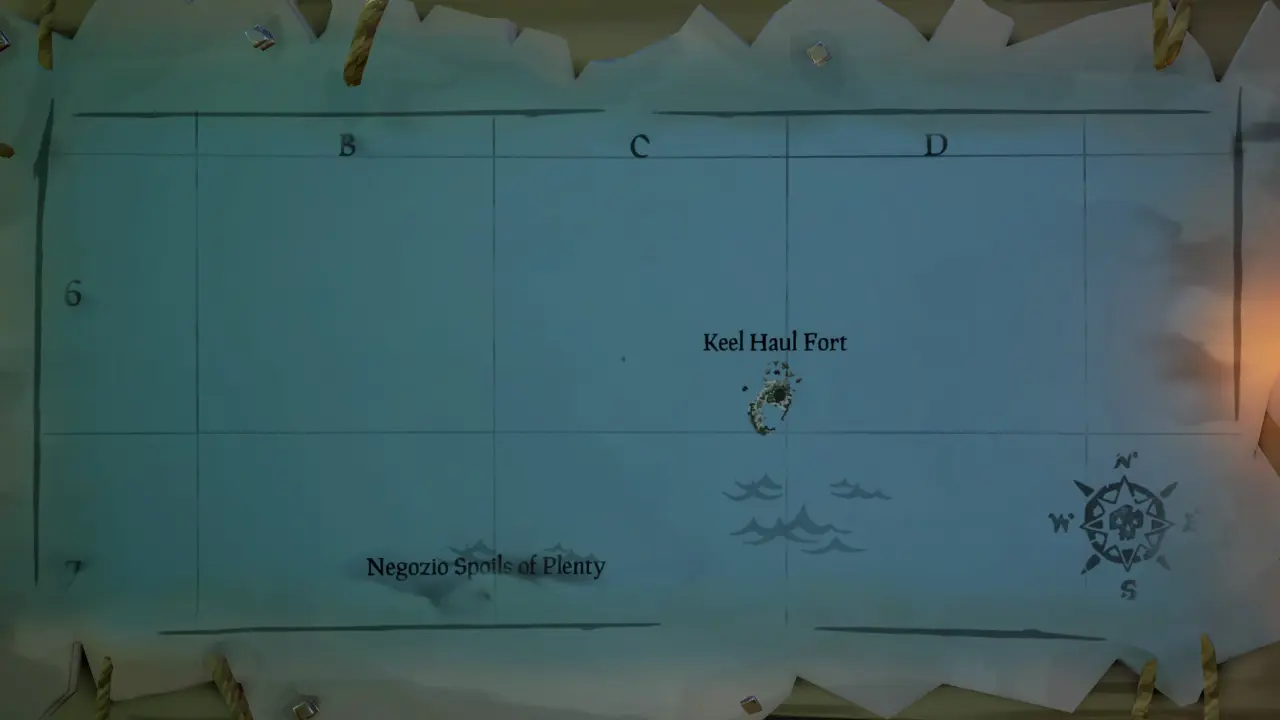
Keel Haul Fort: C 6
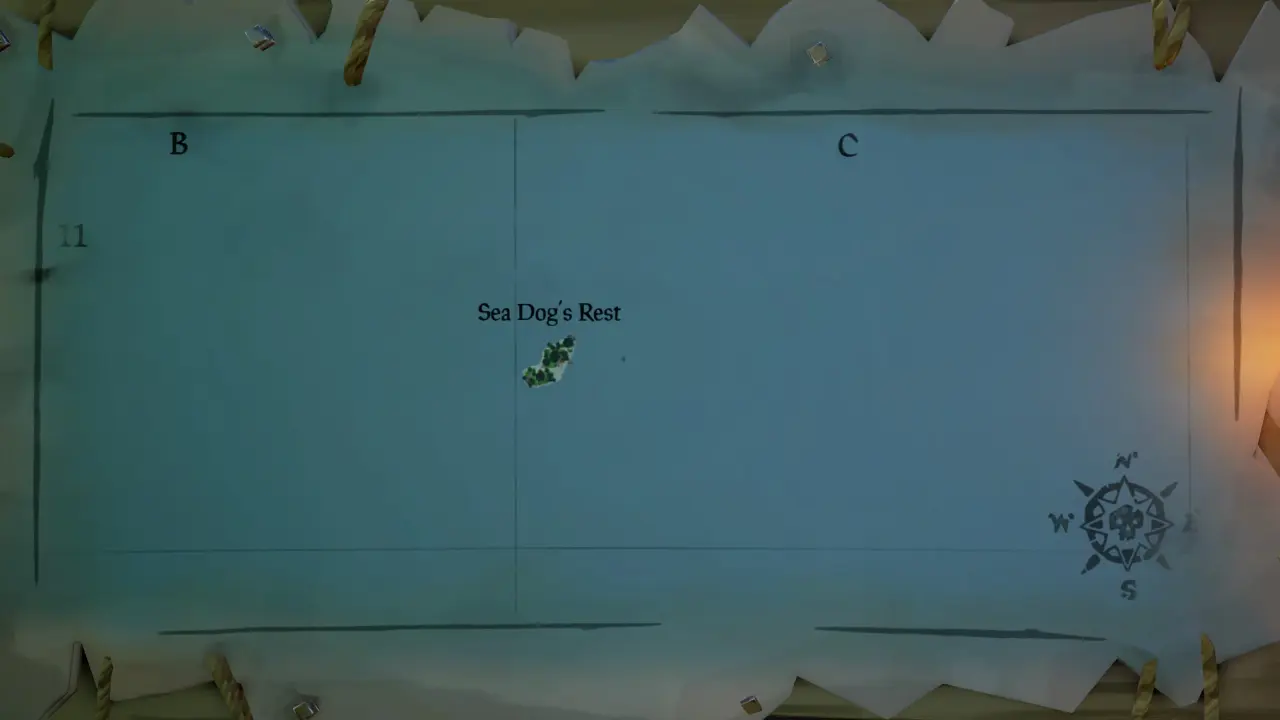
Sea Dog’s Rest: C 11
Sandy Shallows: D 5
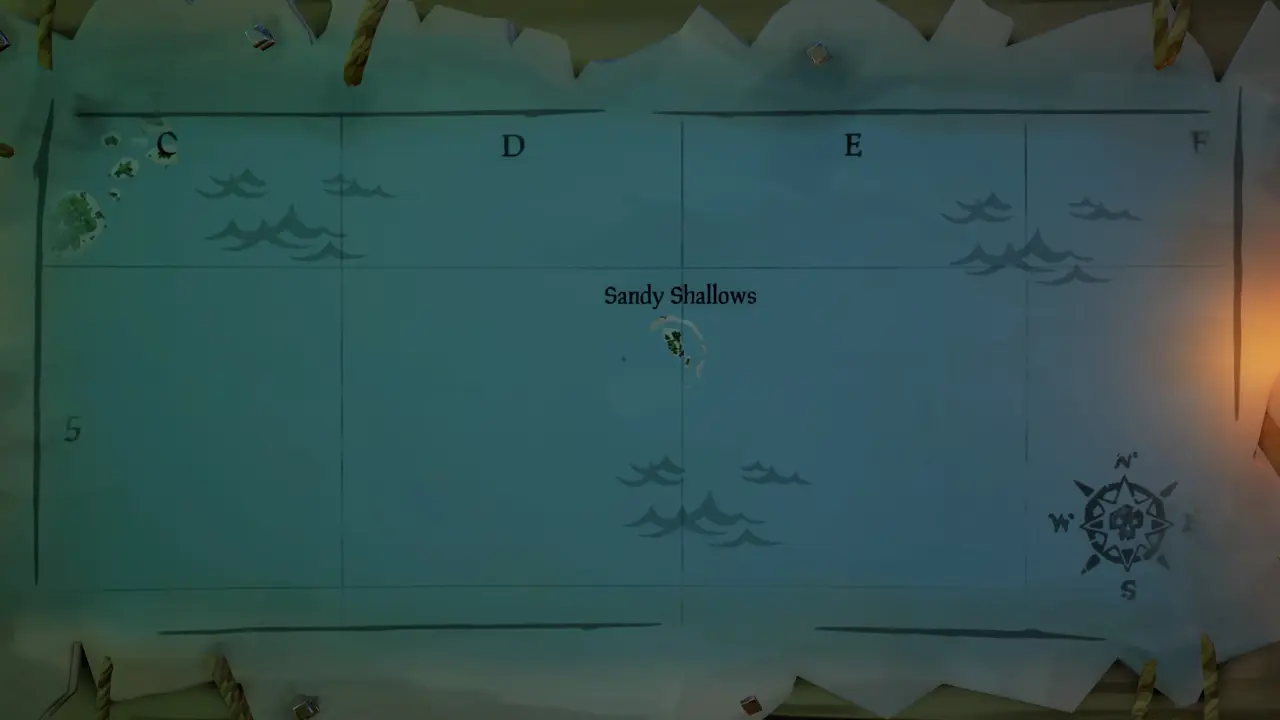
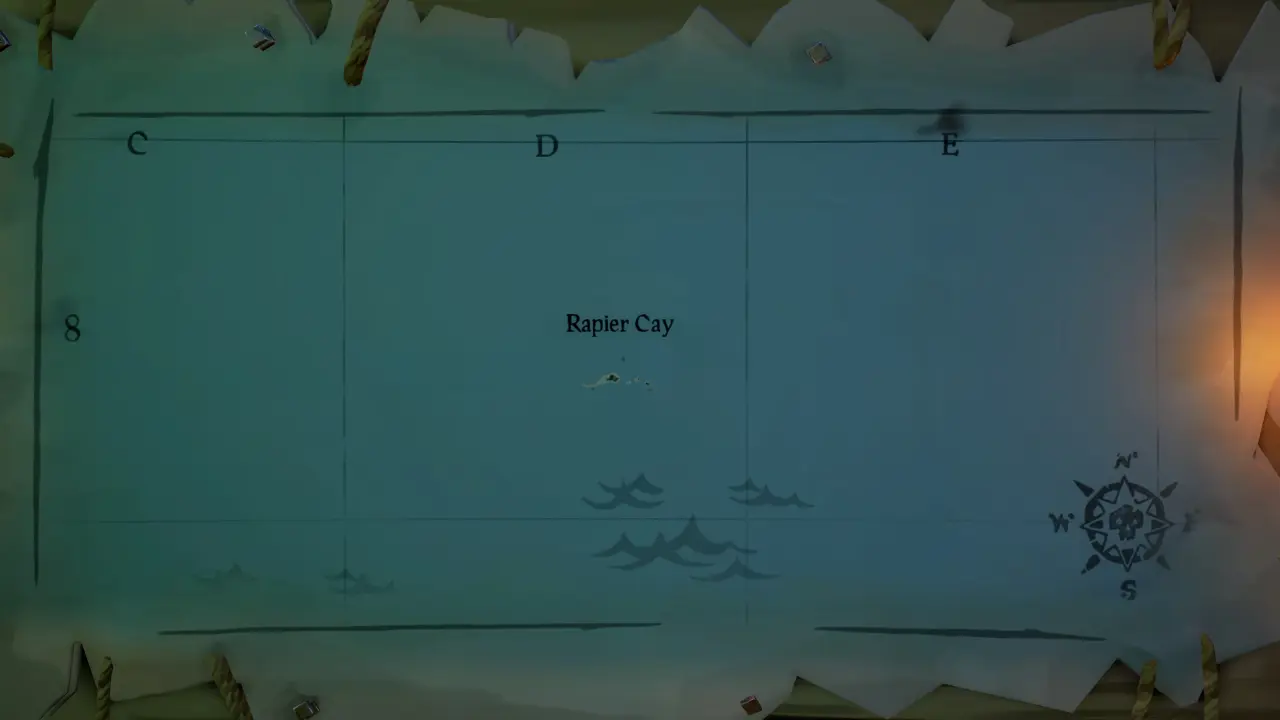
Rapier Cay: D 8
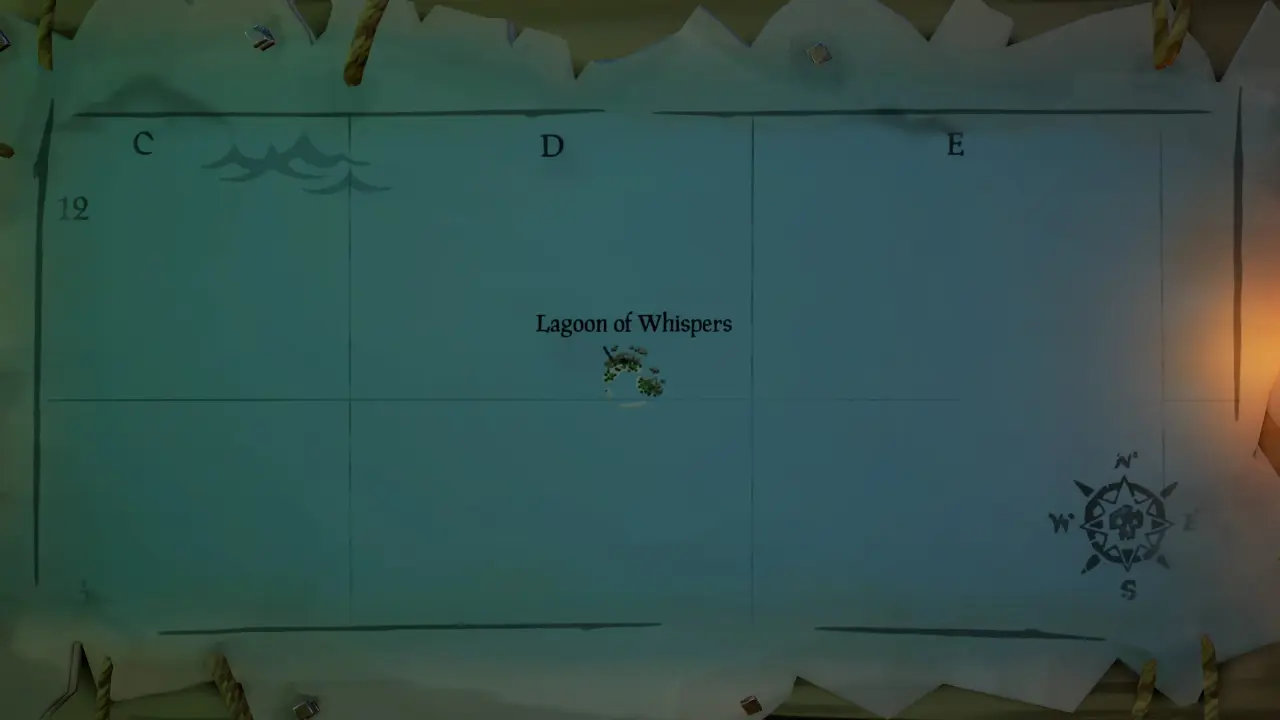
Lagoon of Whispers: D 12
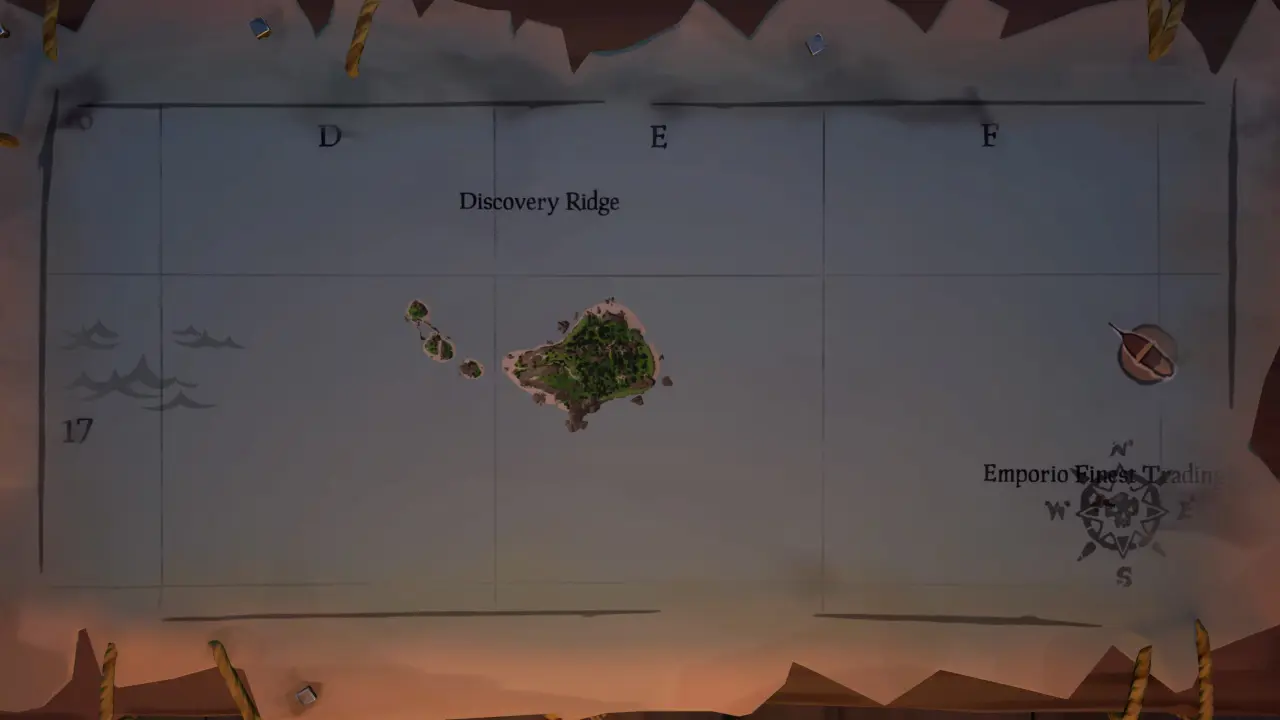
Discovery Ridge: E 17
Smuggler’s Bay: F 3
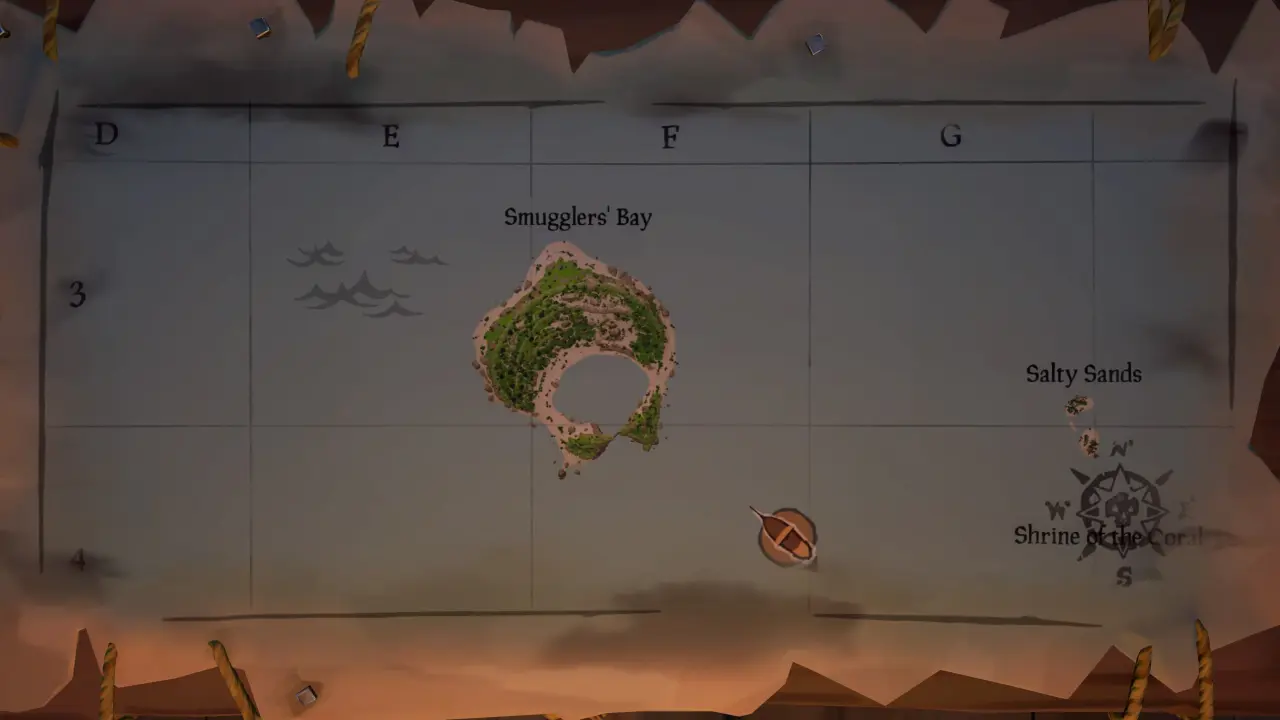
Wanderers Refuge: F 12
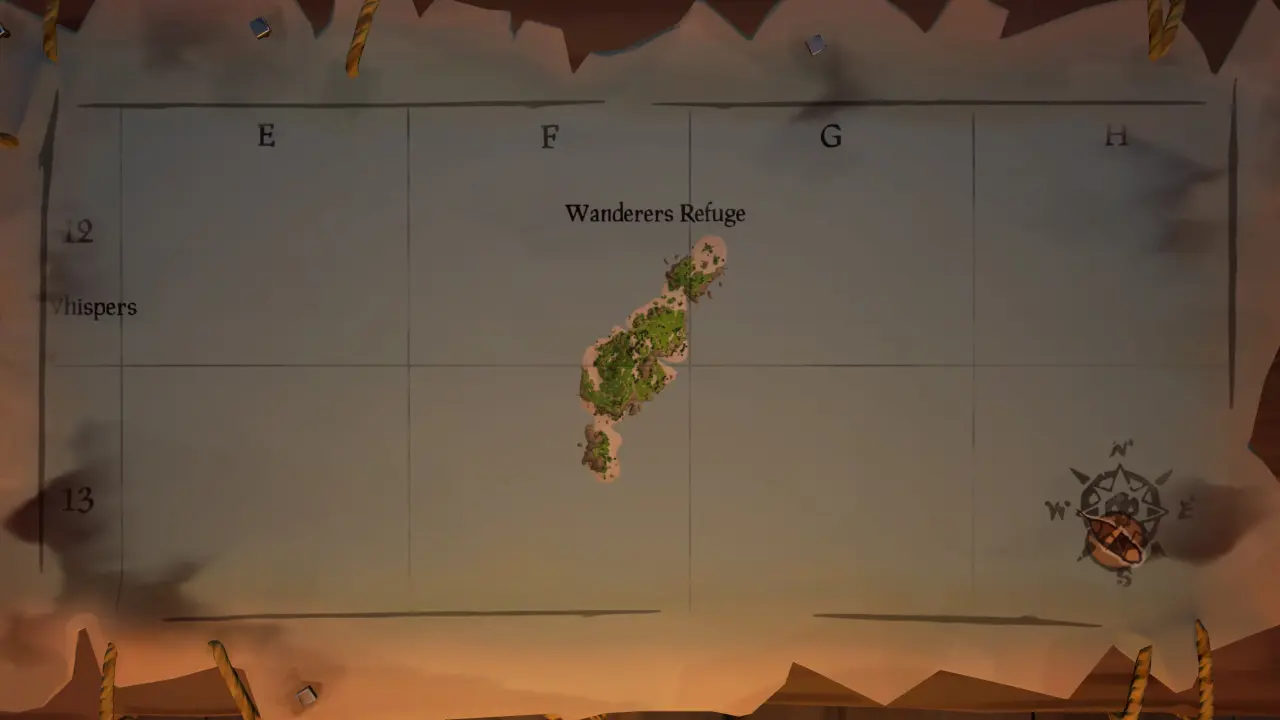
Old Salts Atoll: F 18
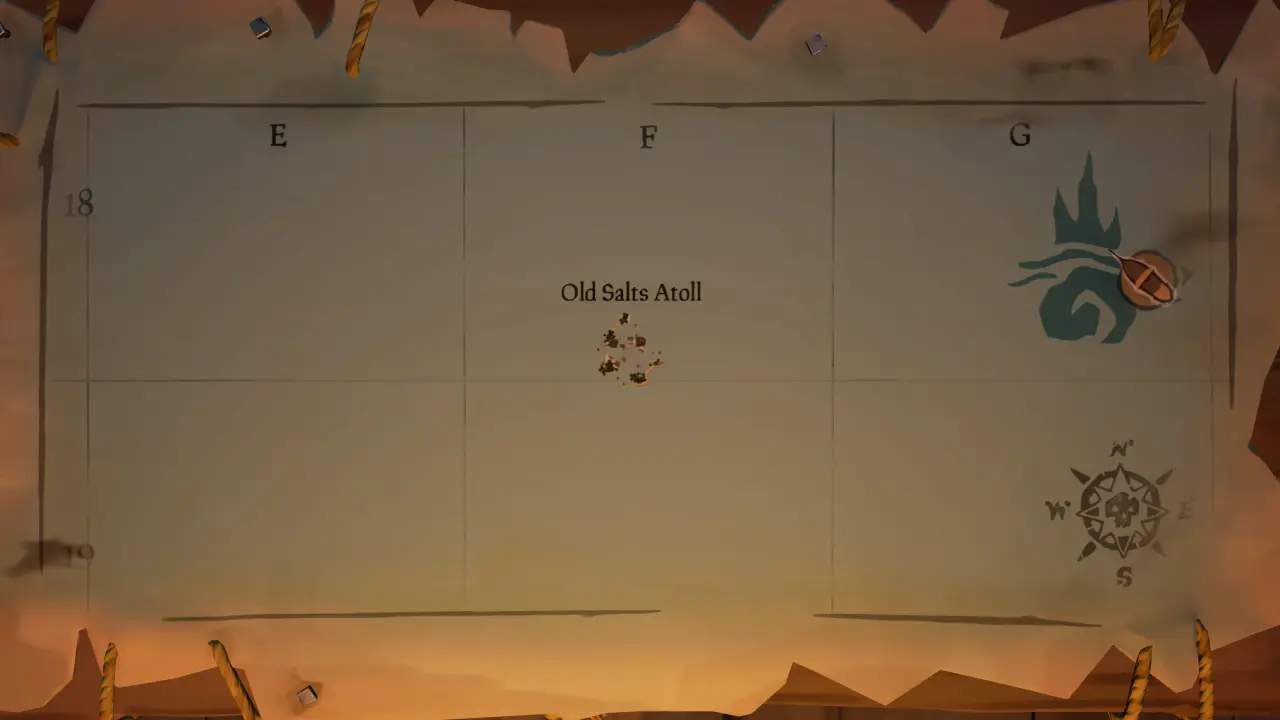
Salty Sands: G 3
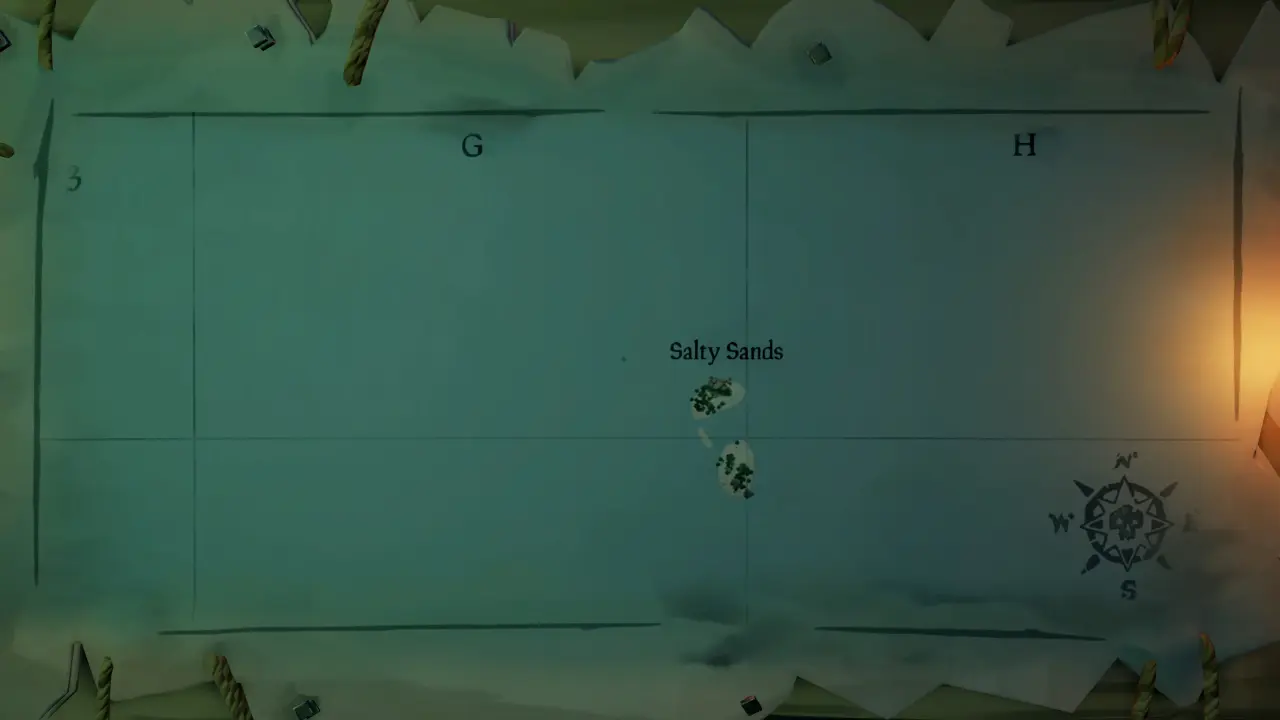
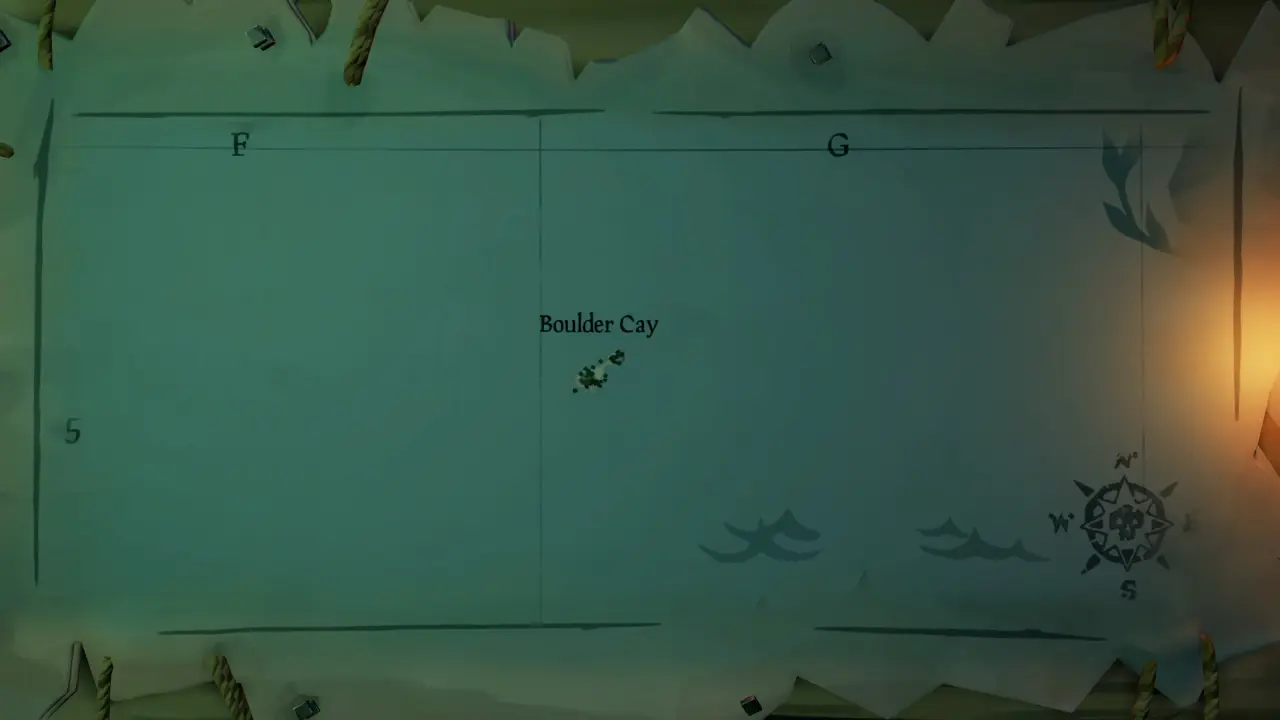
Boulder Cay: G 5
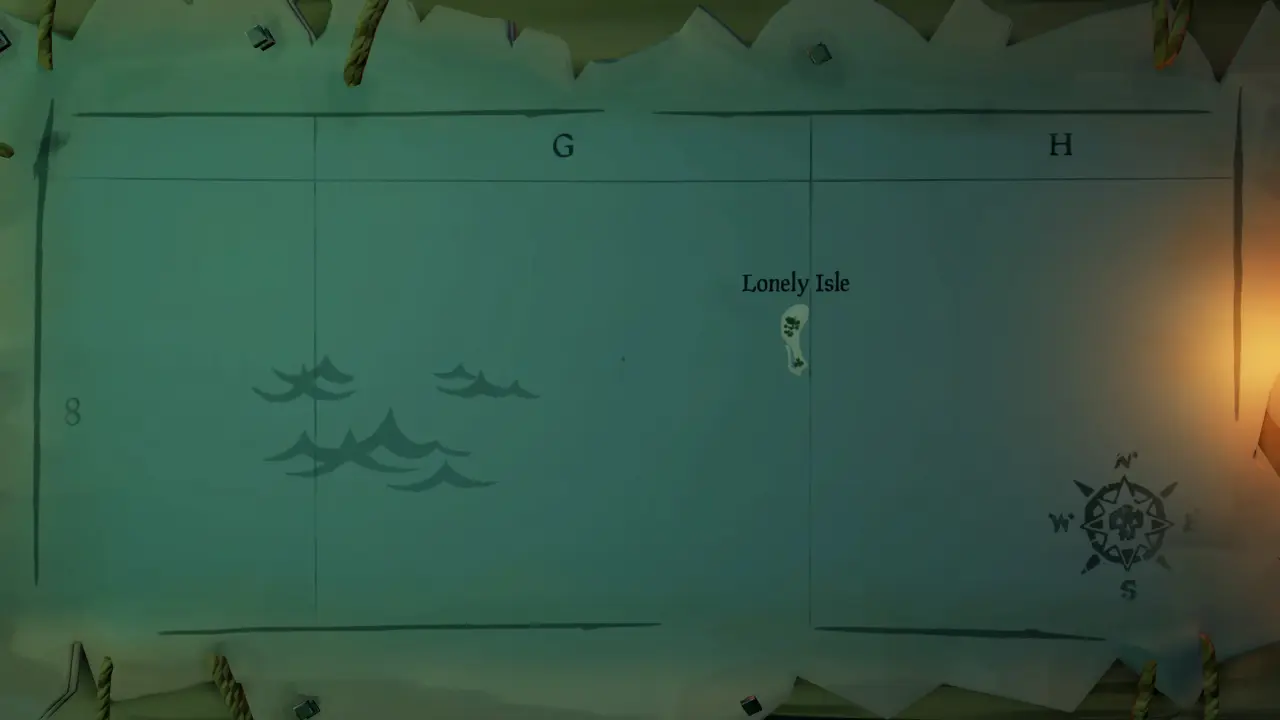
Lonely Isle: G 8
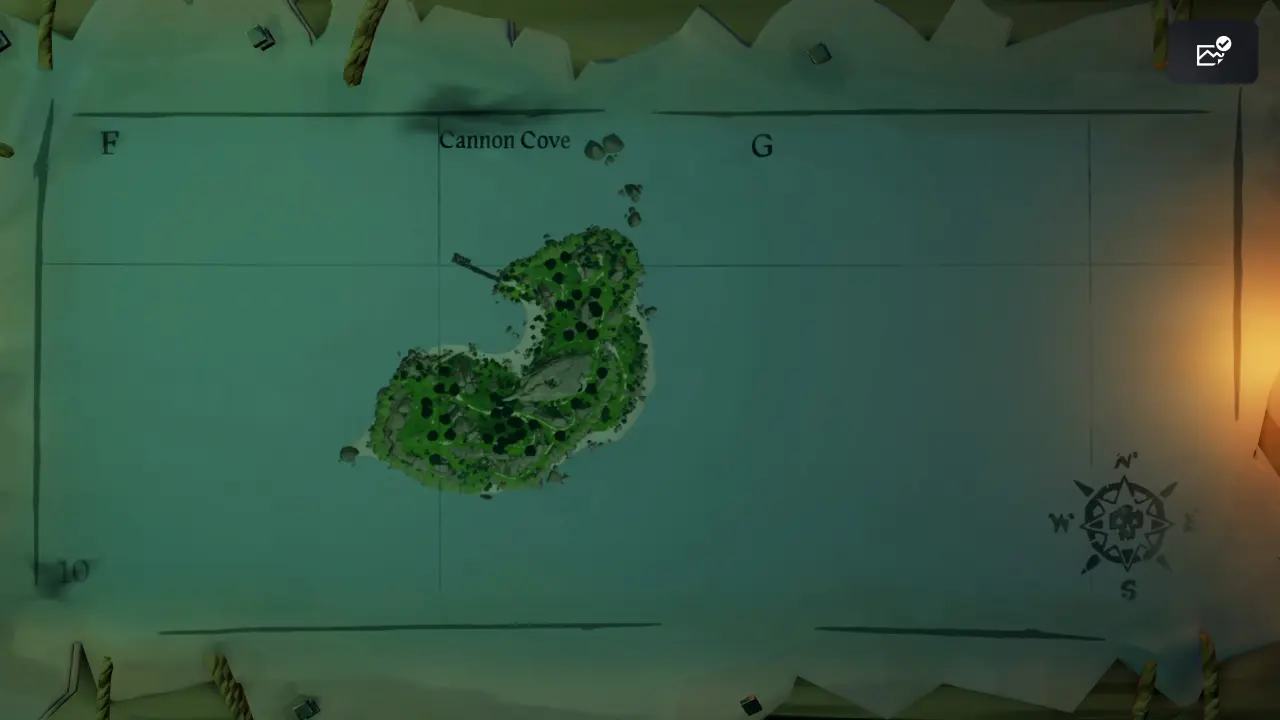
Cannon Cove: G 10
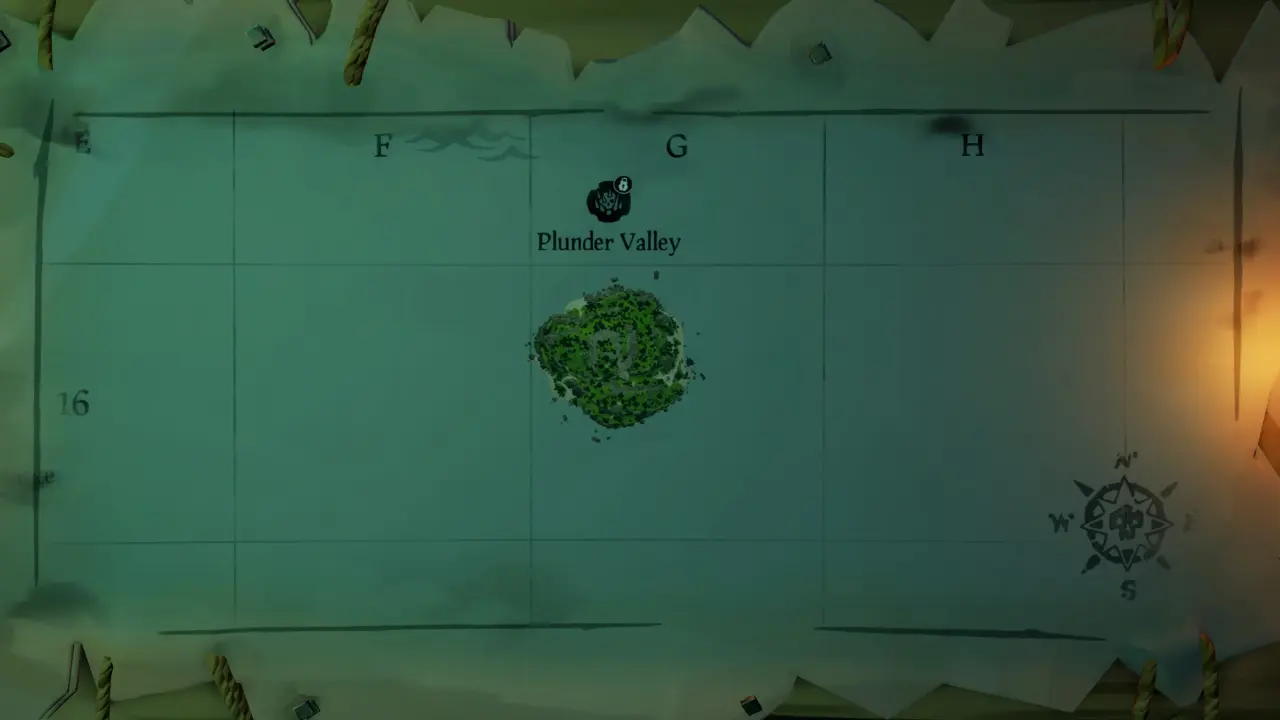
Plunder Valley: G 16
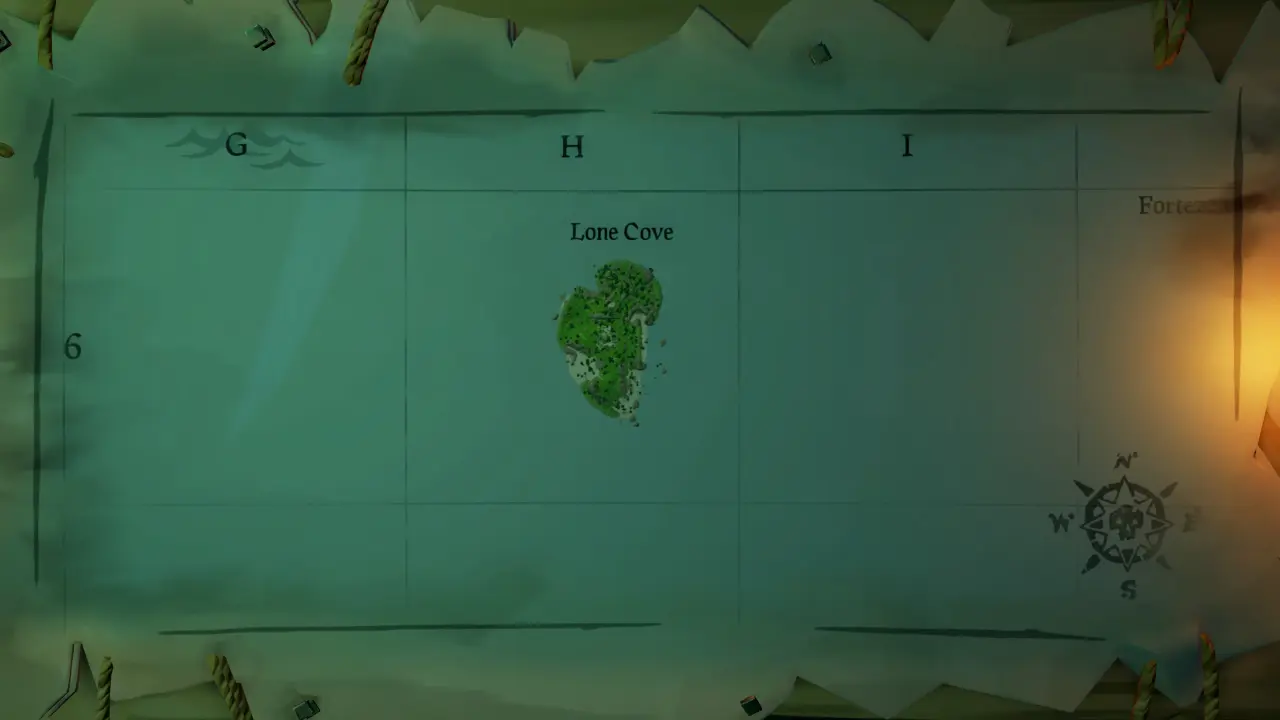
Lone Cove: H 6
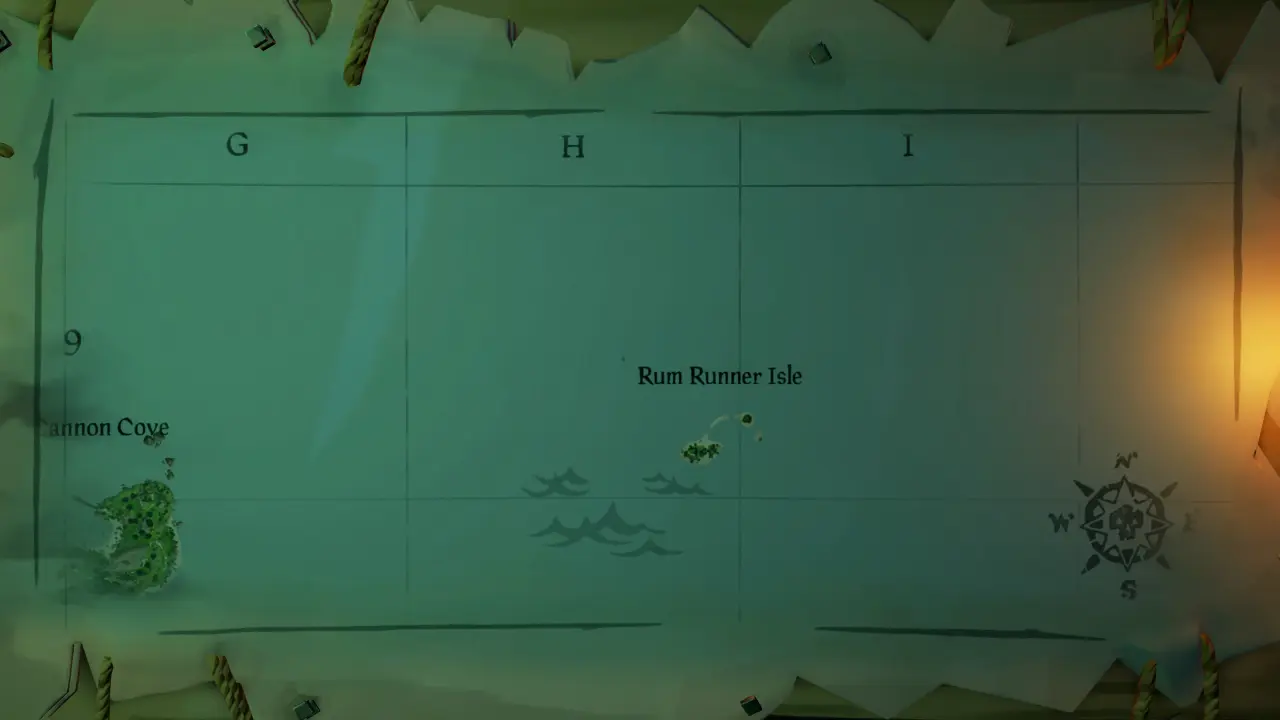
Rum Runner Isle: H 9
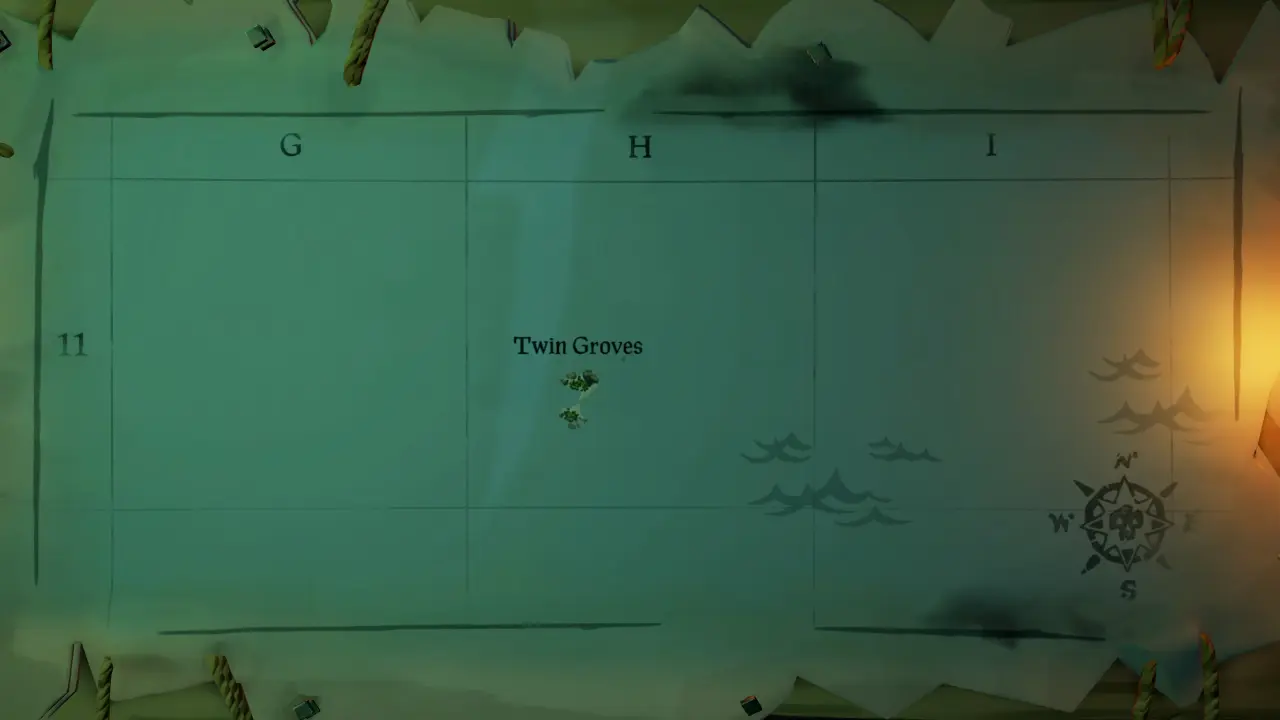
Twin Groves: H 11
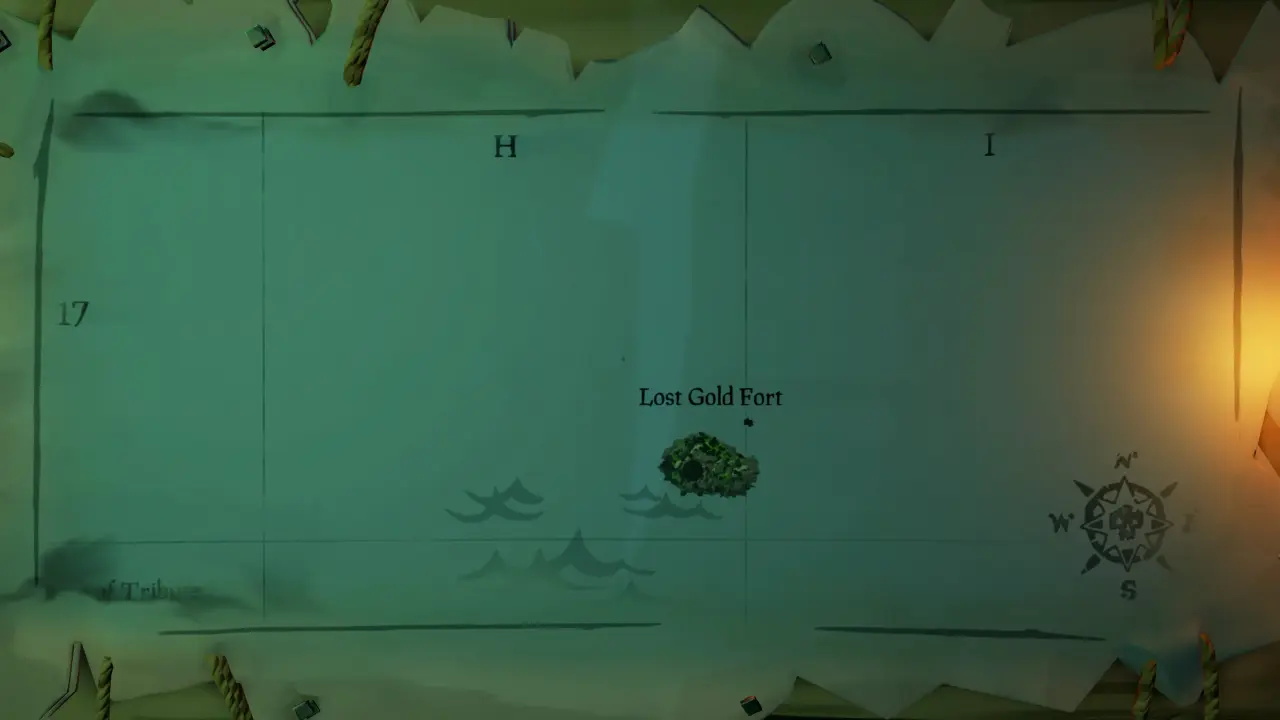
Lost Gold Fort: H 17
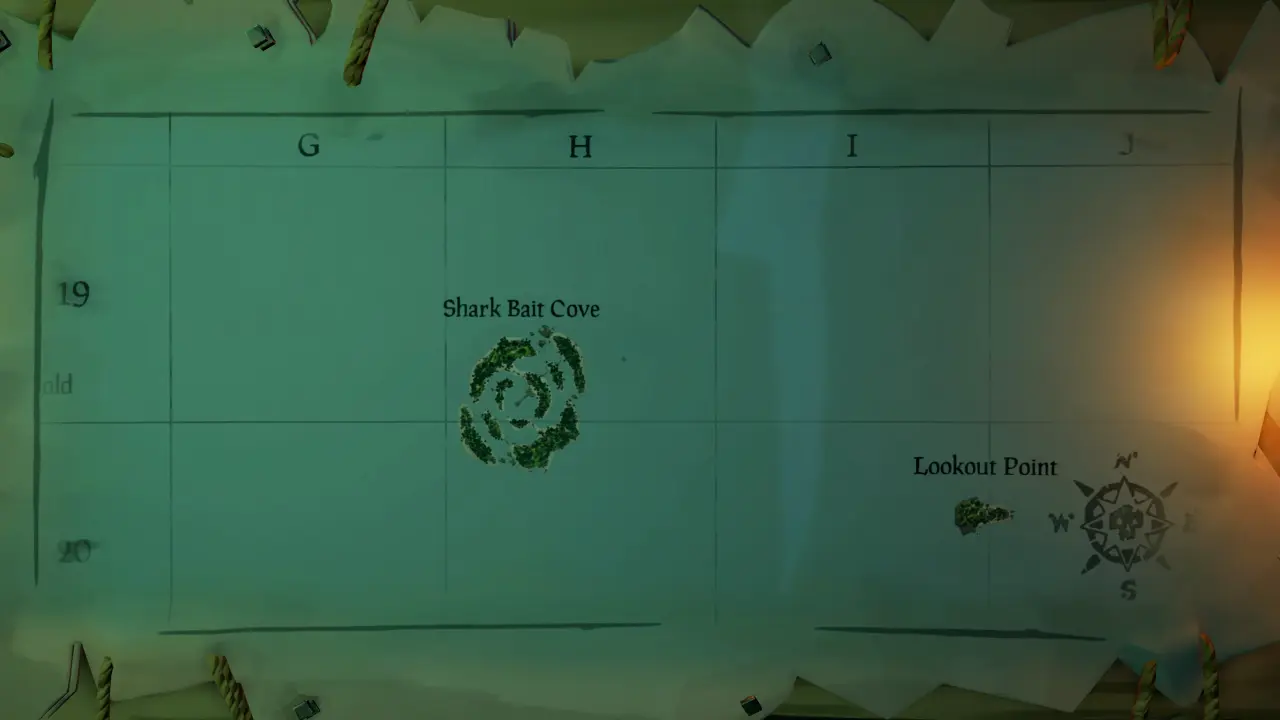
Shark Bait Cove: H 19
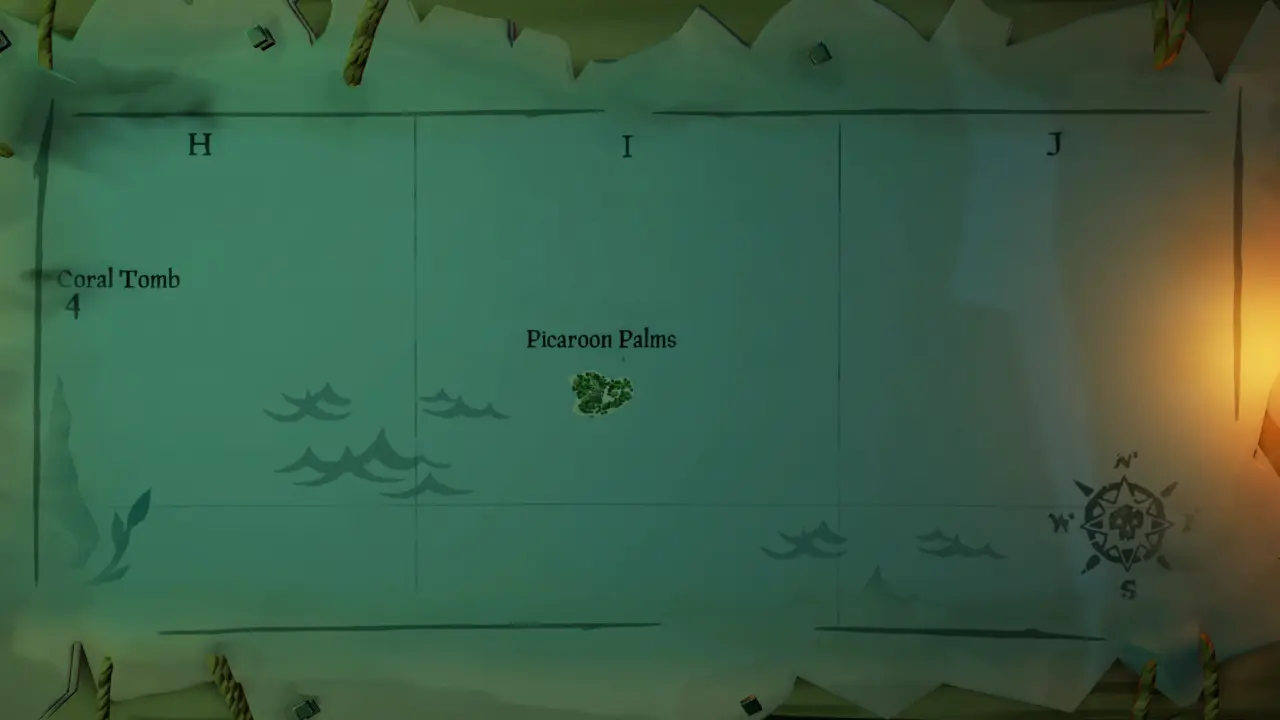
Picaroon Palms: I 4
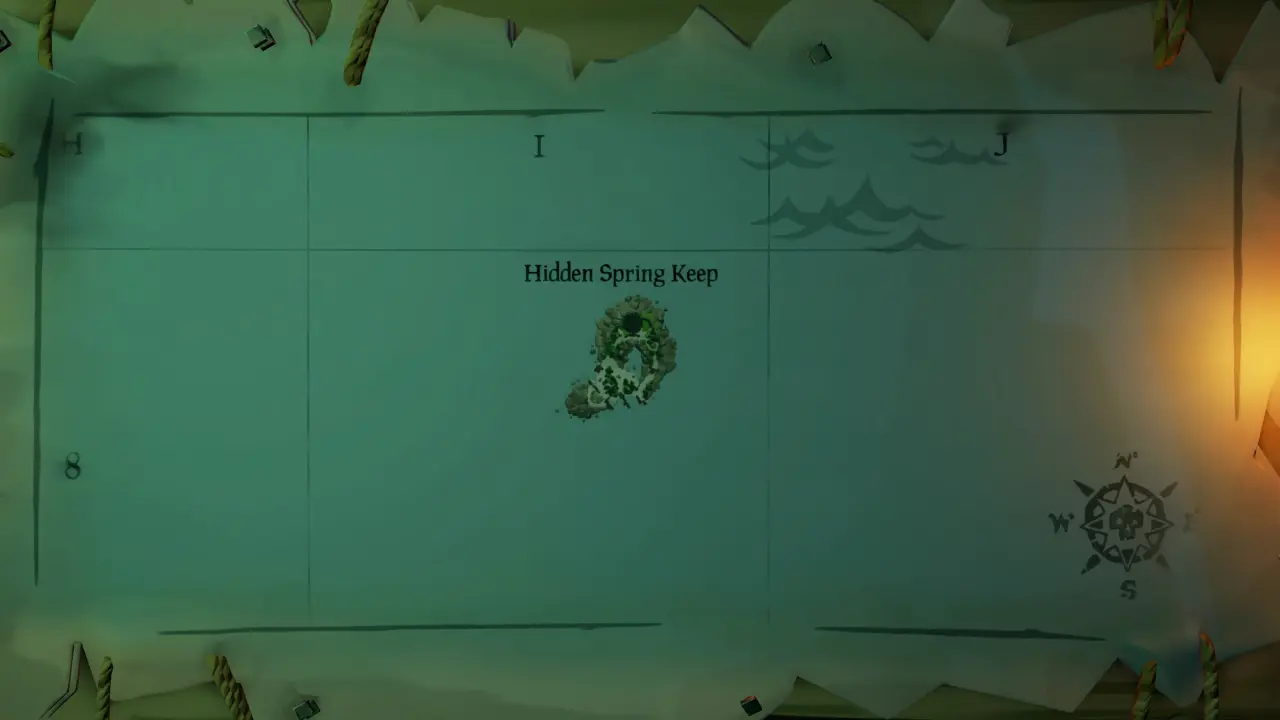
Hidden Spring Keep: I 8
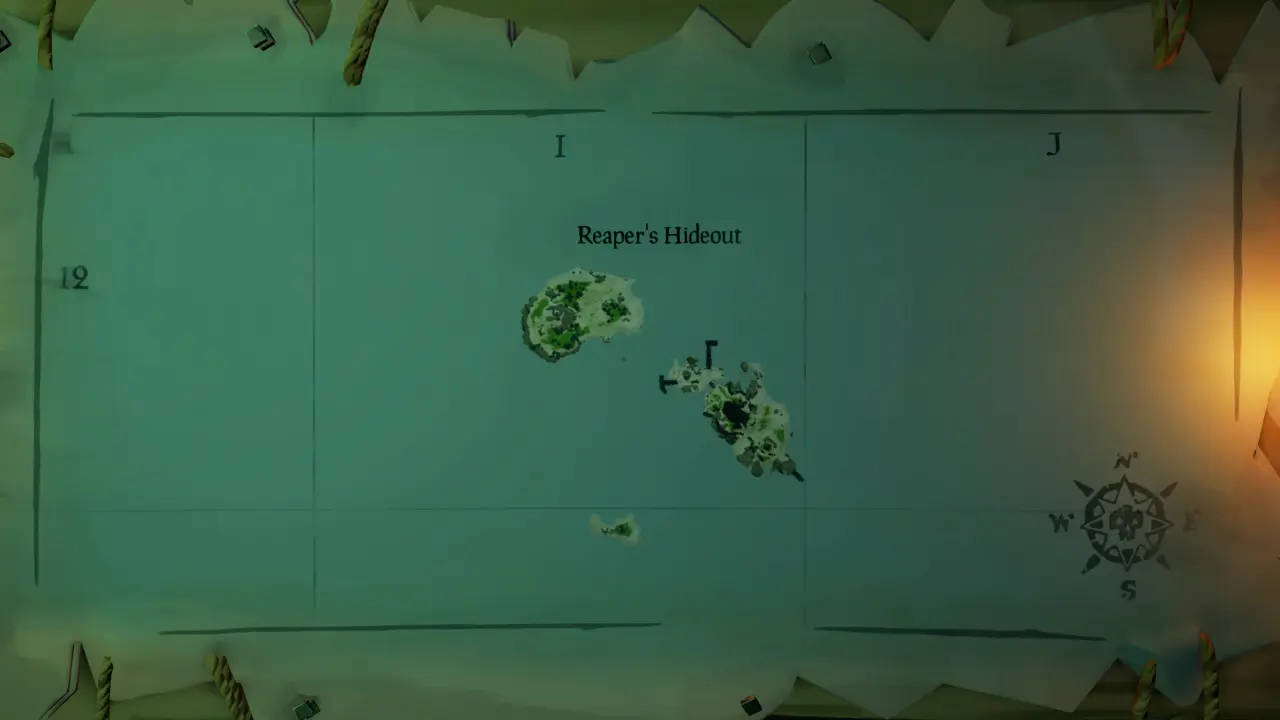
Reaper’s Hideout: I 12
Fools Lagoon: I 14
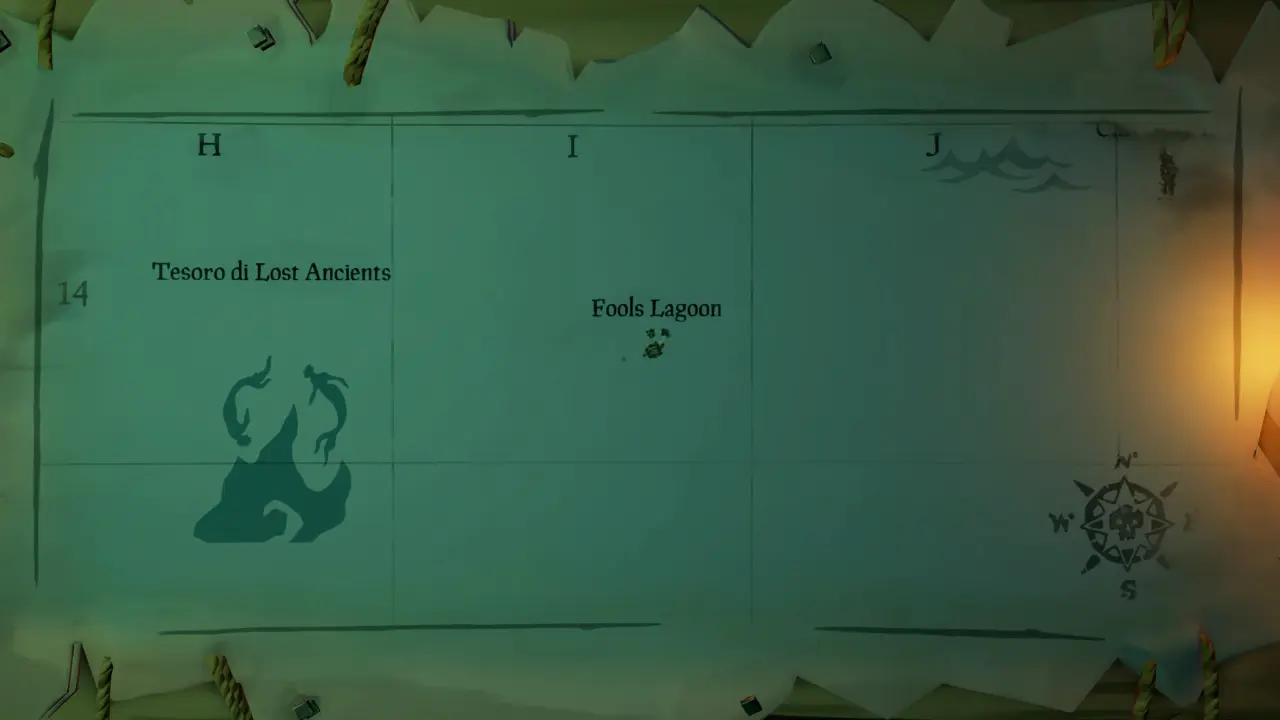
Chicken Isle: I 16
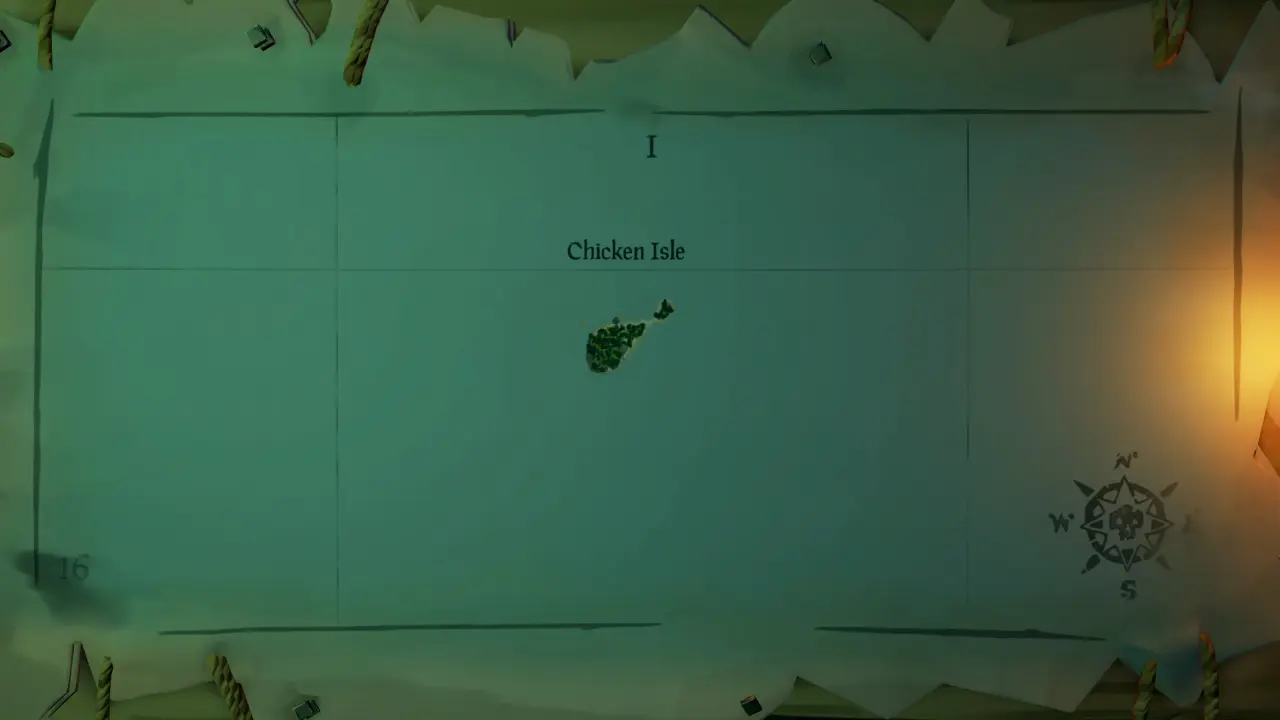
Lookout Point: I 20
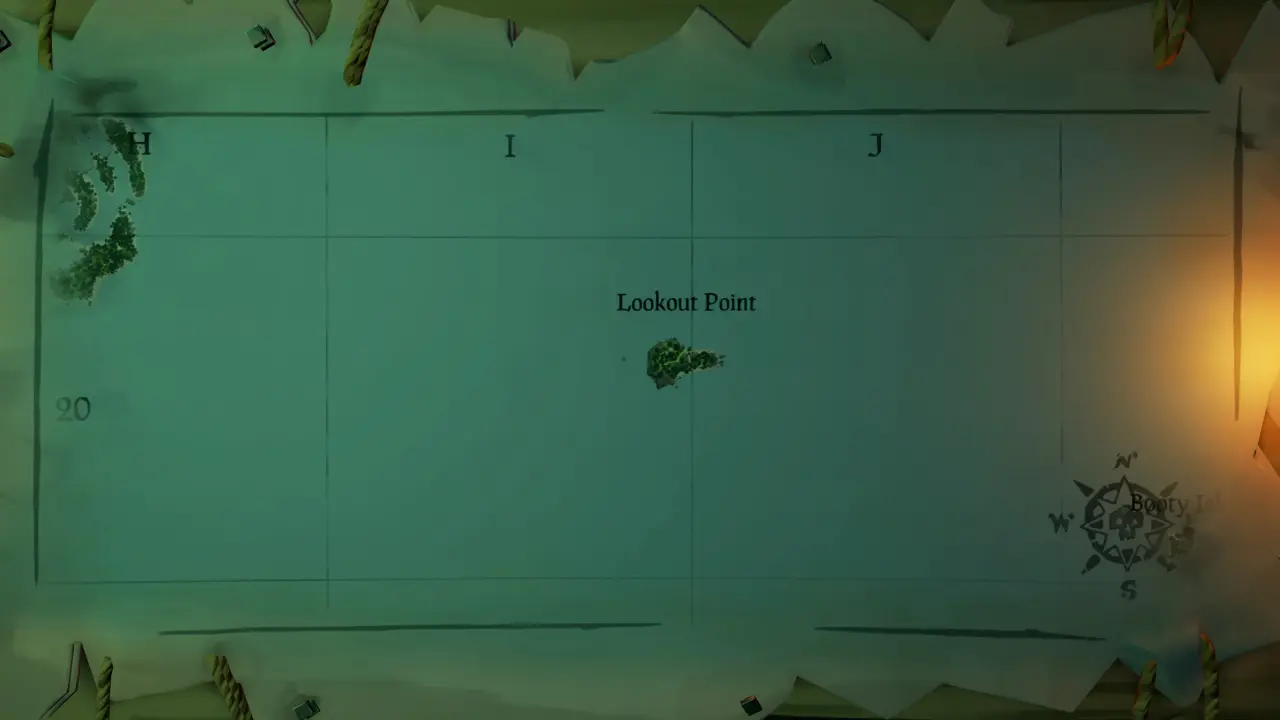
Scurvy Isley: K 4
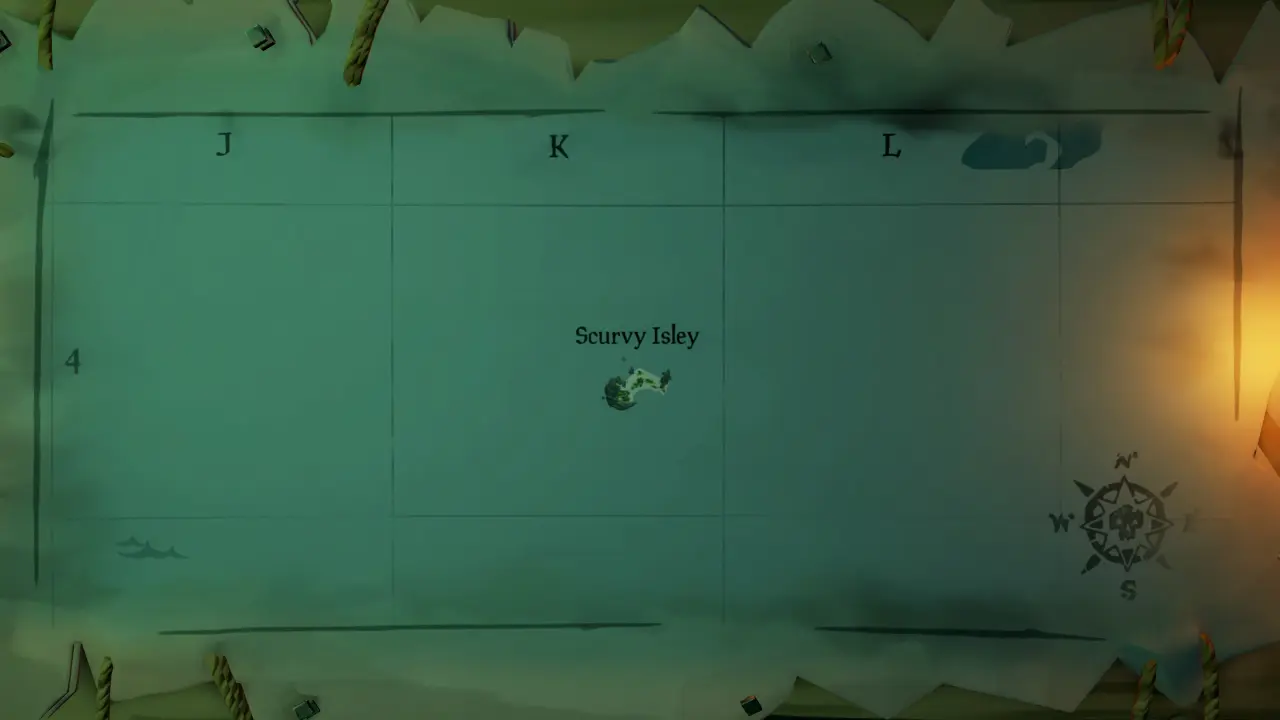
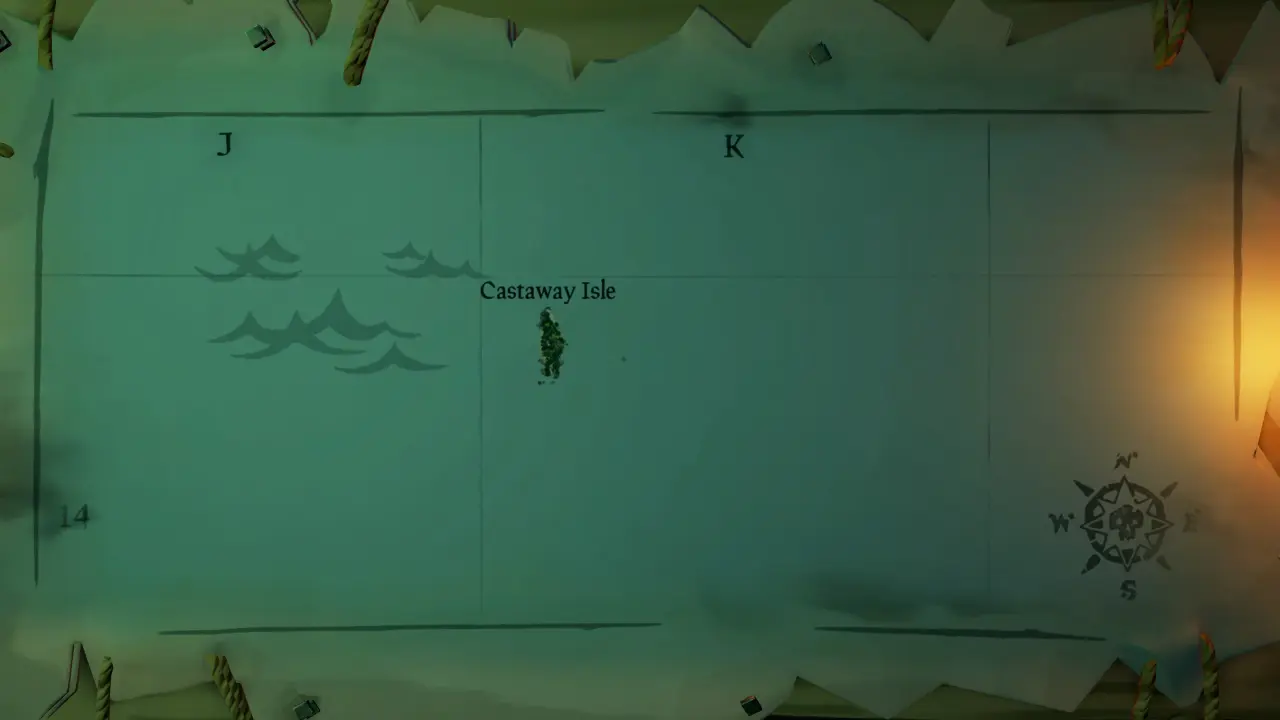
Castaway Isle: K 14
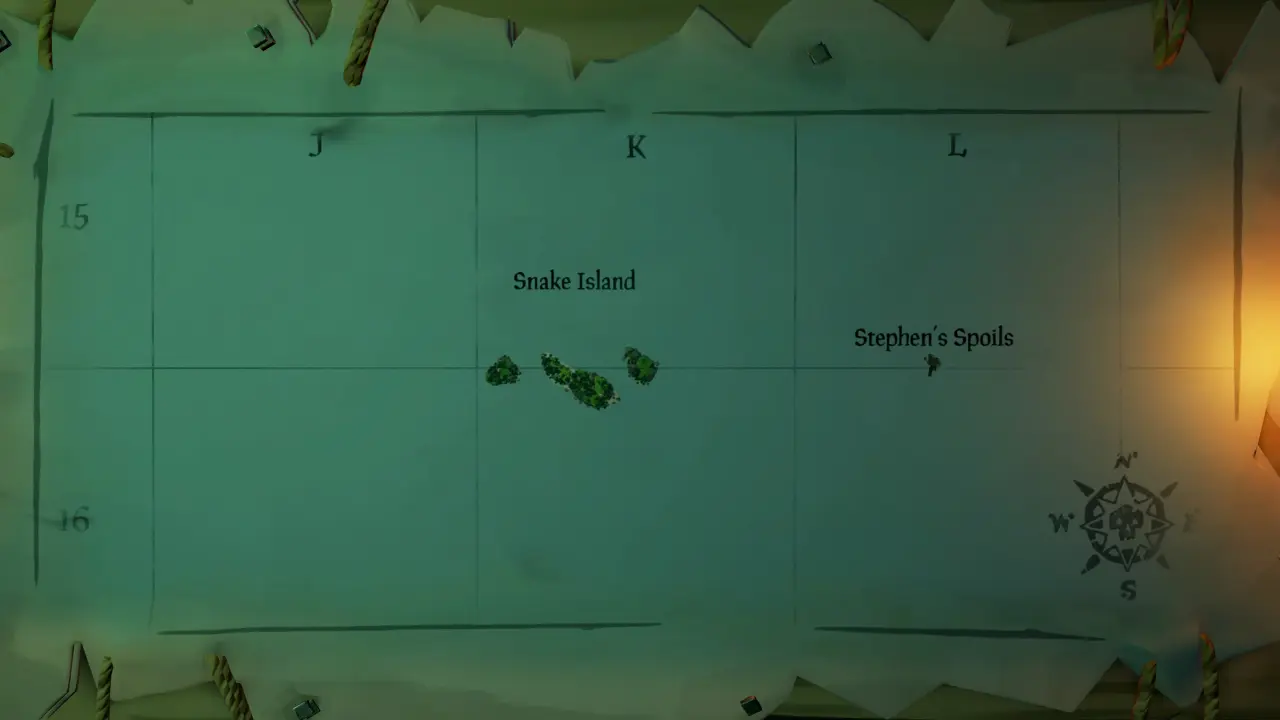
Snake Island: K 15
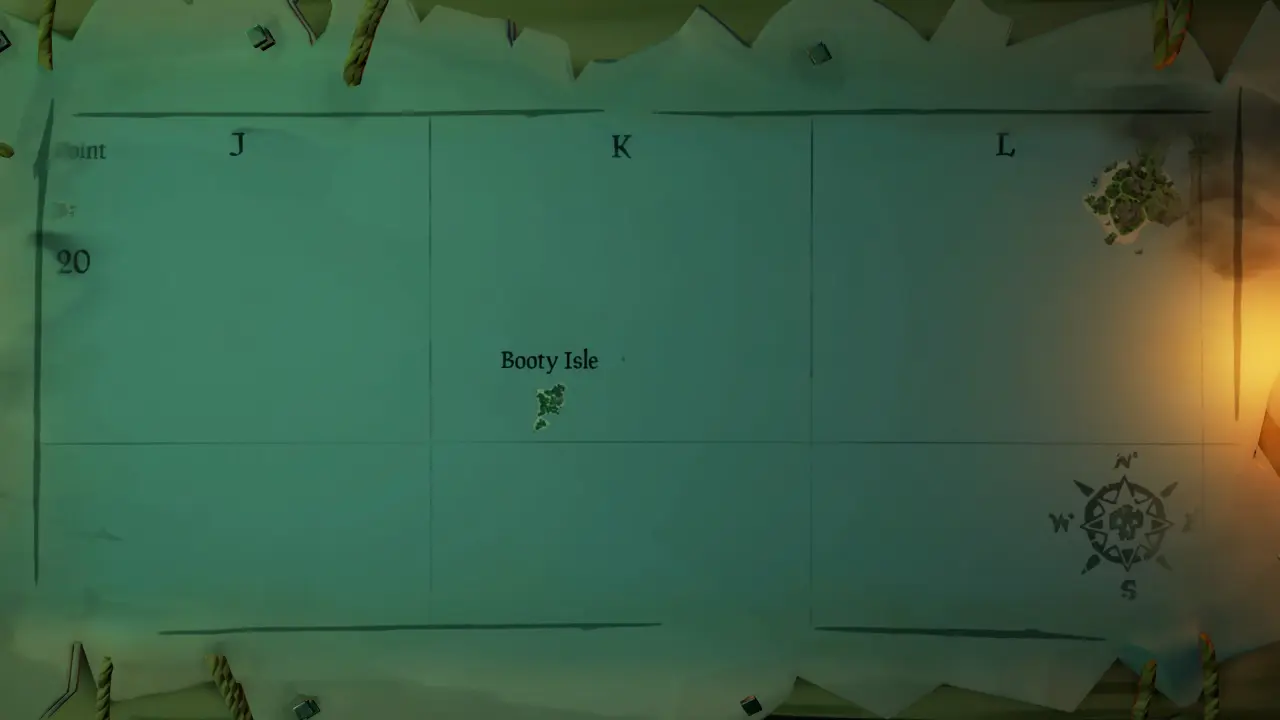
Booty Isle: K 20
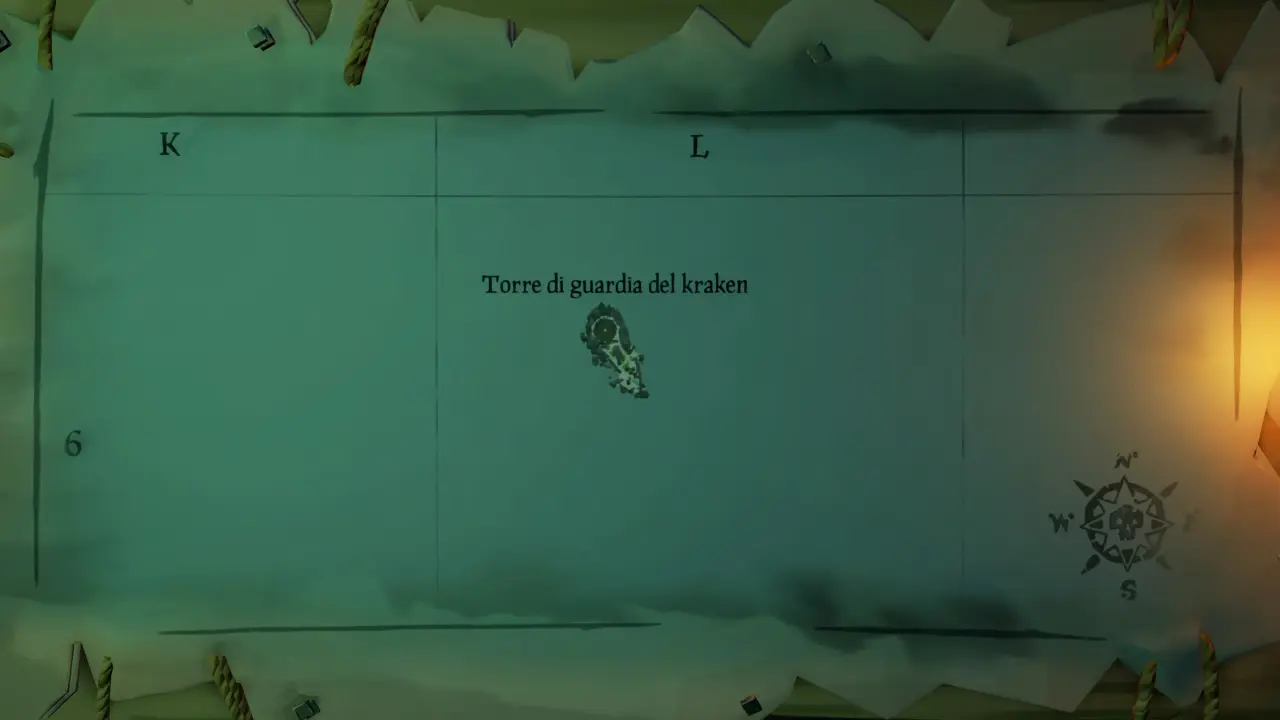
Torre di guardia del kraken: L 6
Paradise Spring: L 17
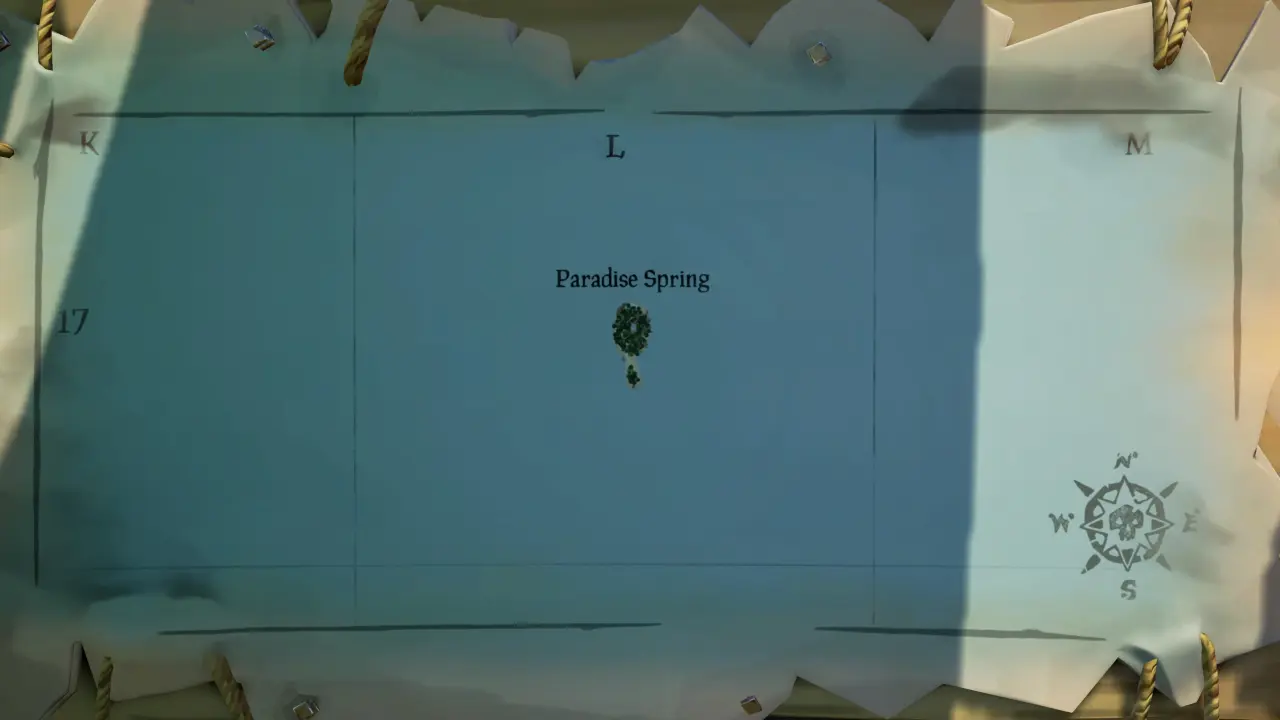
Old Faithful Isle: M 4
Shipwreck Bay: M 10
Crook’s Hollow: M 16
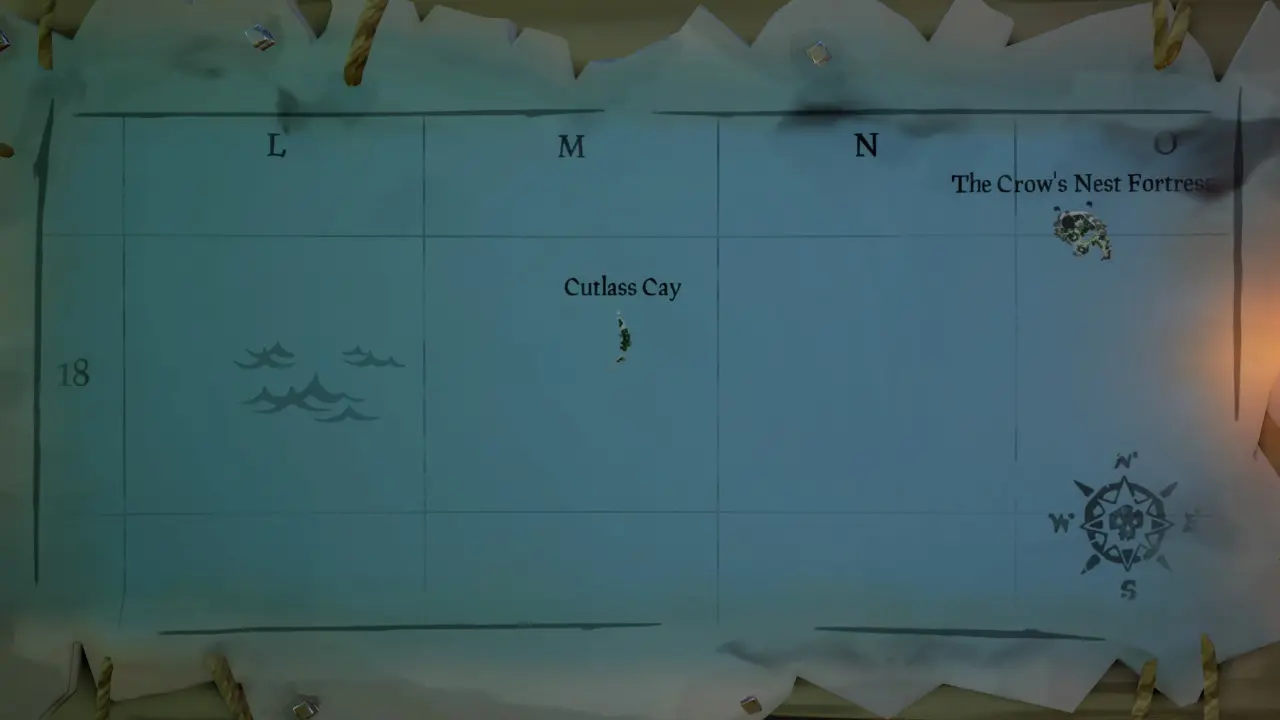
Cutlass Cay: M 18
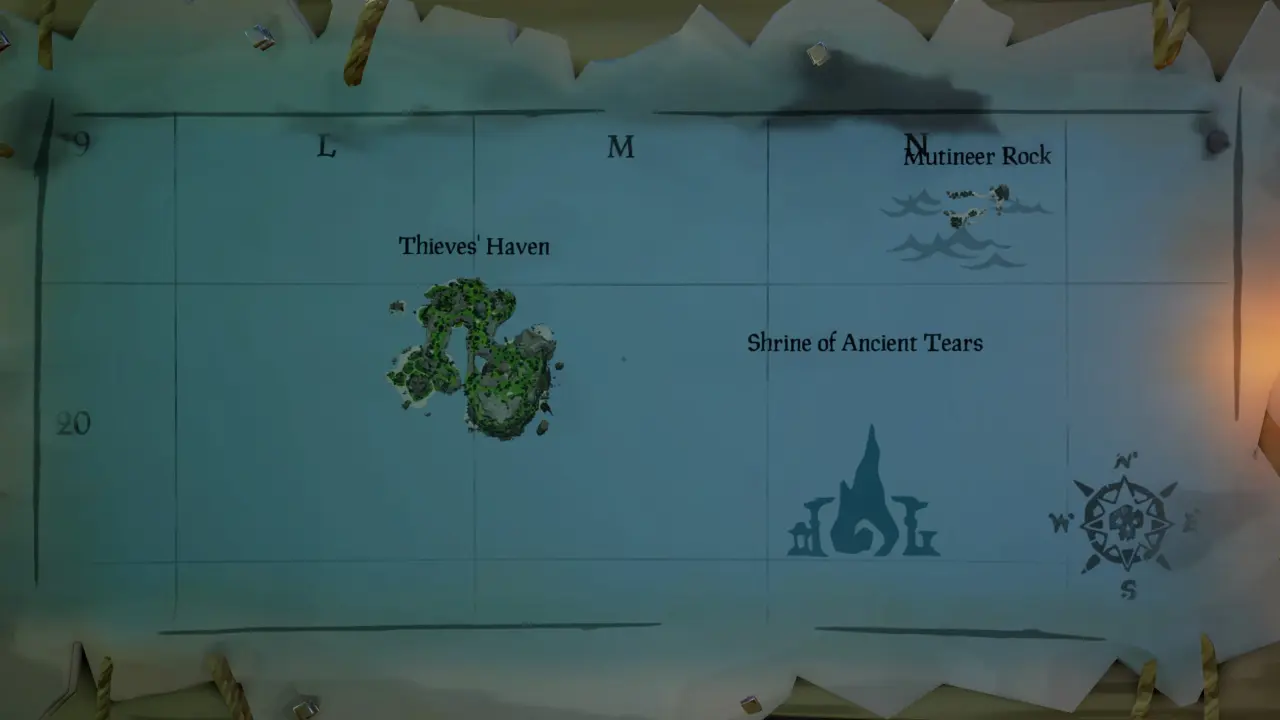
Thieves’ Haven: M 20
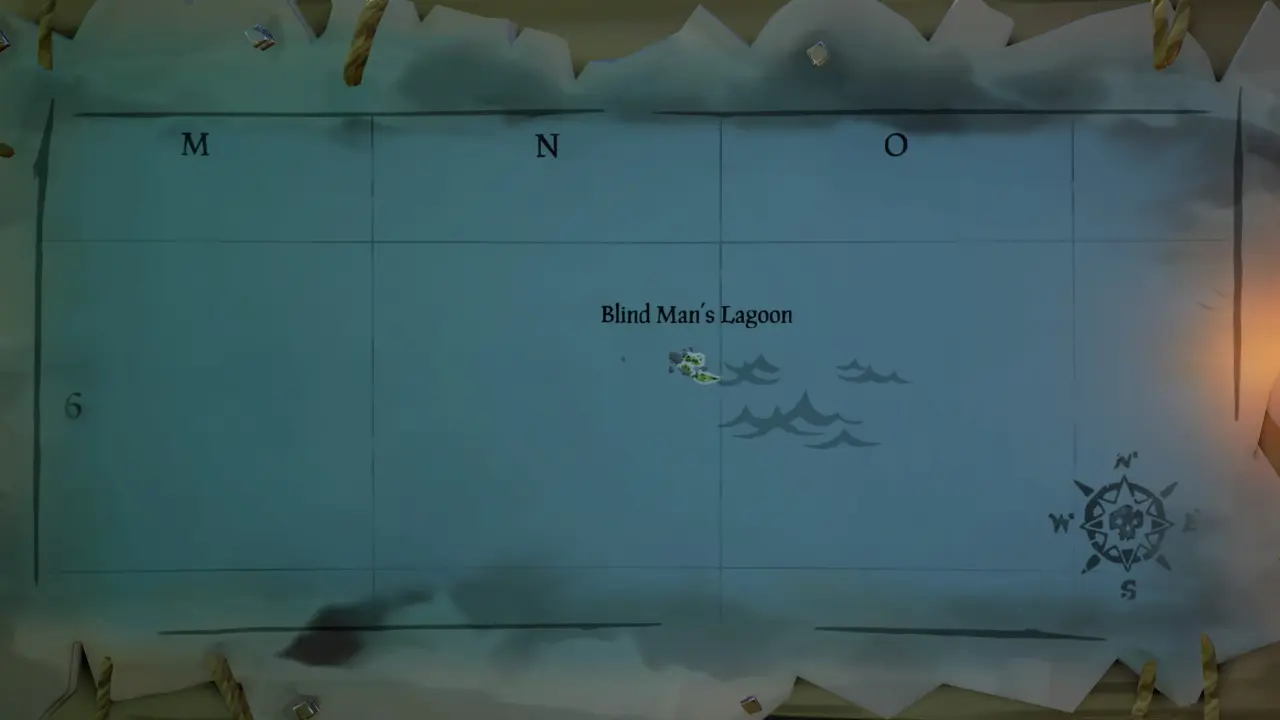
Blind Man’s Lagoon: N 6
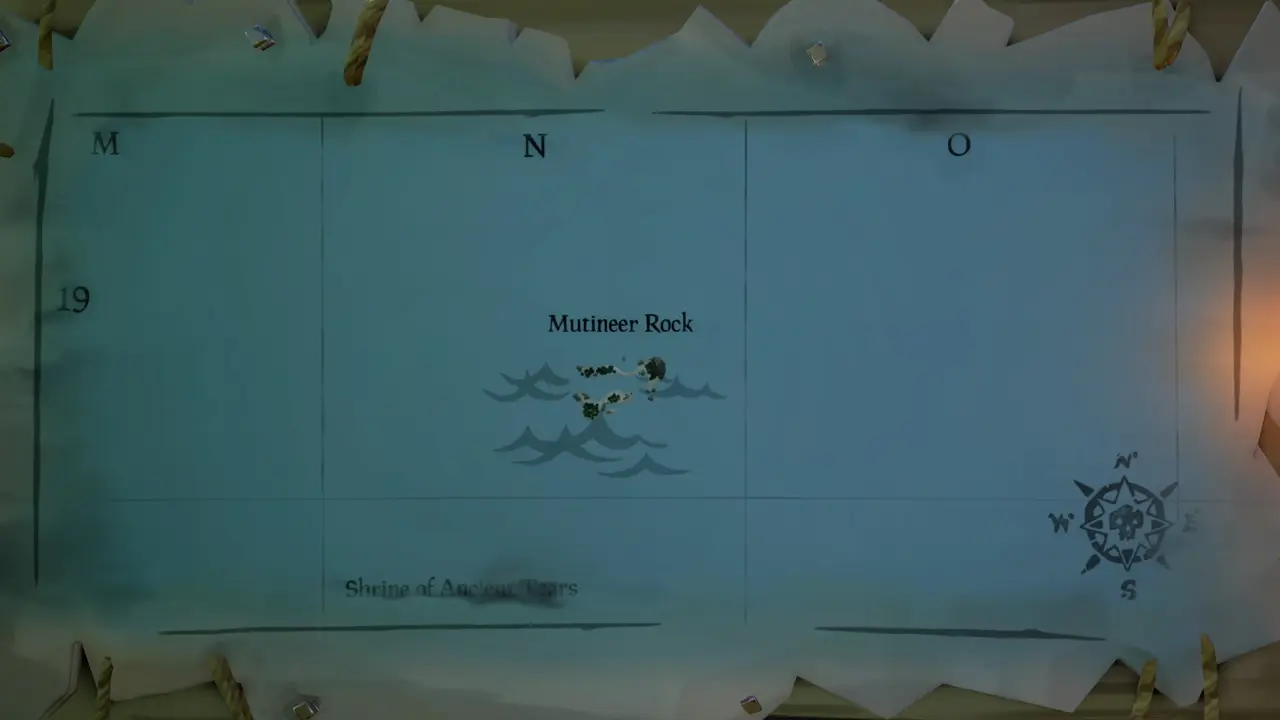
Mutineer Rock: N 19
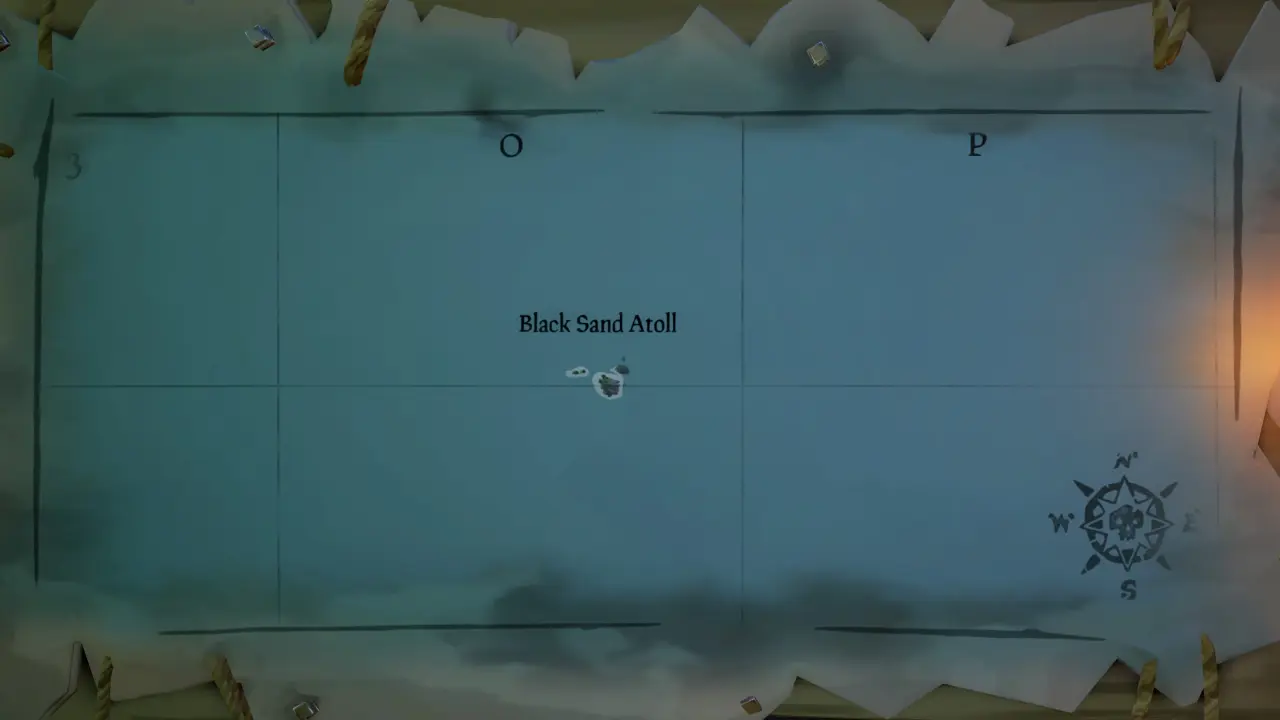
Black Sand Atoll: O 3
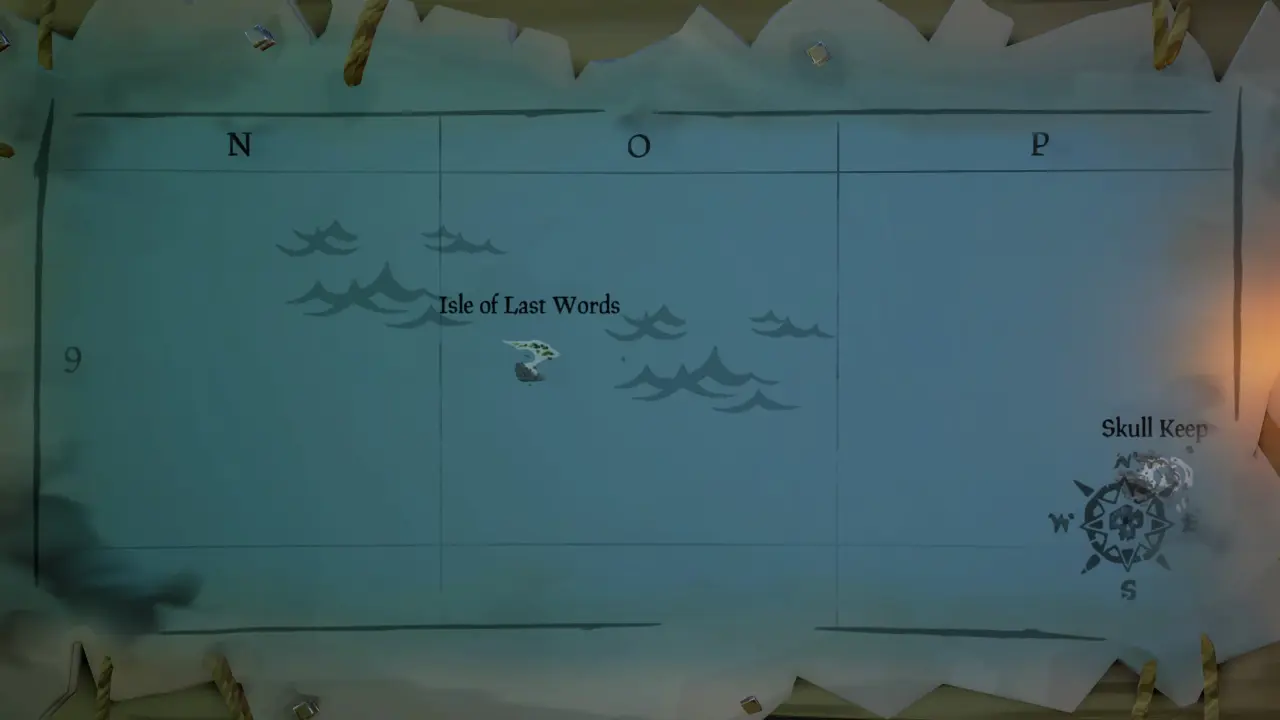
Isle of Last Words: O 9
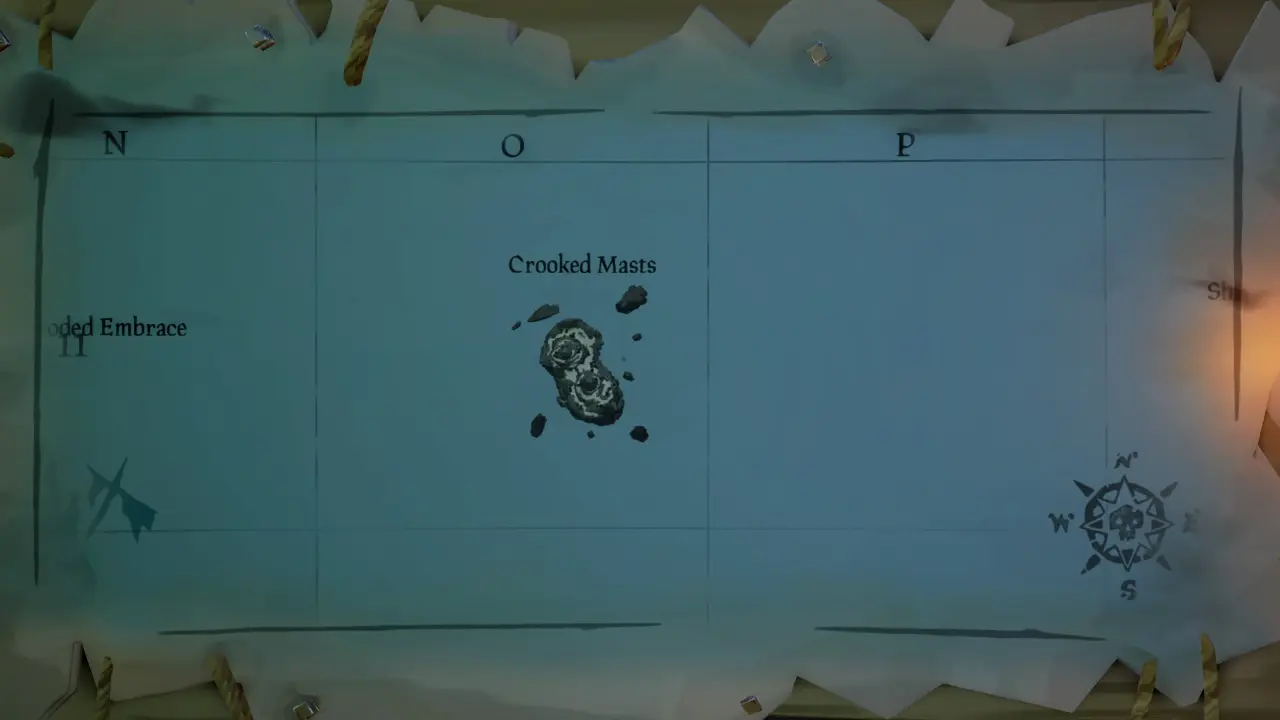
Crooked Masts: O 11
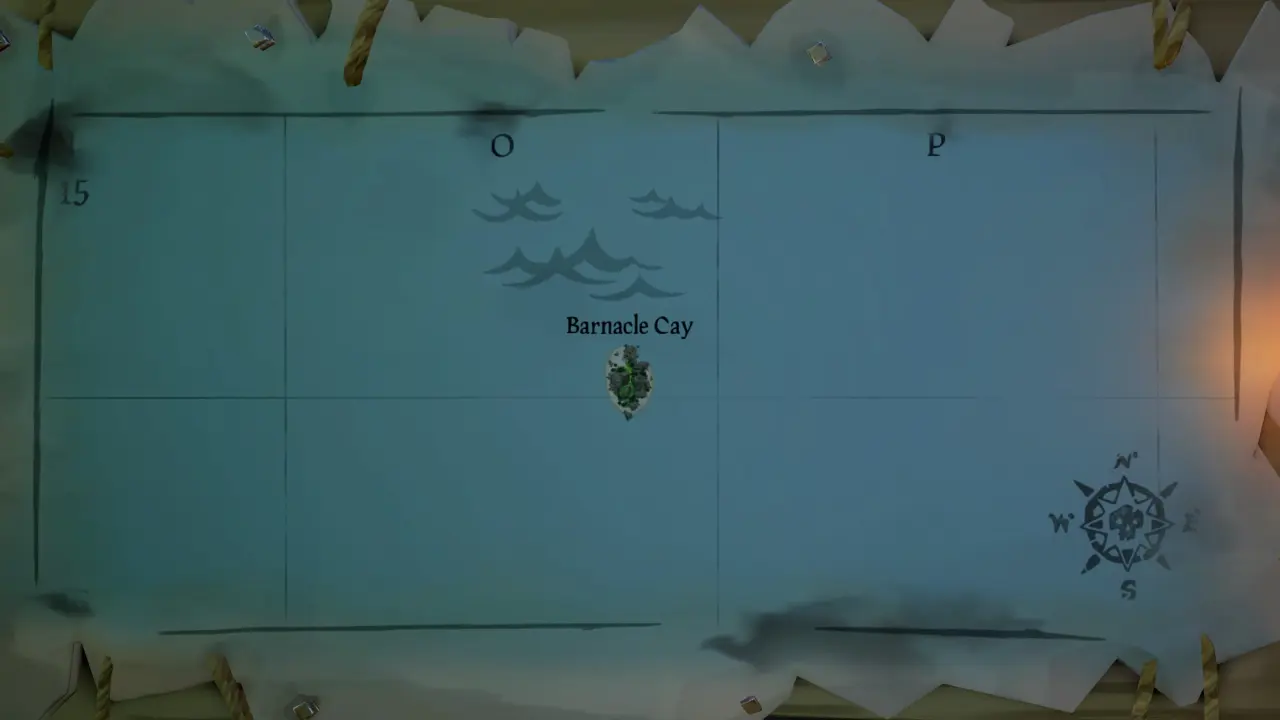
Barnacle Cay: O 15
Shark Fin Camp: P 5
The Sunken Grove: P 7
Skull Keep: P 9
Shark Tooth Key: P 13
Devil’s Ridge: P 19
Marauder’s Arch: Q 3
Plunderer’s Plight: Q 6
Shiver Retreat: Q 11
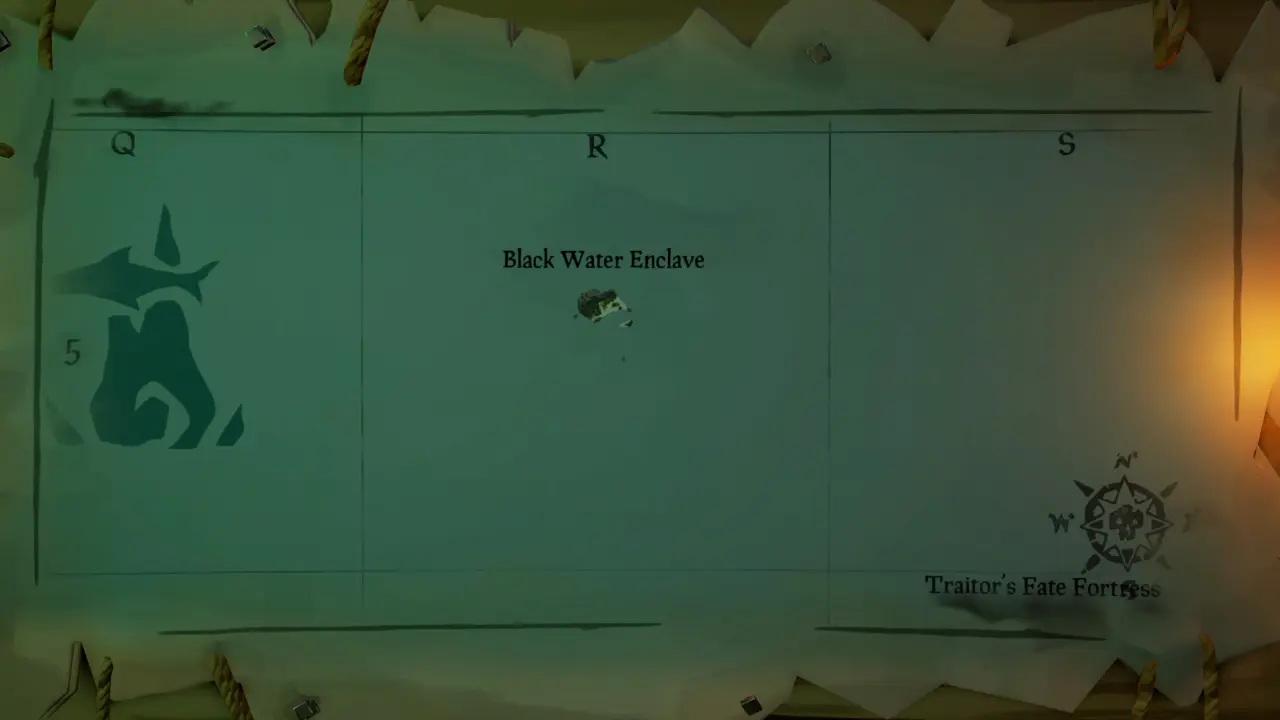
Black Water Enclave: R 5
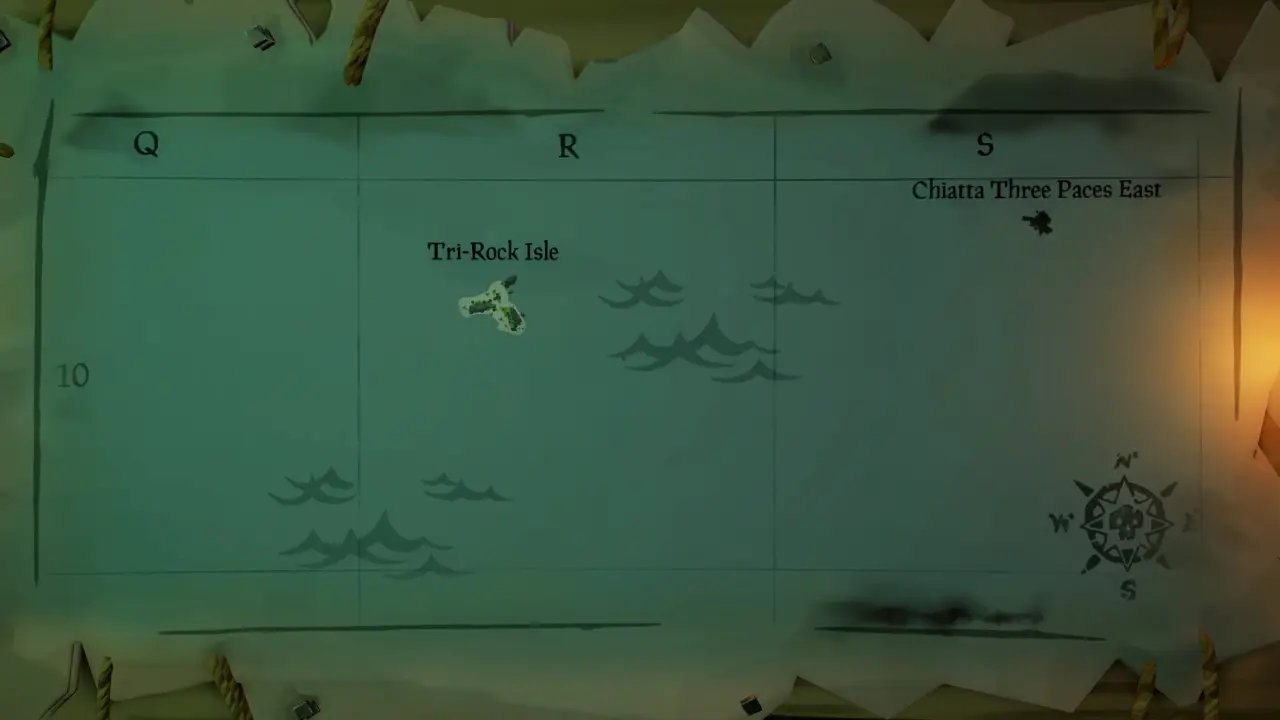
Tri-Rock Isle: R 10
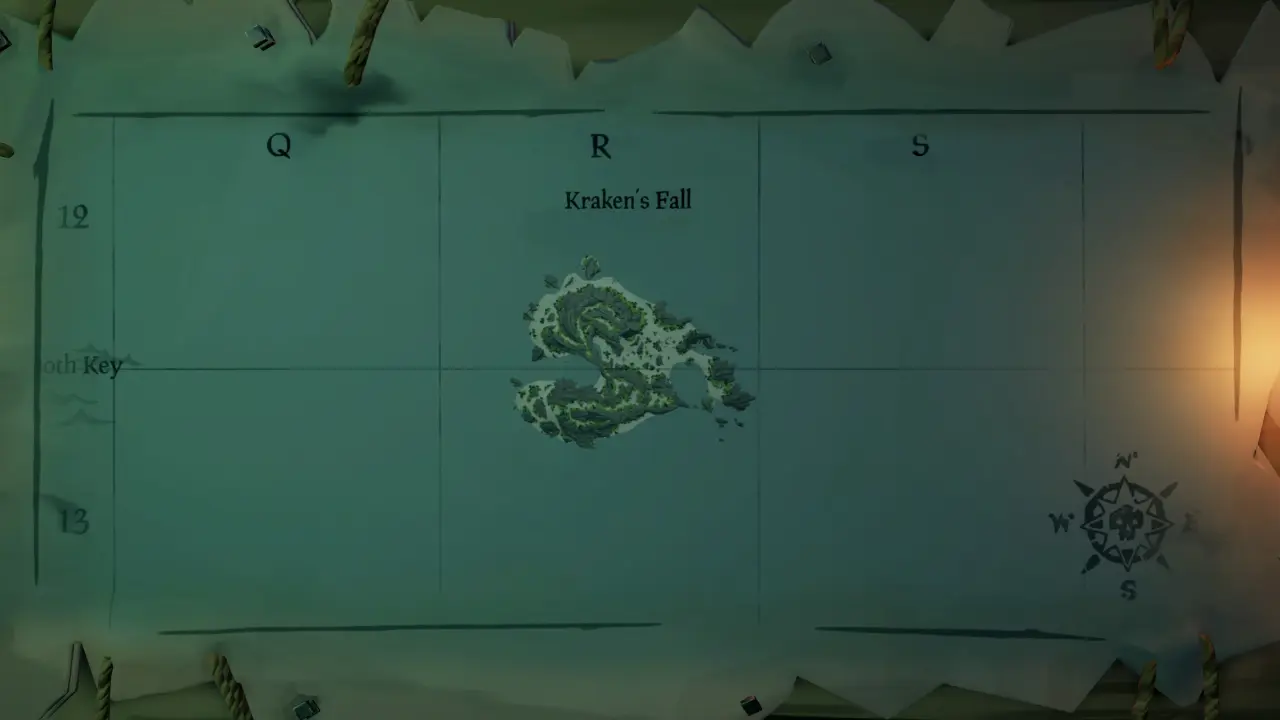
Kraken’s Fall: R 12
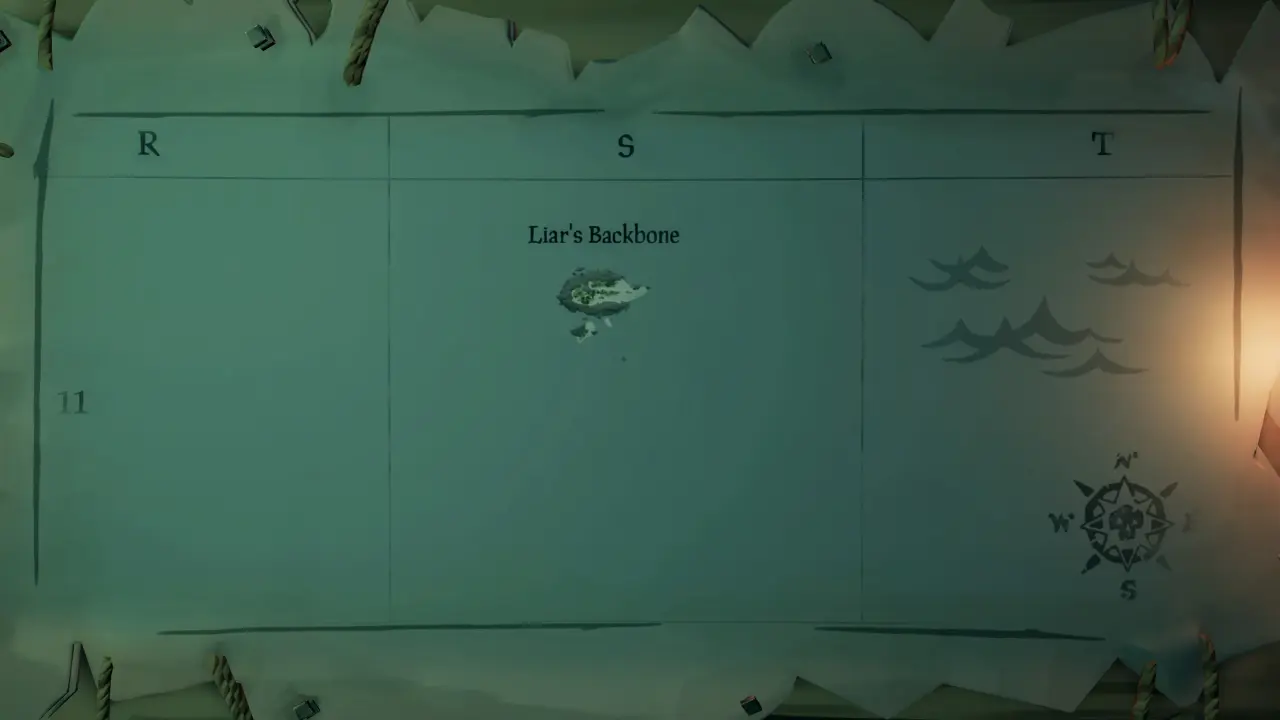
Liar’s Backbone: S 11
Cinder Islet: U 14
The Forsaken Brink: U 16
Roaring Trades: U 20
Roaring Sands: U 21
Fetcher’s Rest: V 12
Flame’s End: V 19
Ashen Reaches: V 23
Flintlock Peninsula: W 14
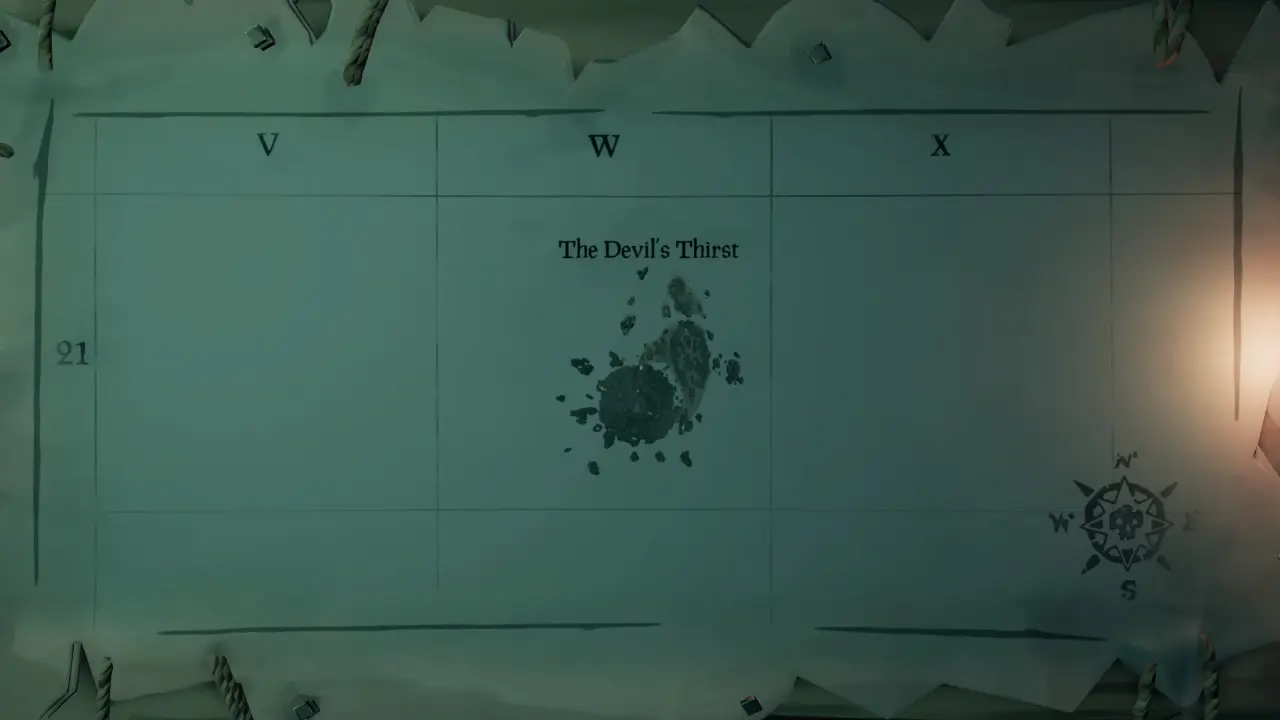
The Devil’s Thirst: W 21
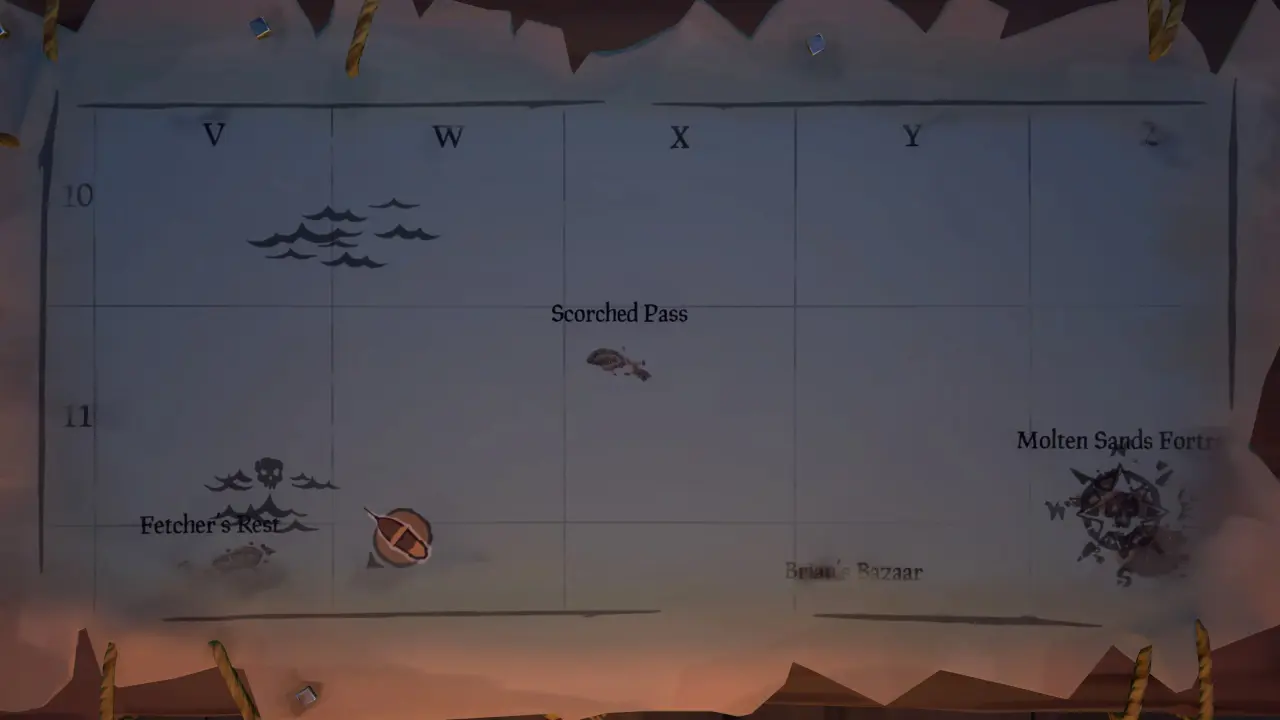
Scorched Pass: X 11
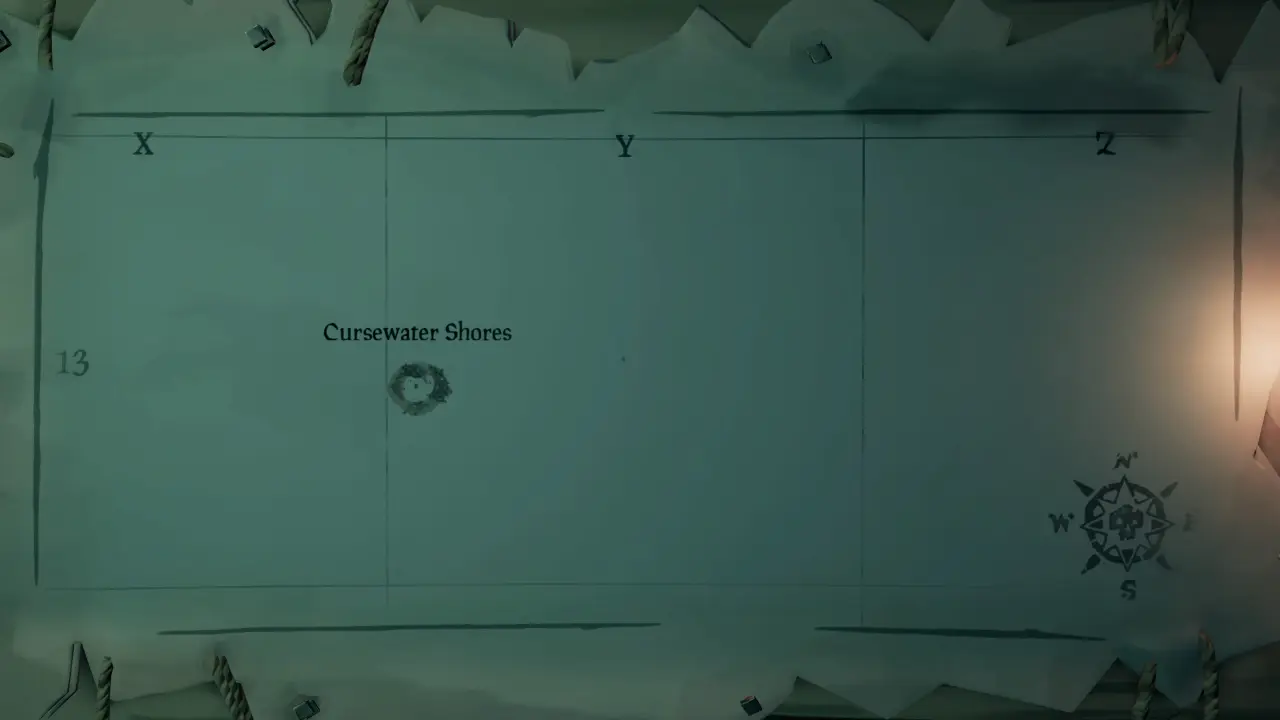
Cursewater Shores: Y 13
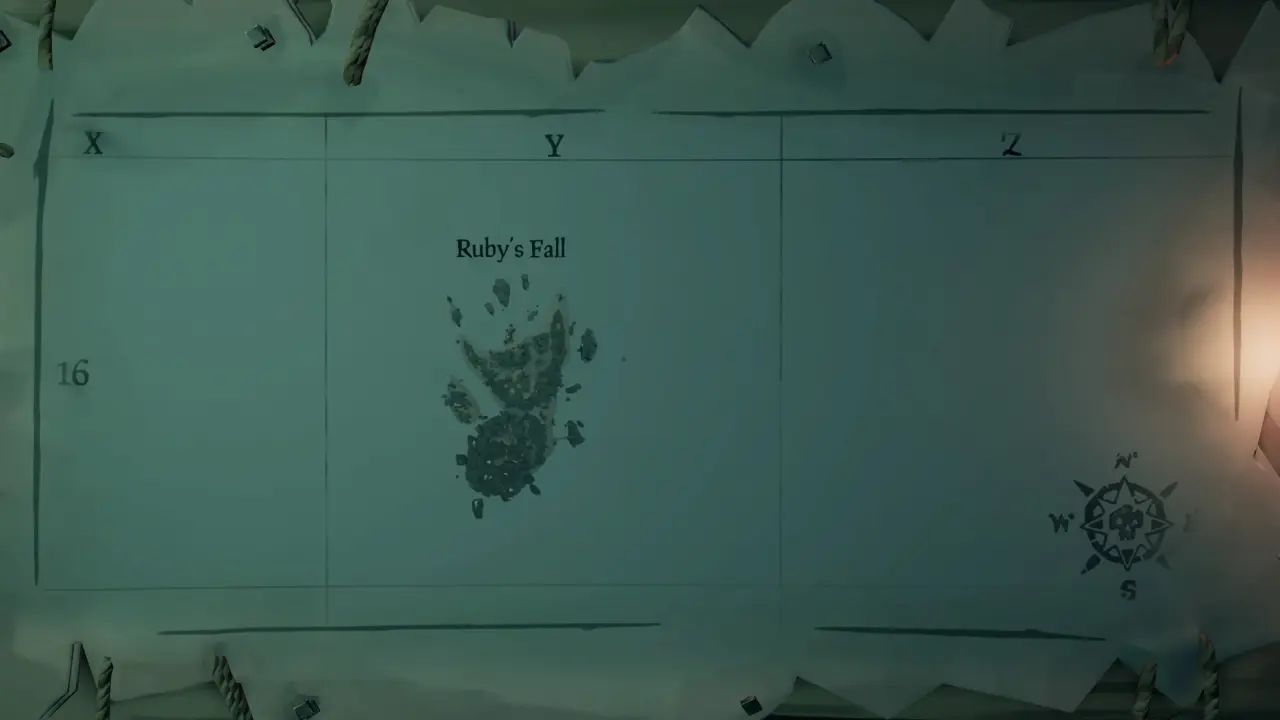
Ruby’s Fall: Y 16
Brimstone Rock: Y 18
Magma’s Tale: Y 20
Molten Sands Fortress: Z 11
Glowstone Cay: Z 18
La posizione di tutte le fortezze
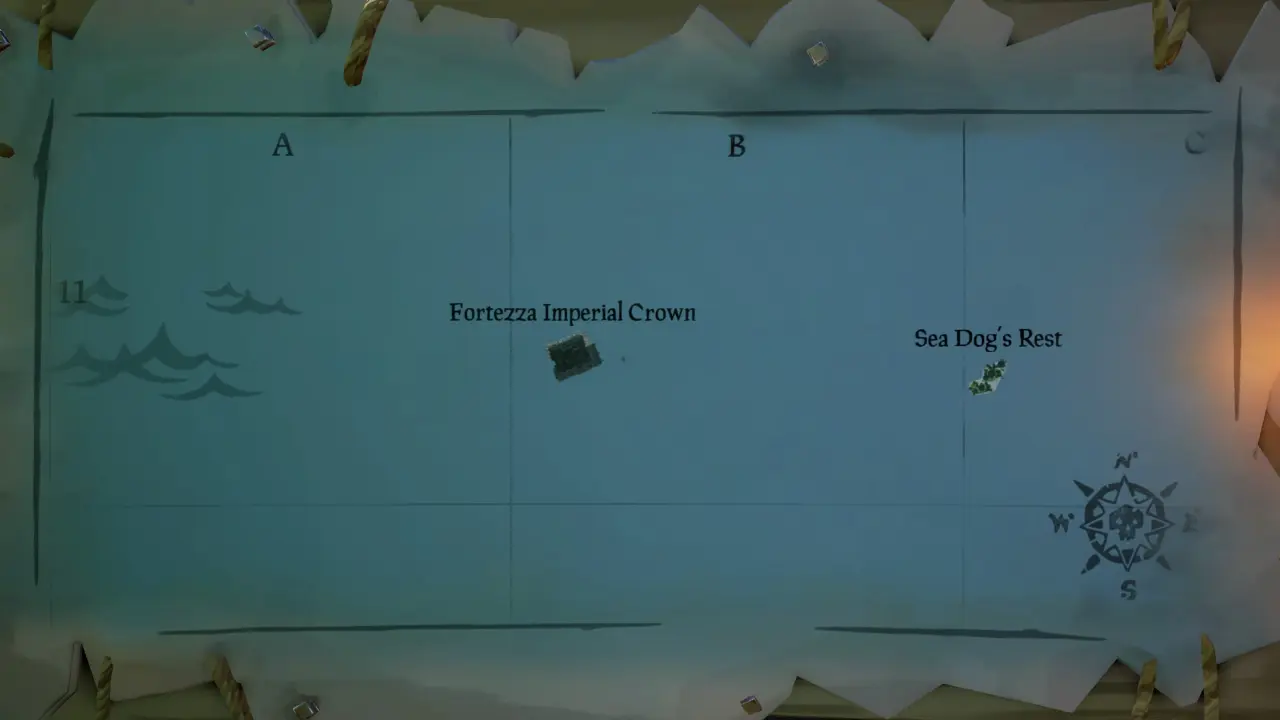
Imperial Crown: B 11
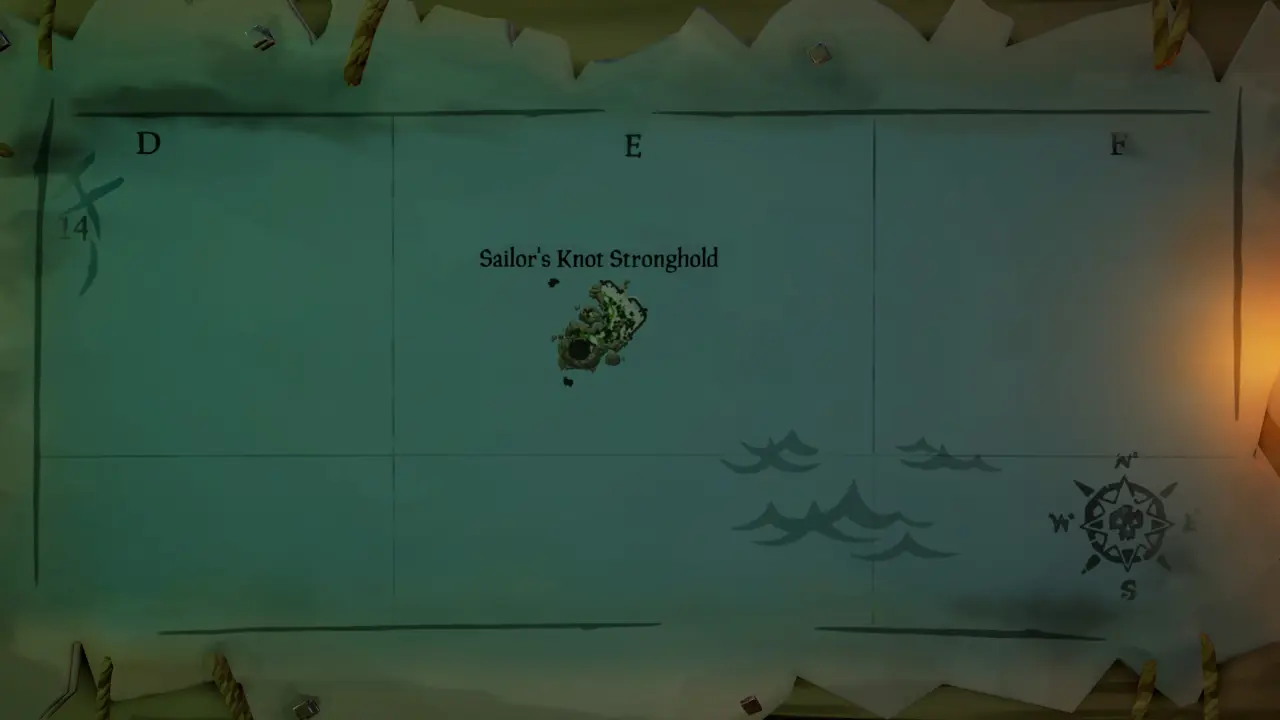
Sailor’s Knot Stronghold: E 14
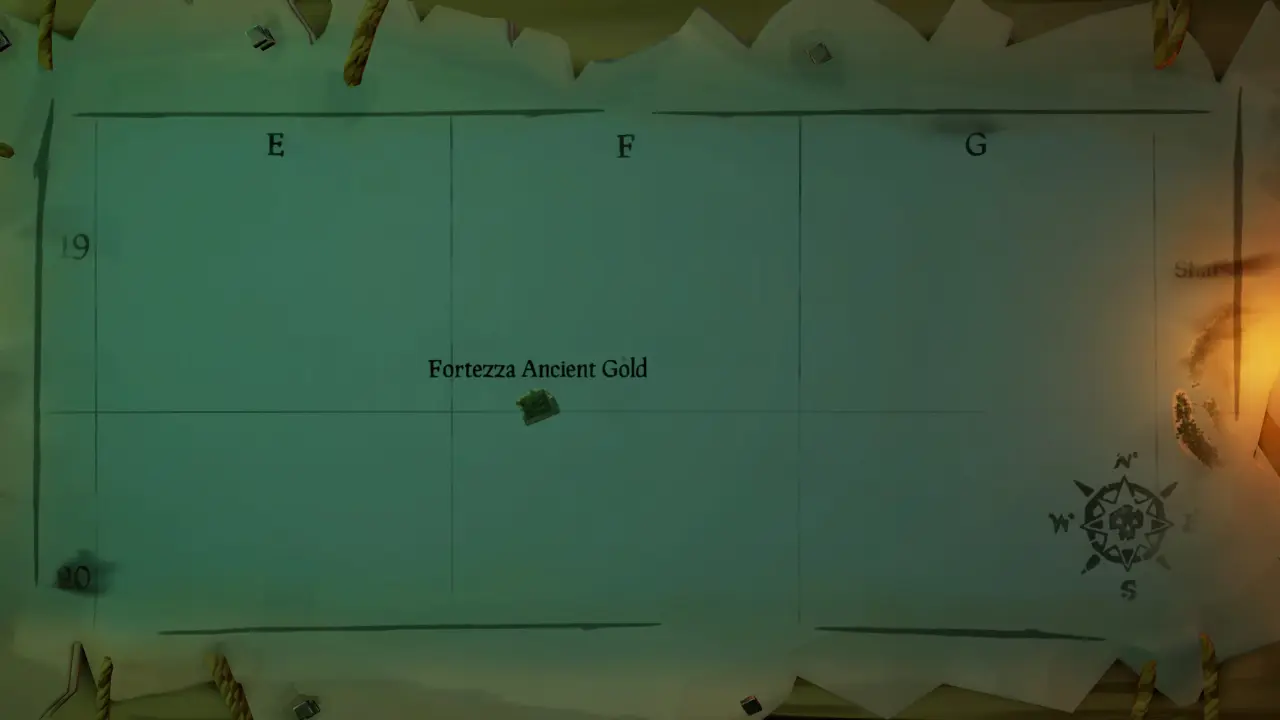
Ancient Gold: F 19
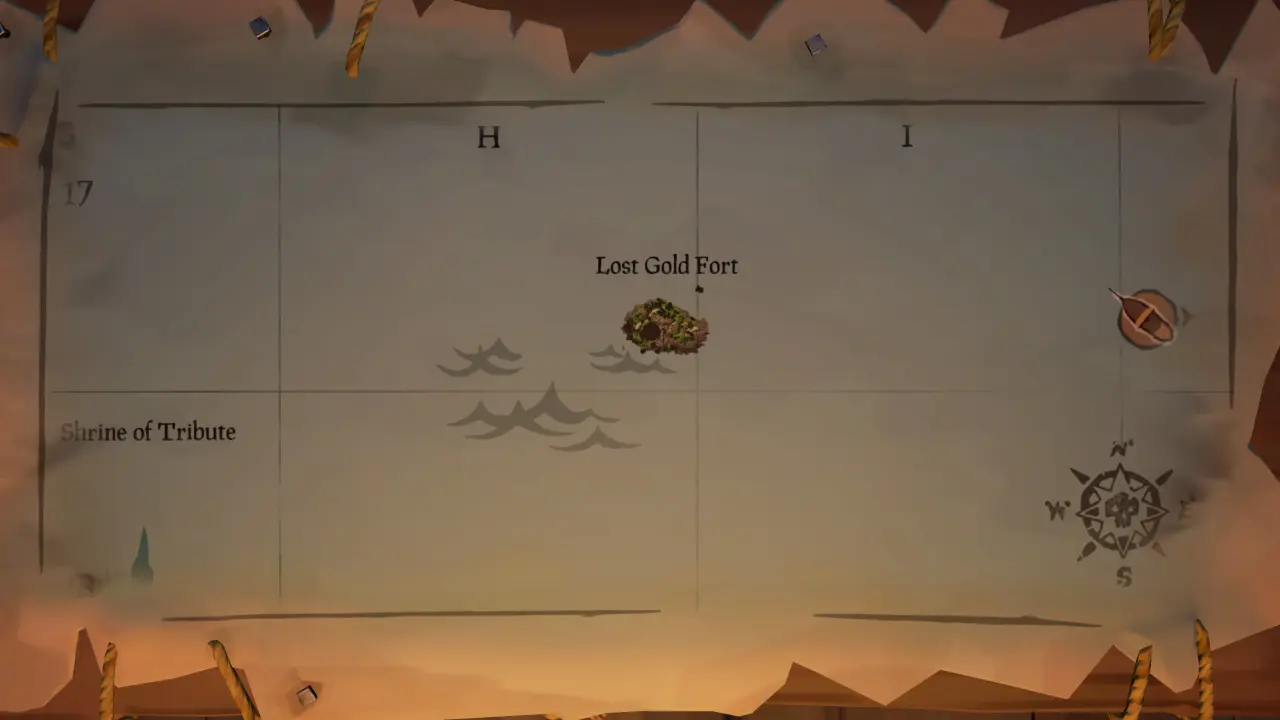
Lost Gold Fort: H 17
Royal Crest: J 6
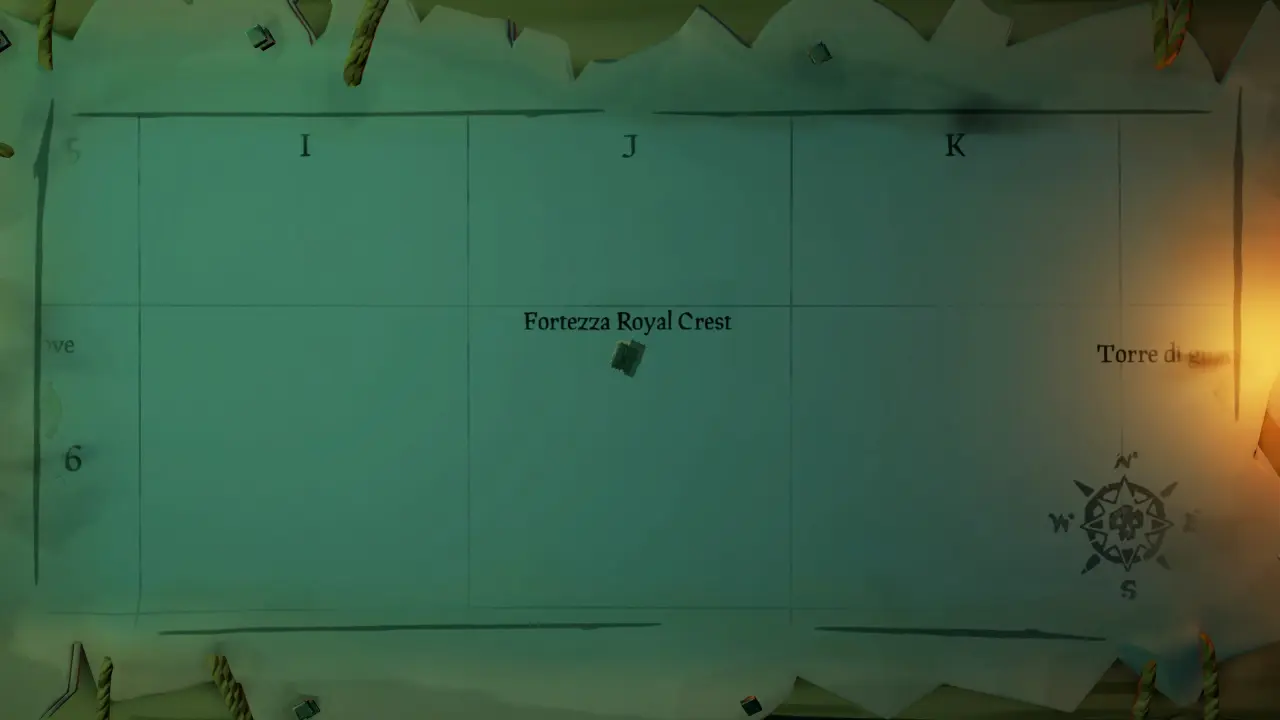
Old Brinestone: K 21
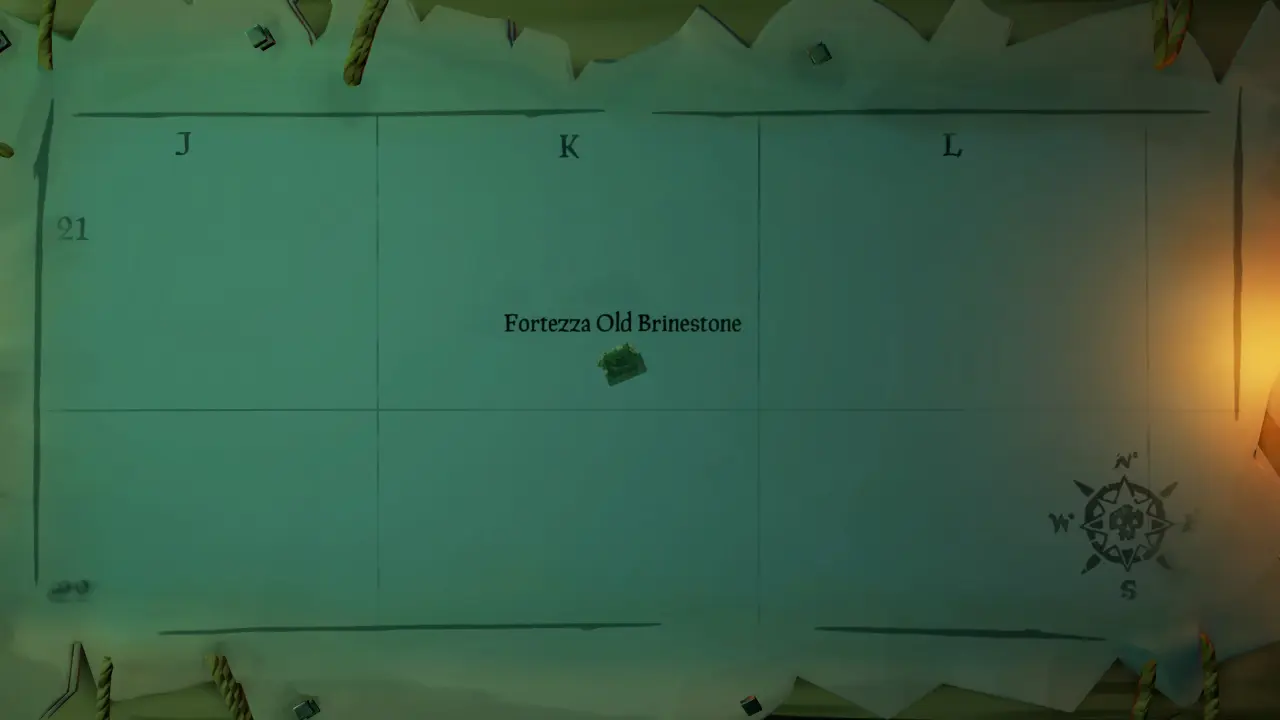
Forte dei dannati: L 14
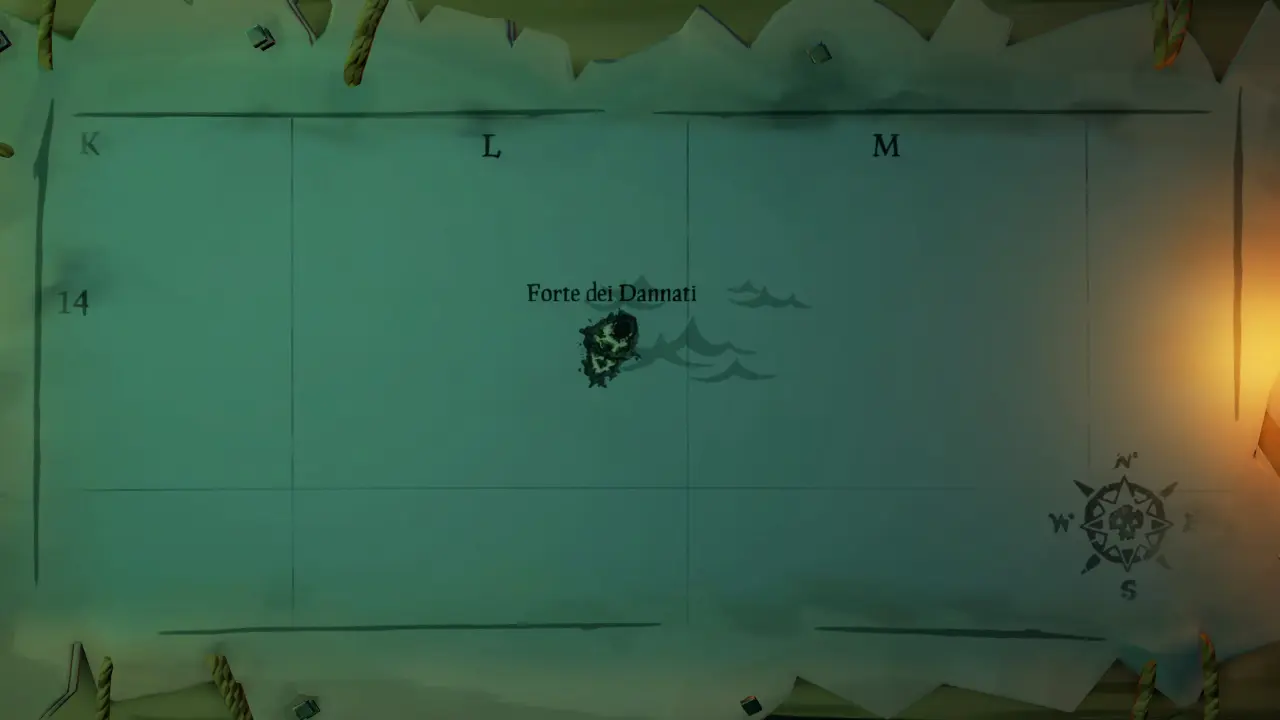
The Crow’s Nest Fortress: O 17
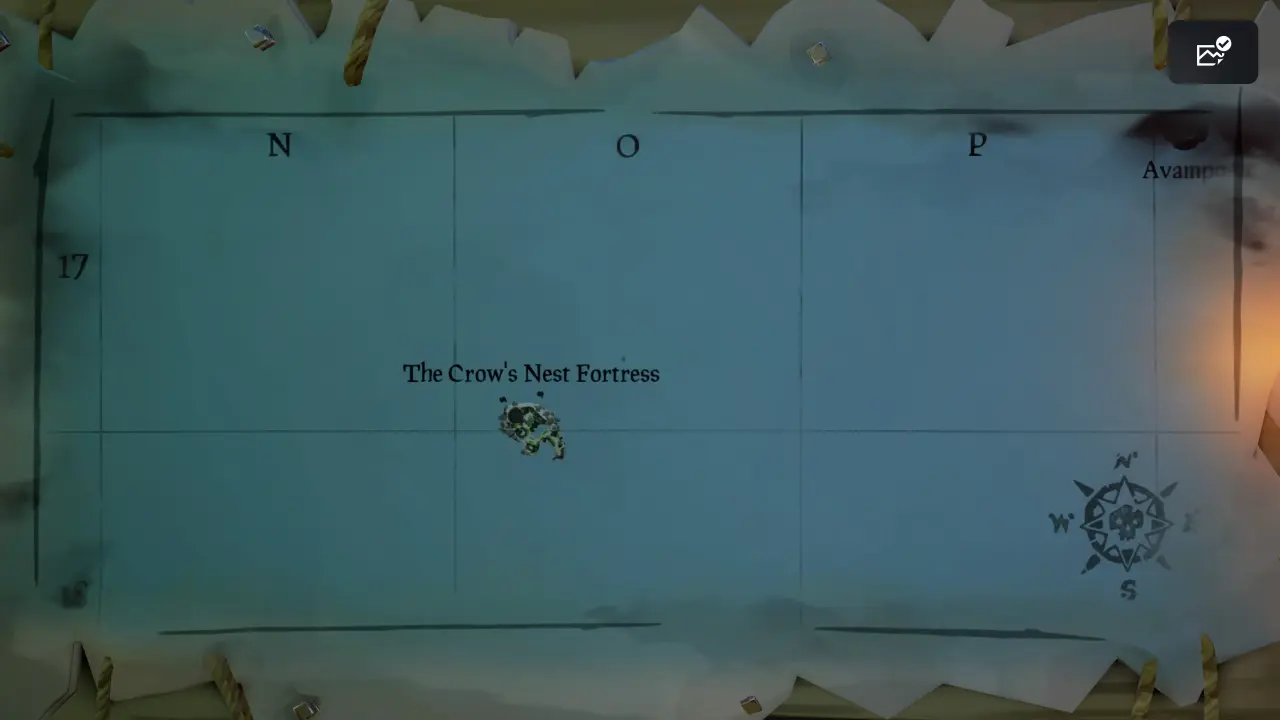
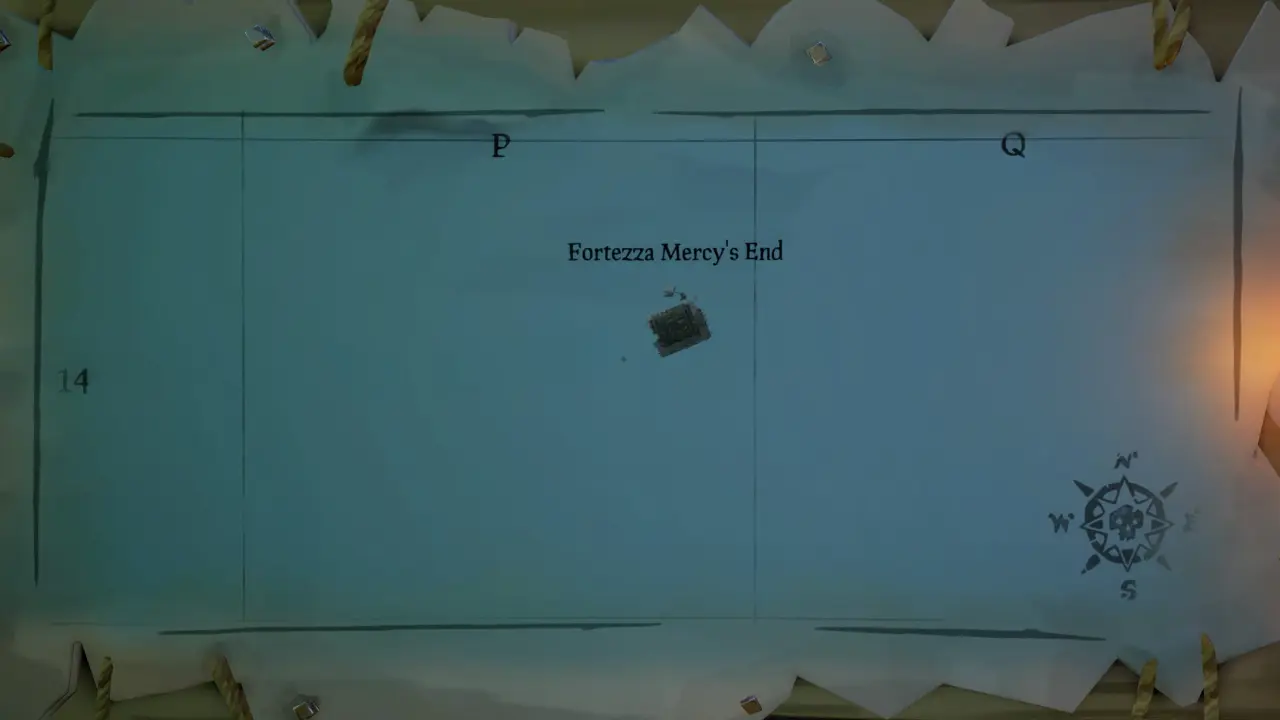
Mercy’s End: P 14
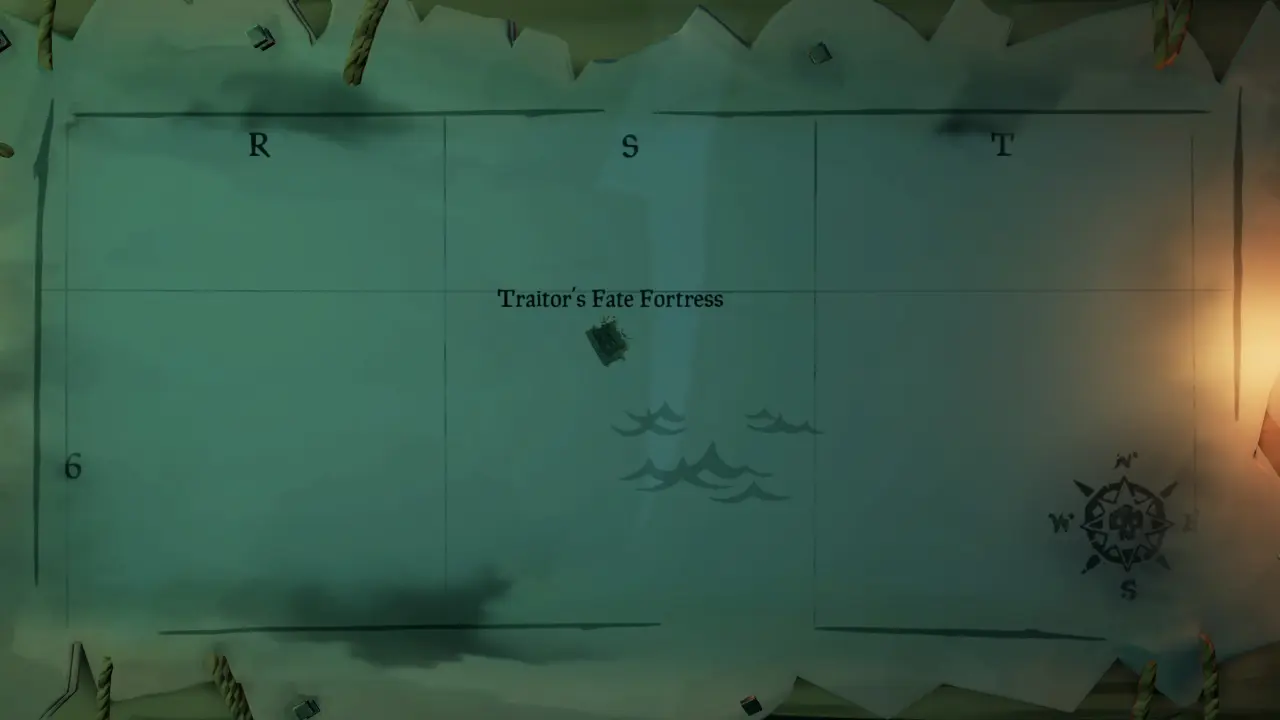
Traitor’s Fate Fortress: S 6
La posizione di tutti gli avamposti
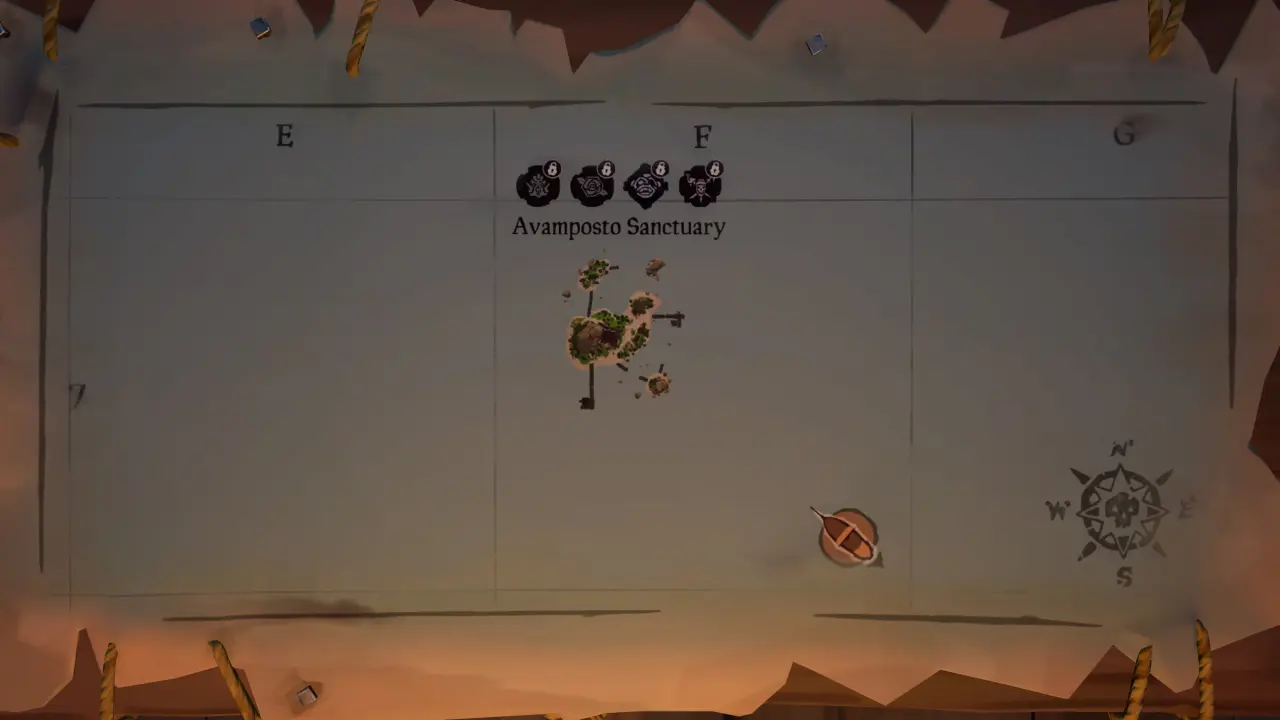
Sanctuary: F 7
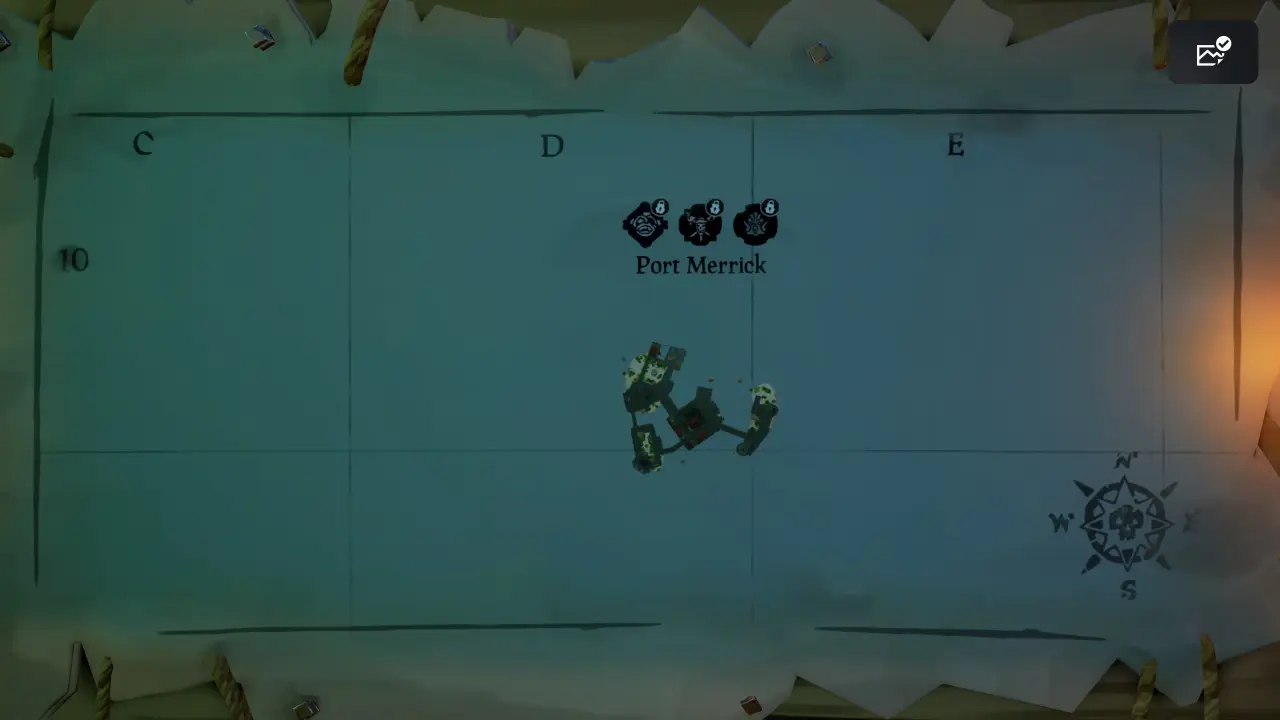
Port Merrick: D 10
Avamposto Plunder: K 18
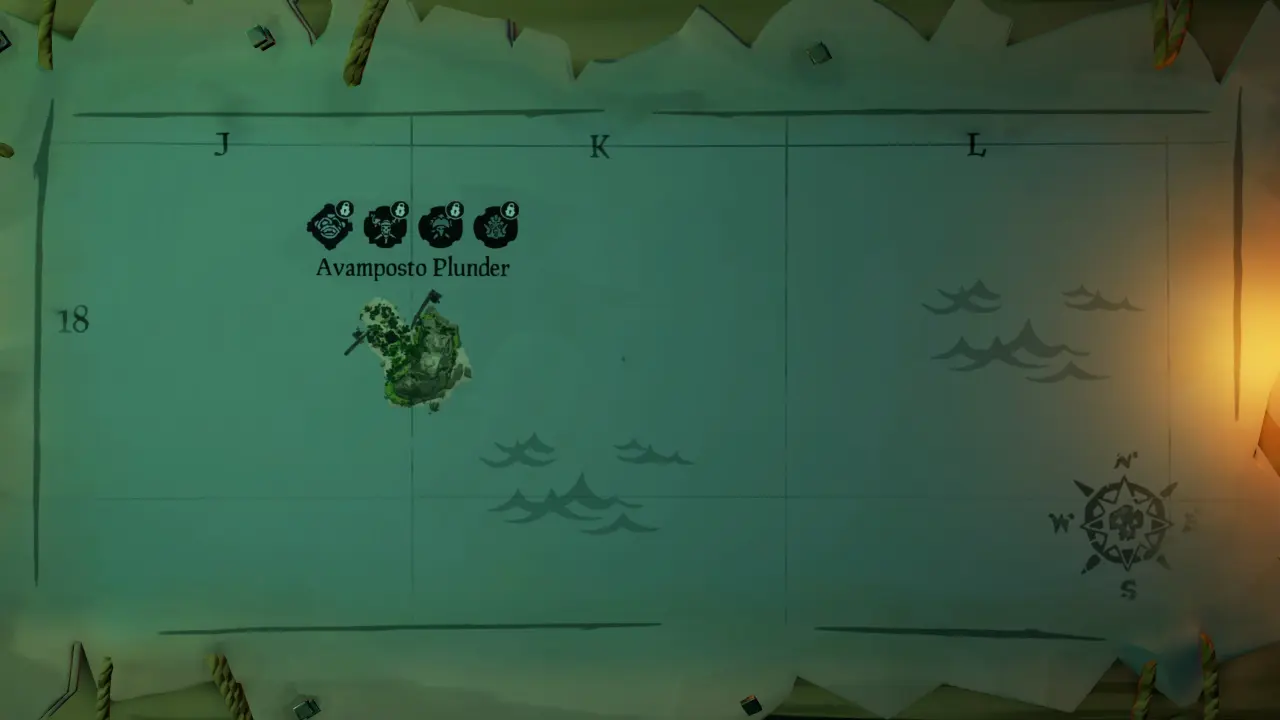
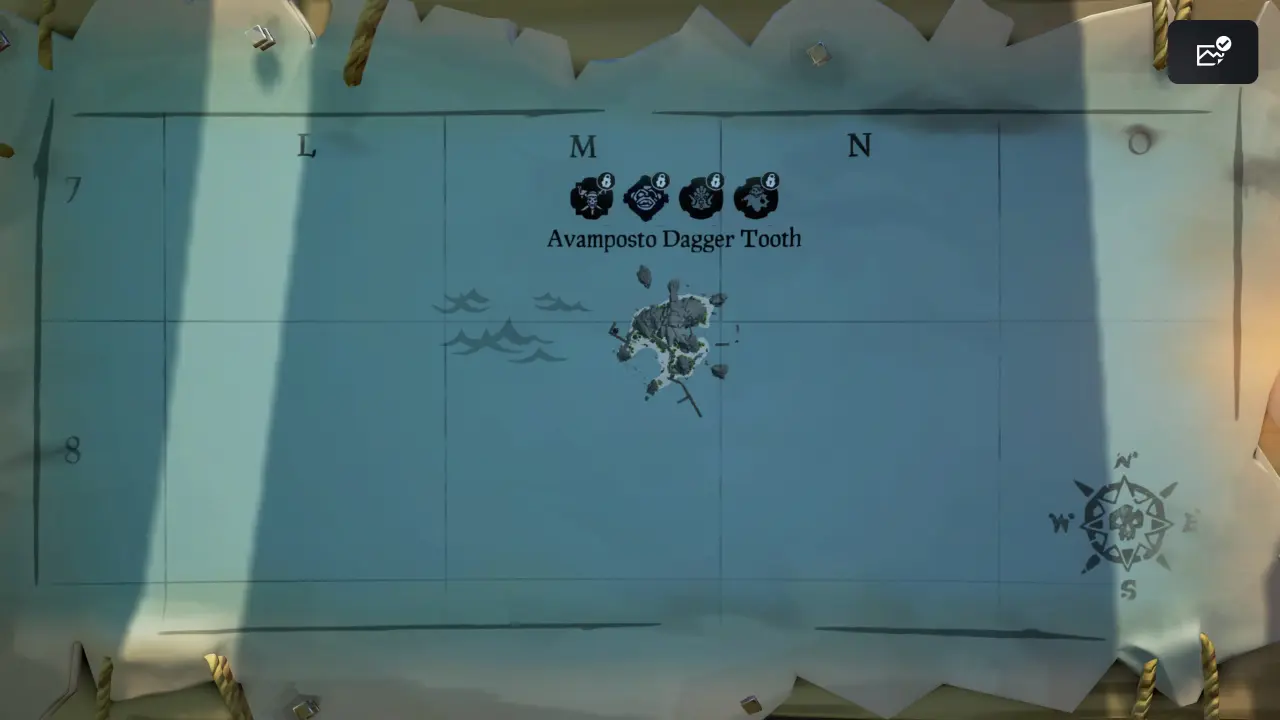
Dagger Tooth: M 8
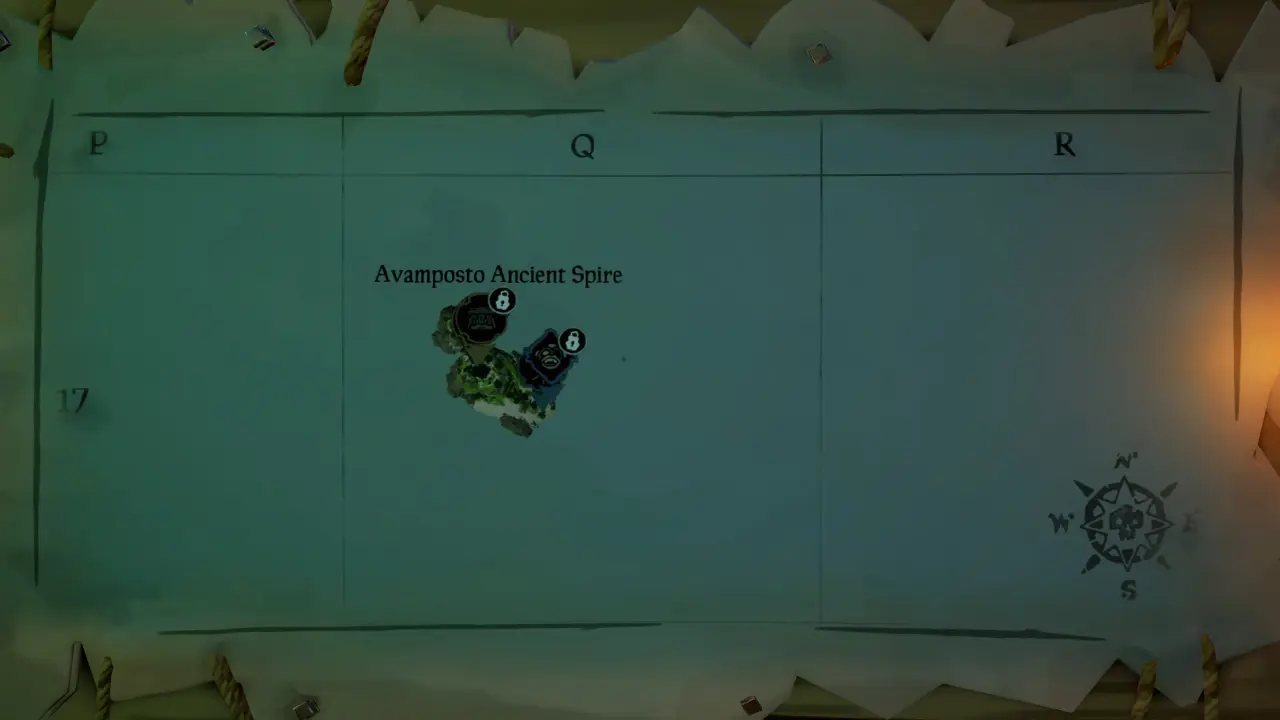
Ancient Spire: Q 17
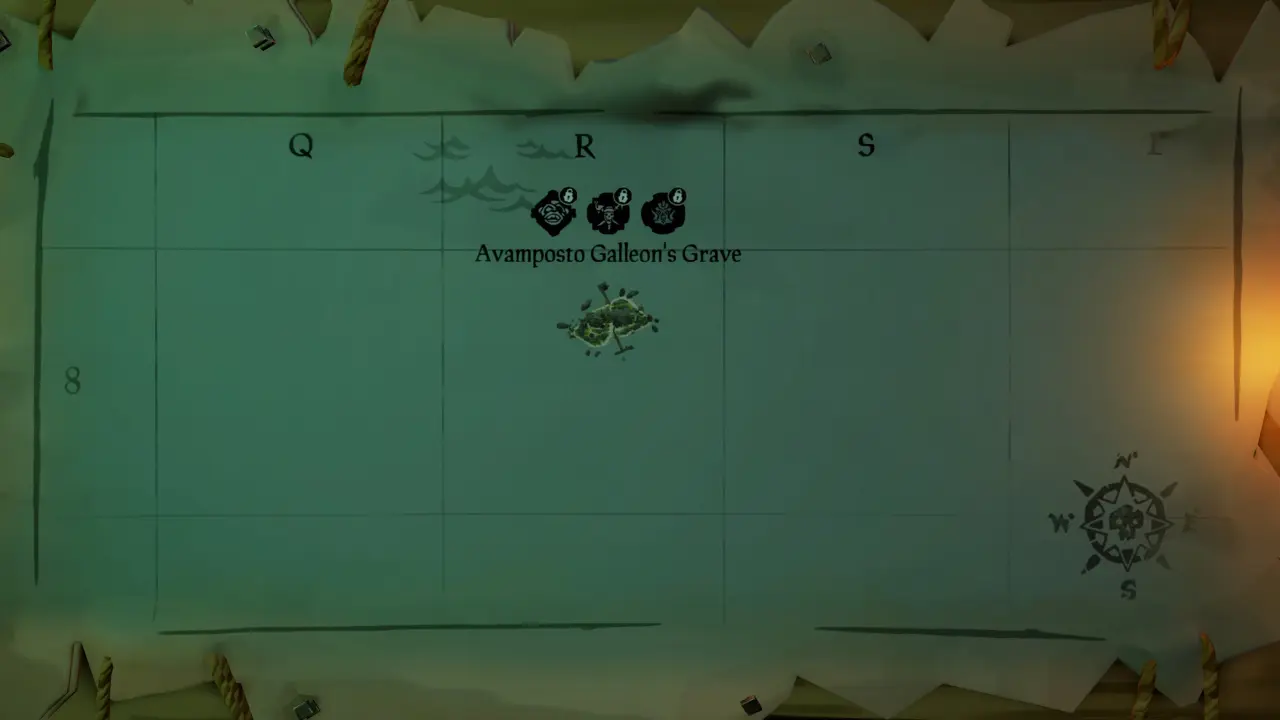
Galleon’s Grave: R 8
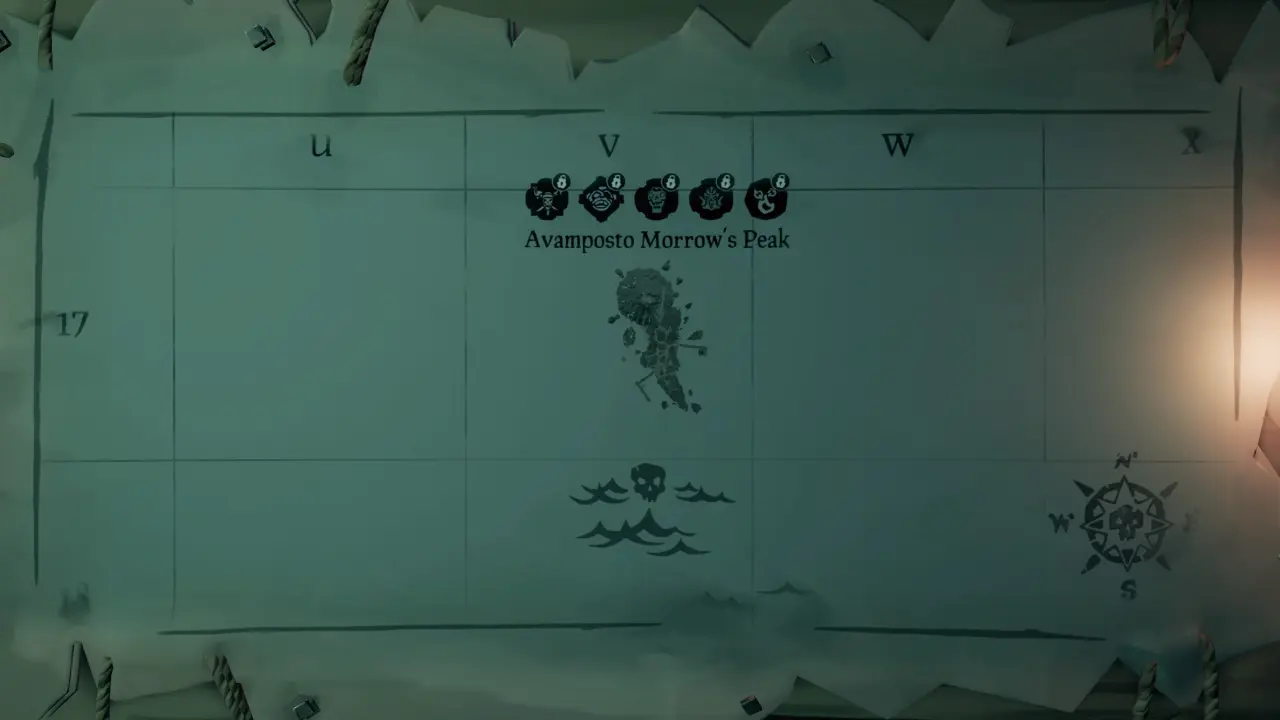
Avamposto Morrow’s Peak: V 17
La posizione di tutti i negozi
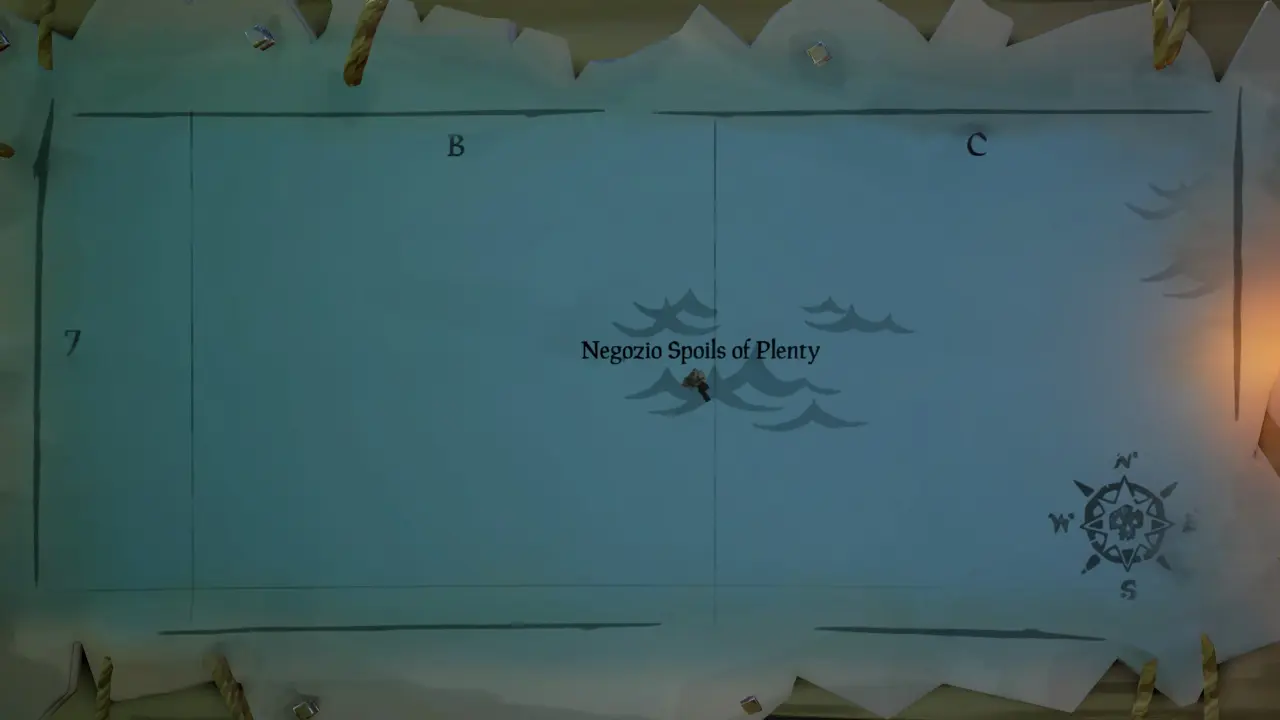
Spoils of Plenty: B7
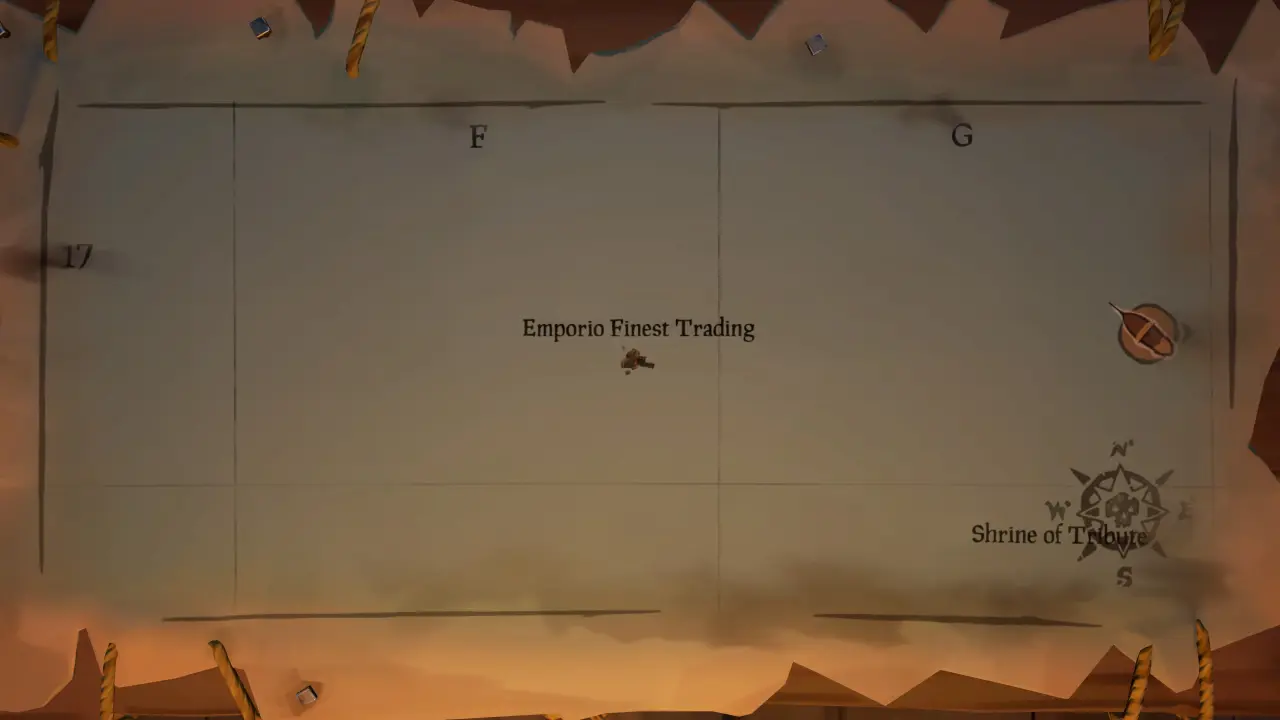
Emporio Finest Trading: F 17
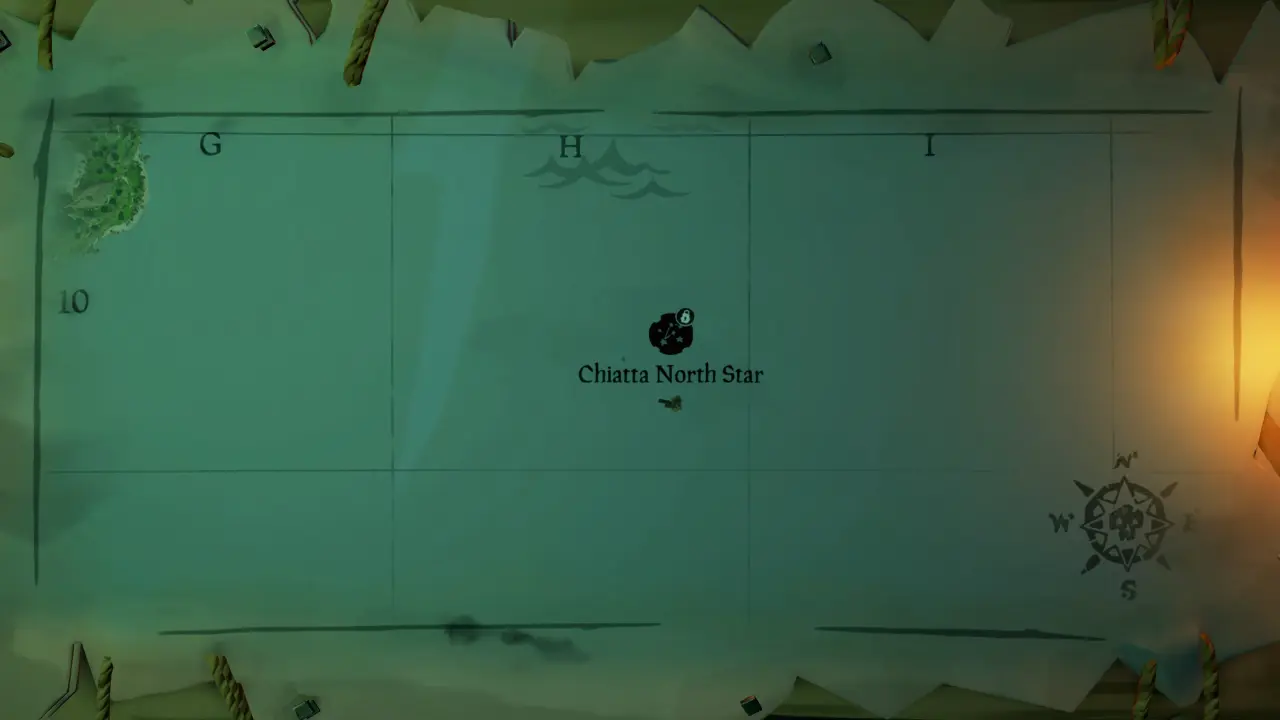
Chiatta North Star: H 10
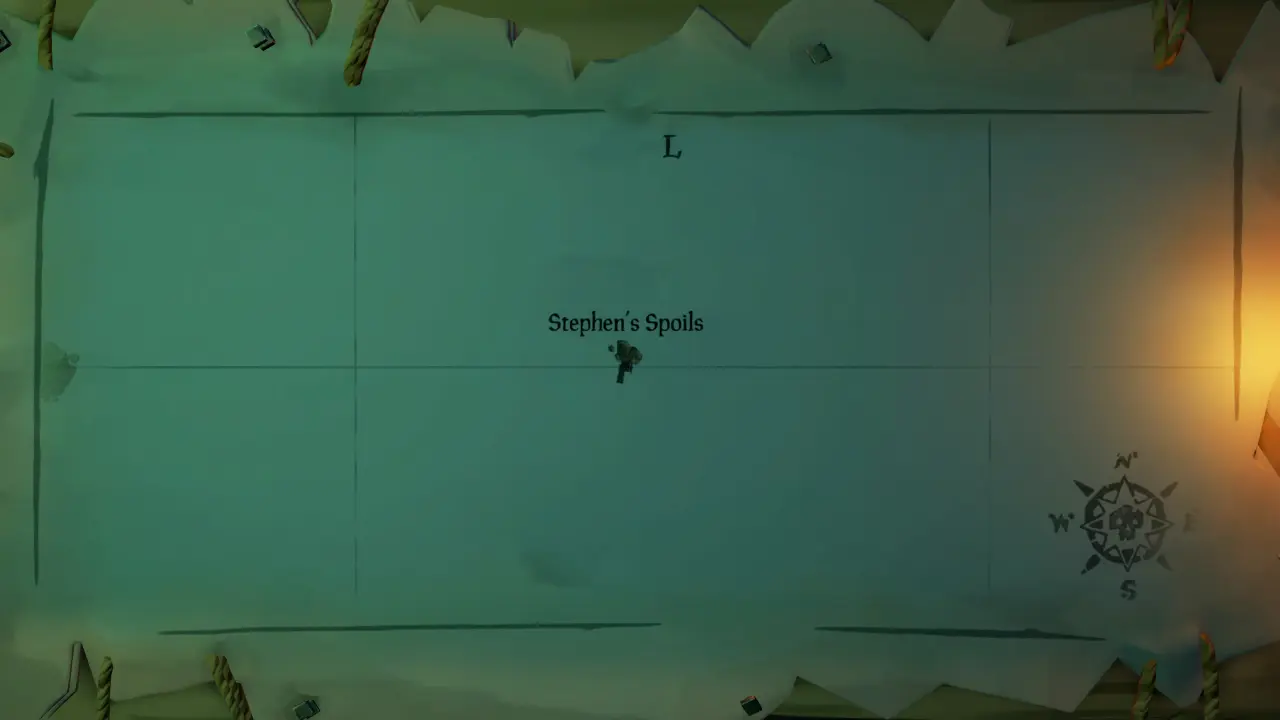
Stephen’s Spoils: L 15
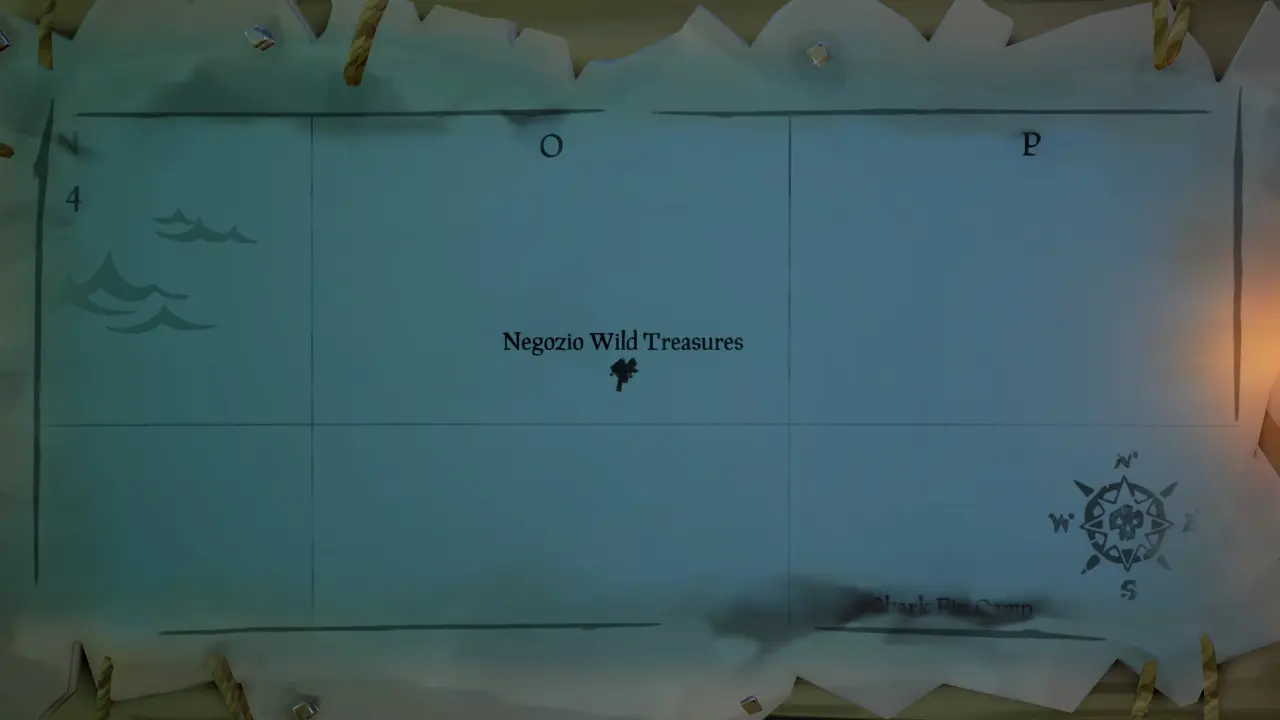
Wild Treasures: O 4
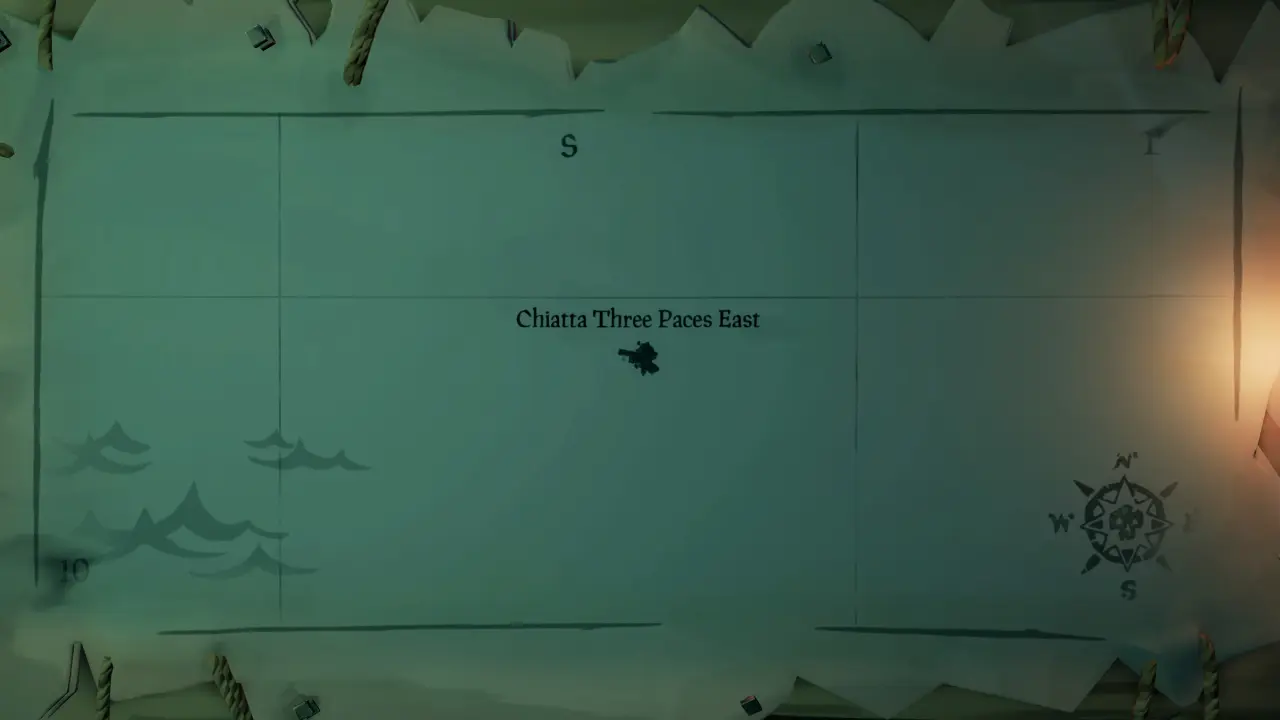
Chiatta Three Paces East: S 10
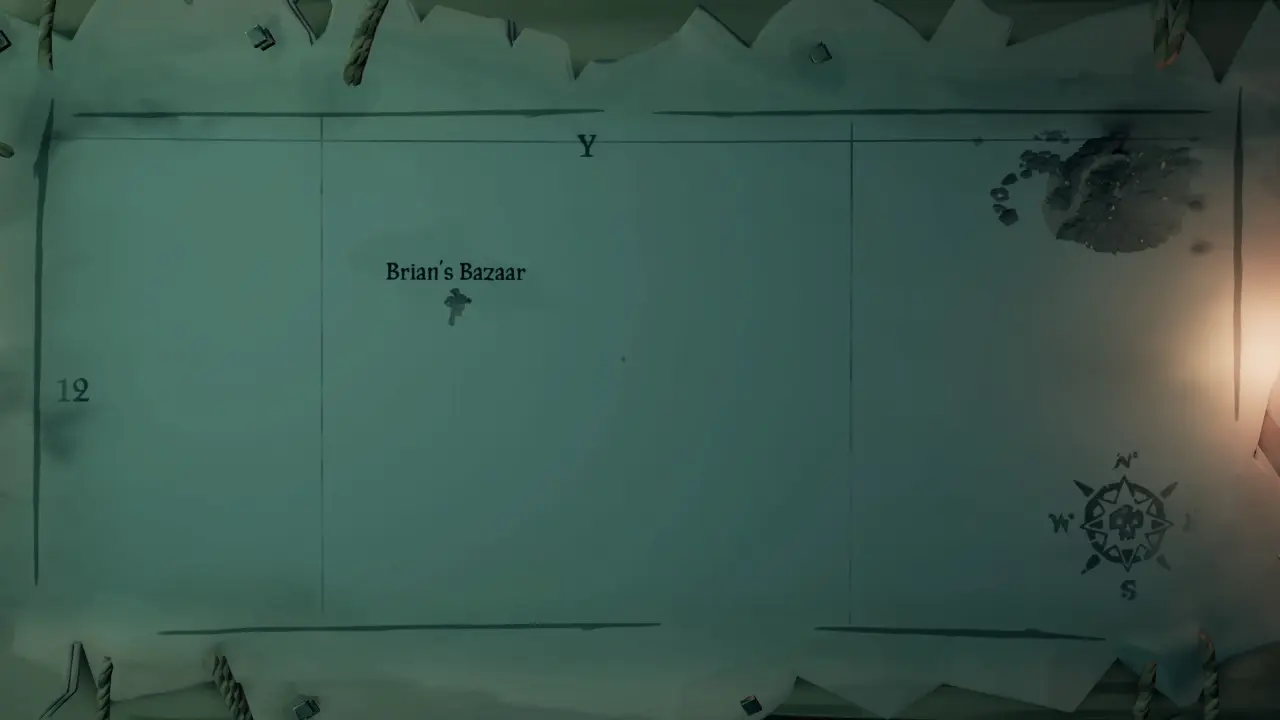
Brian’s Bazaar: Y 12
Si conclude qui la nostra qui la nostra guida dedicata alla posizione di tutte le isole di Sea of Thieves. Per ulteriori contenuti sul live-service di Rare, vi invitiamo come sempre a rimanere sintonizzati sulle nostre pagine, nel frattempo vi rimandiamo alla nostra recensione della versione PlayStation 5.
GameSource su Google Aggiungici alle tue fonti preferite: Google ti mostrerà più spesso i nostri articoli.
Aggiungi alle fonti preferite
Sea of Thieves – Sbloccare le navi Borderlands